
Project introduction
- Official page: https://chatgpt.com/codex
- GitHub: https://github.com/openai/codex
Dli.li endpoint options
| Type | URL |
|---|---|
| Official default API | https://api.dli.li/v1 |
| Official backup API | https://api.dlizz.com/v1 |
Recommended usage
Demo
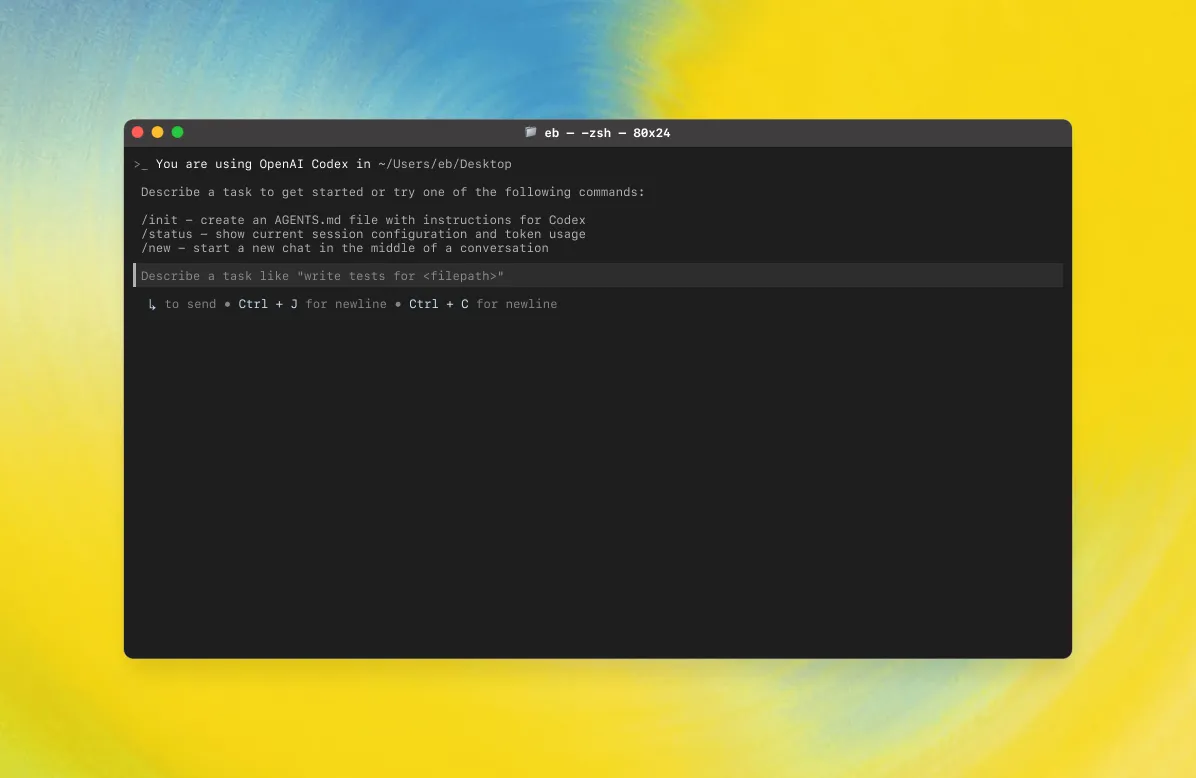
Features
| Feature area | Notes |
|---|---|
| Terminal workflow | Interactive coding assistant for editing, patching, and running commands |
| Tool-driven model | Uses tools such as apply_patch, shell execution, and plan tracking |
| Patch editing | Supports atomic file updates through structured patches |
| Sandboxing and approvals | Supports permission controls and approval modes |
| Plan tracking | Helps keep multi-step tasks explicit |
| Safe workflow | Avoids unrelated changes and dangerous operations by default |
Model setup
Manual configuration example
If you do not use the helper script, you can edit the Codex config files under the user's home directory directly. Create or edit ~/.codex/config.toml (on native Windows, use %USERPROFILE%\.codex\config.toml) and save this content:
model_provider = "custom"
model = "gpt-5.4"
model_reasoning_effort = "xhigh"
network_access = "enabled"
disable_response_storage = true
windows_wsl_setup_acknowledged = true
model_verbosity = "high"

[model_providers]
[model_providers.custom]
name = "custom"
wire_api = "responses"
requires_openai_auth = true
base_url = "https://api.dli.li/v1"
Then edit the auth file in the same directory, ~/.codex/auth.json, and replace token with the API token you created in the console:
{
  "OPENAI_API_KEY": "token"
}
Restart codex after saving so it reads the new configuration.
Windows guide
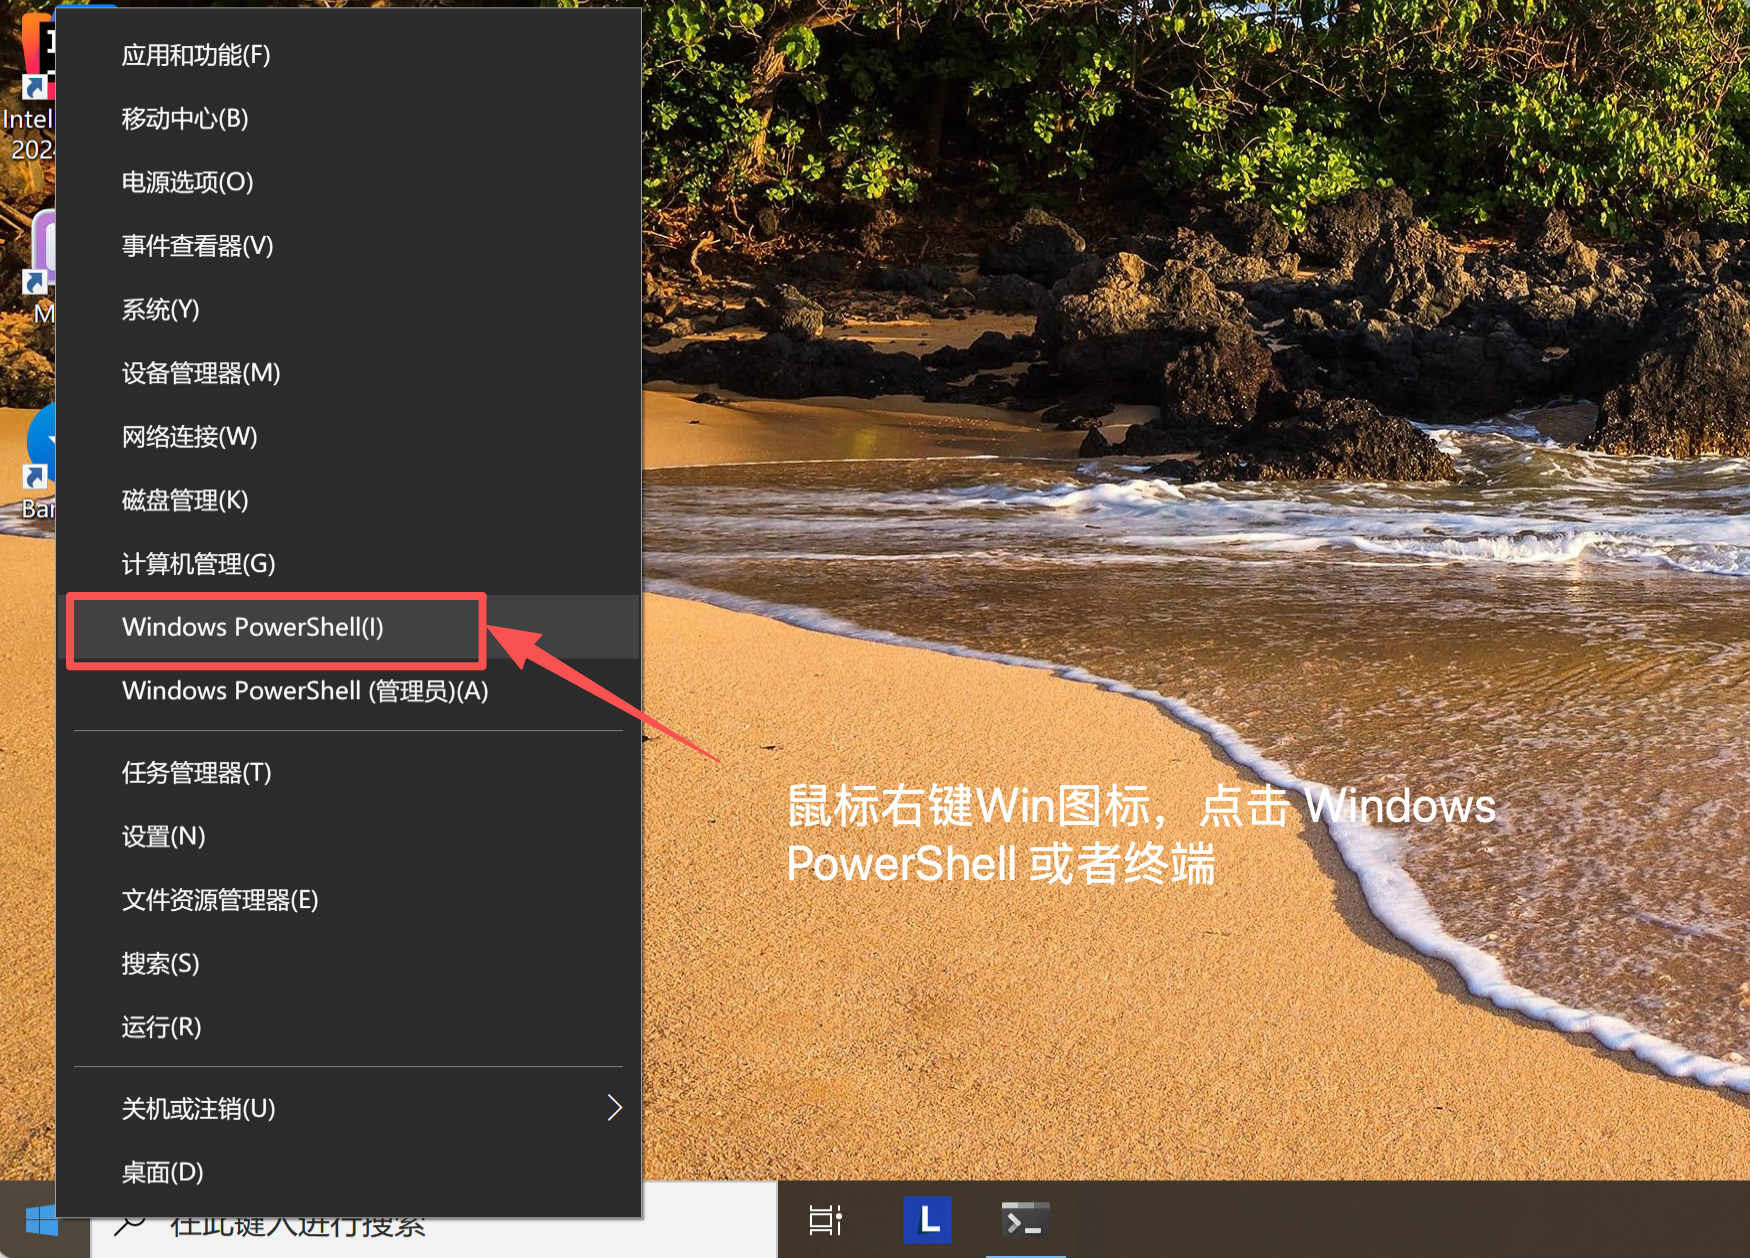
1. Open a terminal
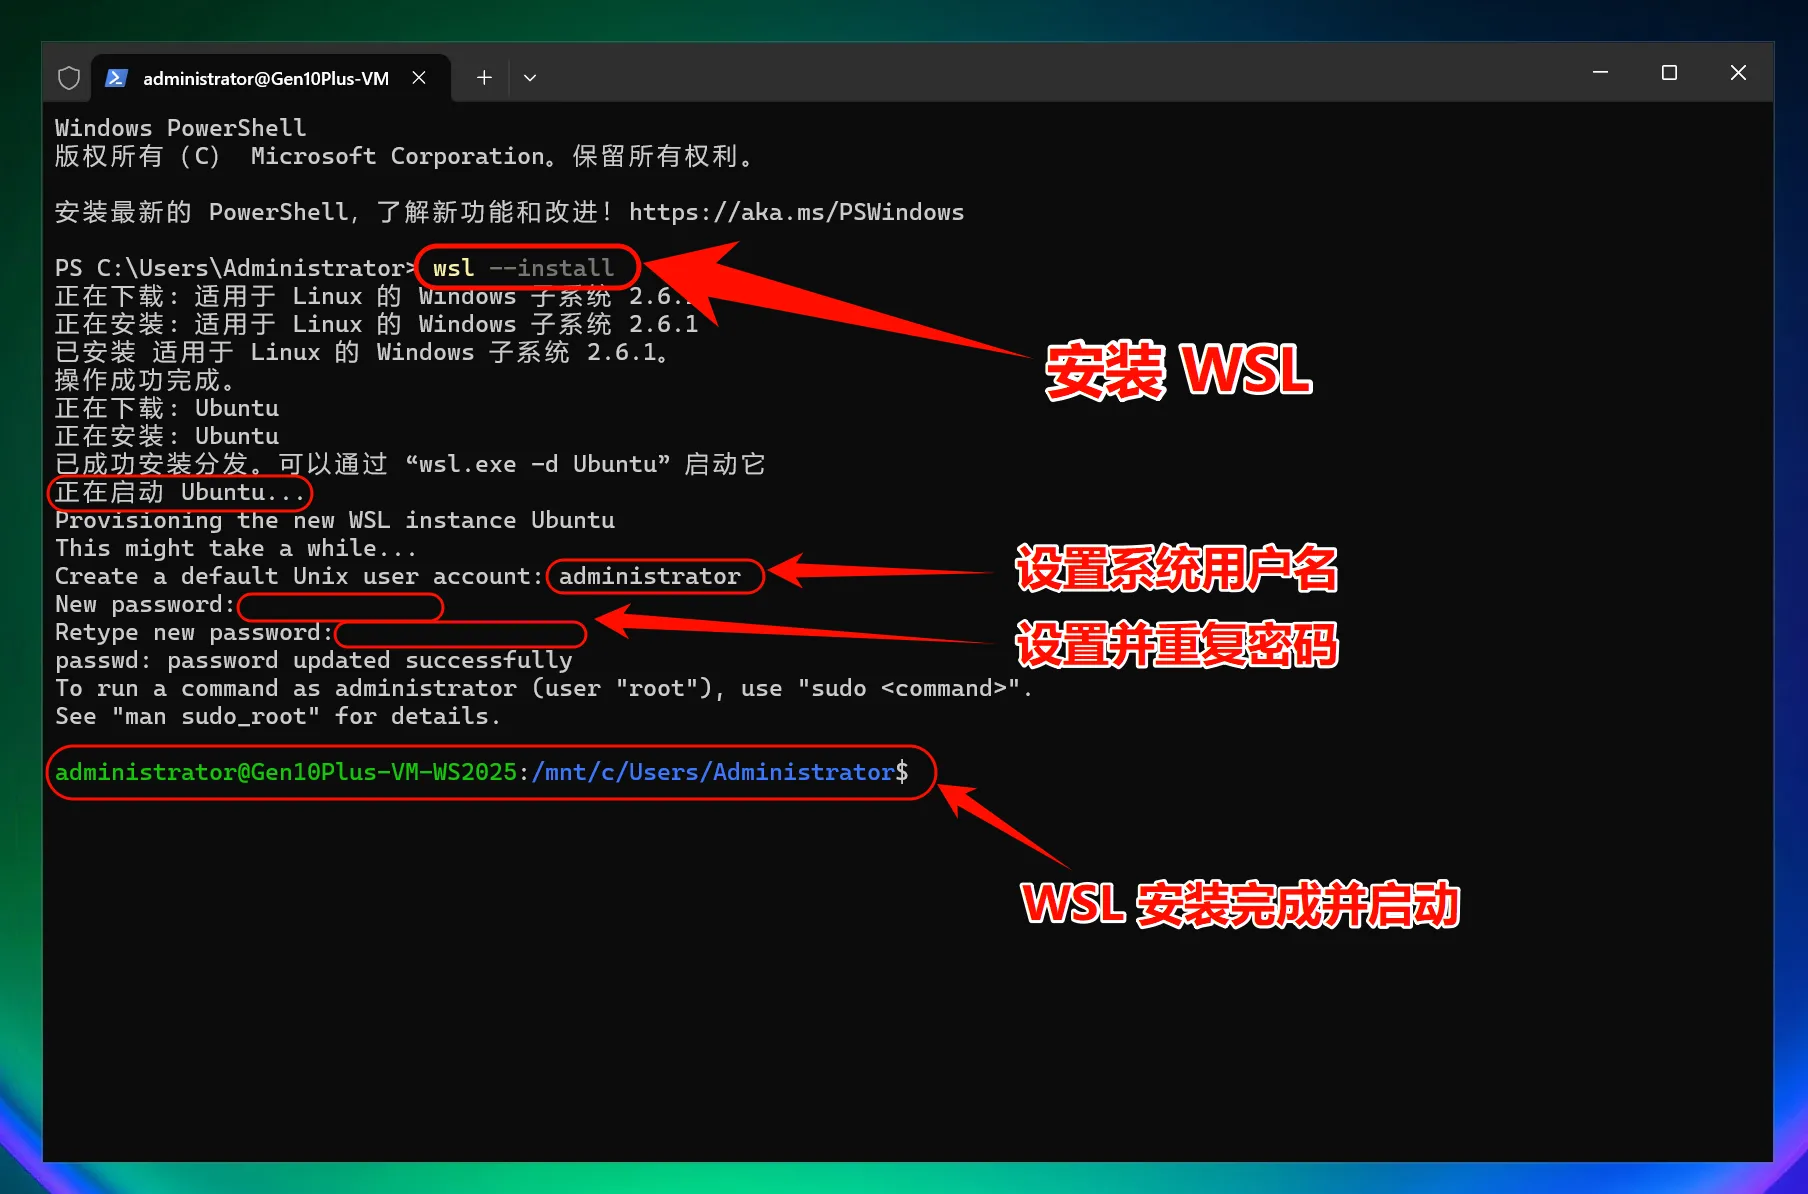
2. Install WSL2
For the best Windows experience, install WSL2:
wsl --installRestart Windows afterward.
Windows notes
Install NVM:
curl -o- https://raw.githubusercontent.com/nvm-sh/nvm/master/install.sh | bash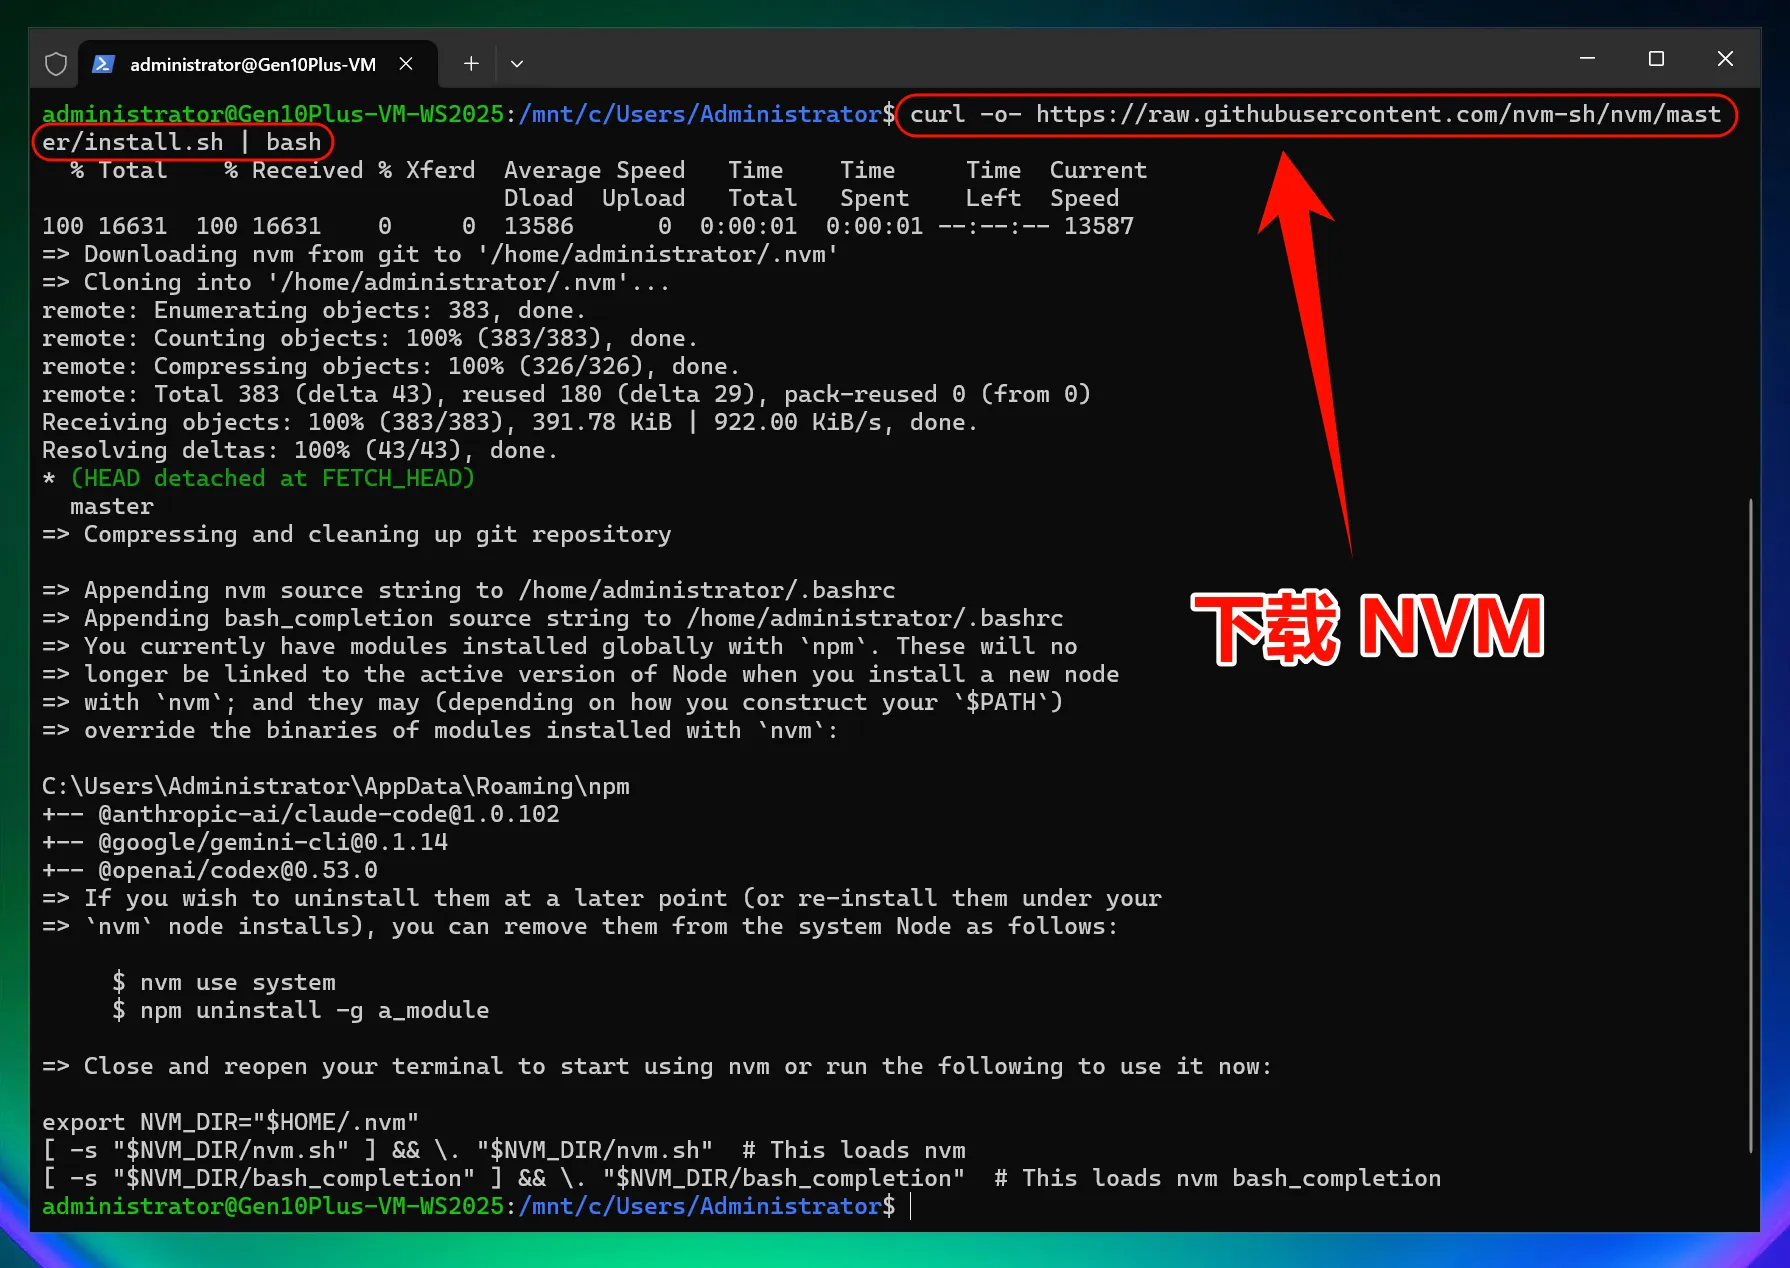
Open WSL and install Node.js:
wsl
nvm install 22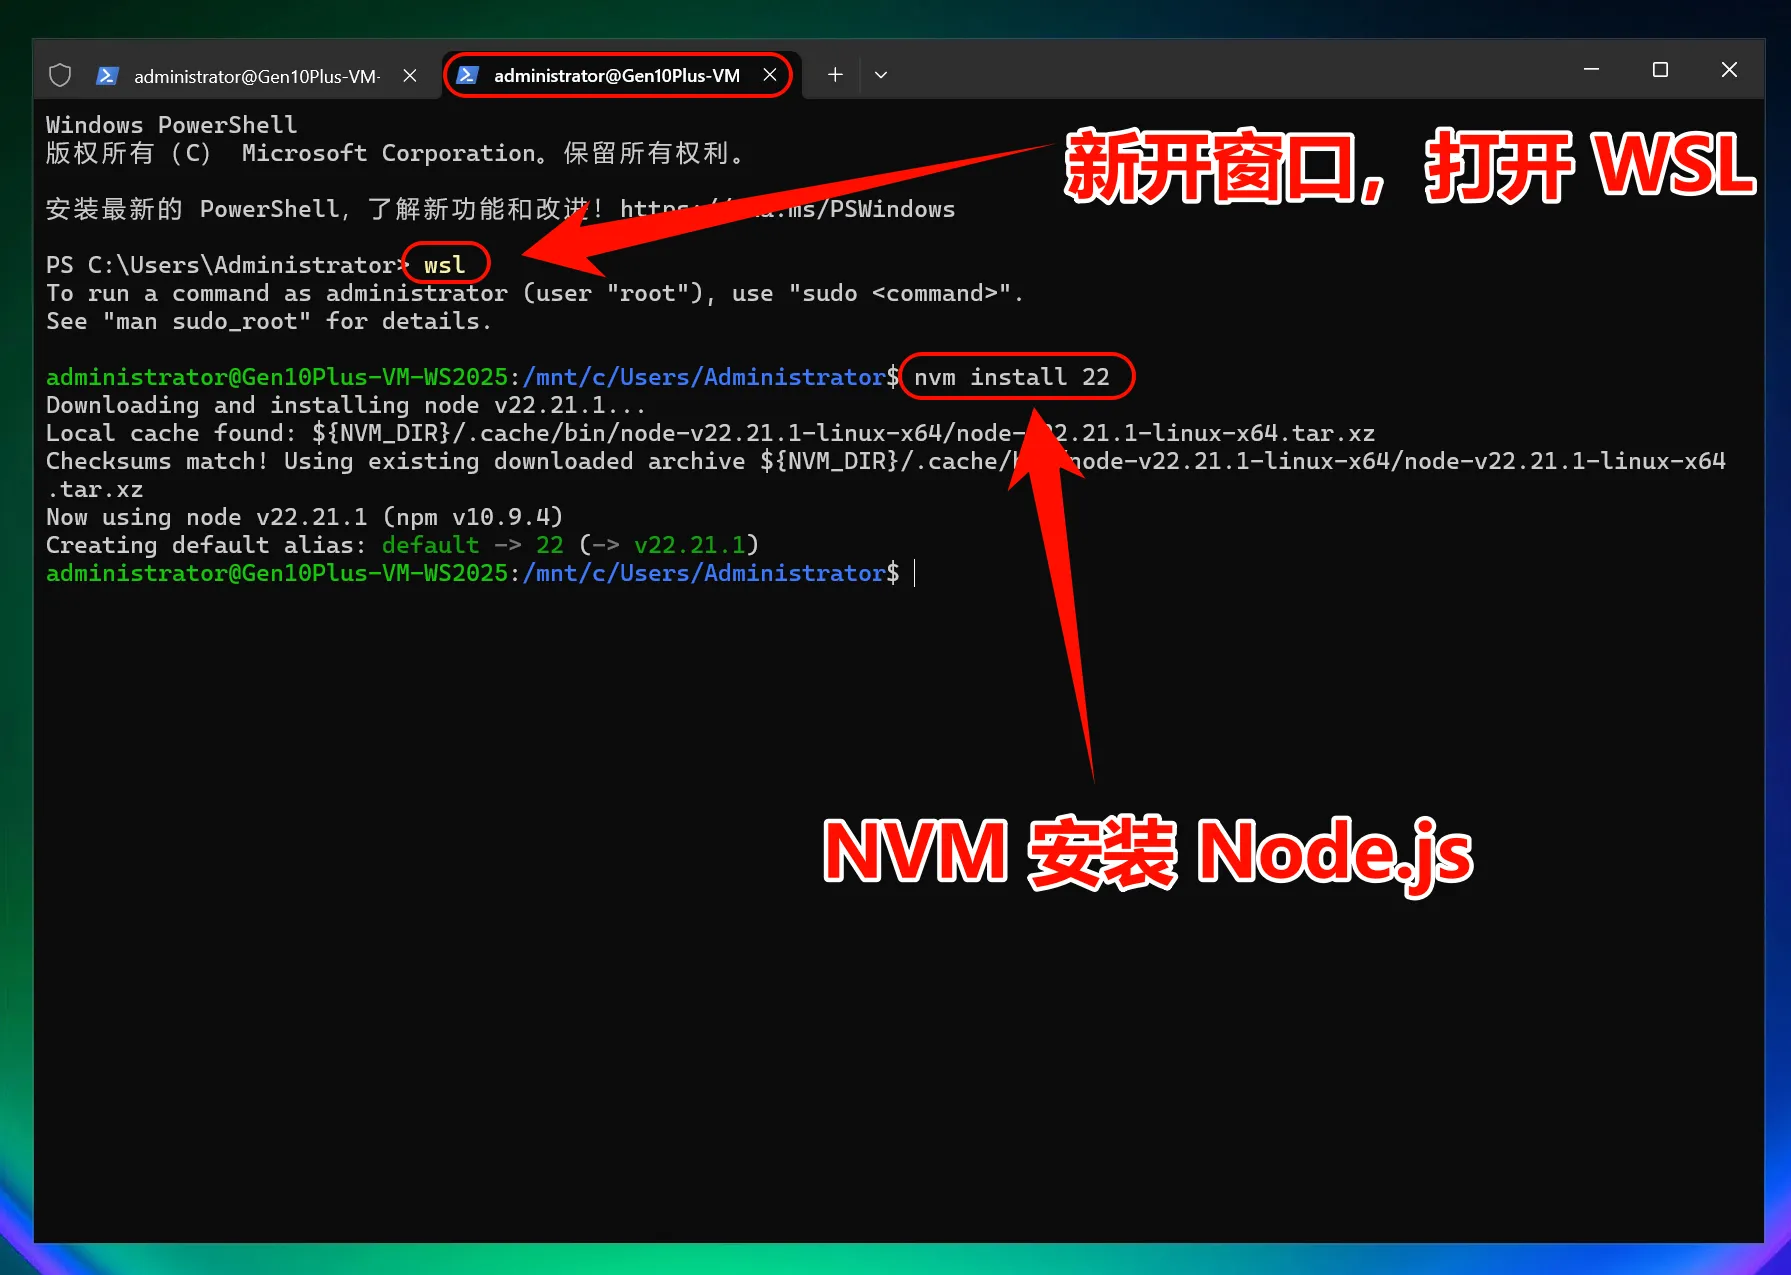
3. Install Codex CLI
npm i -g @openai/codex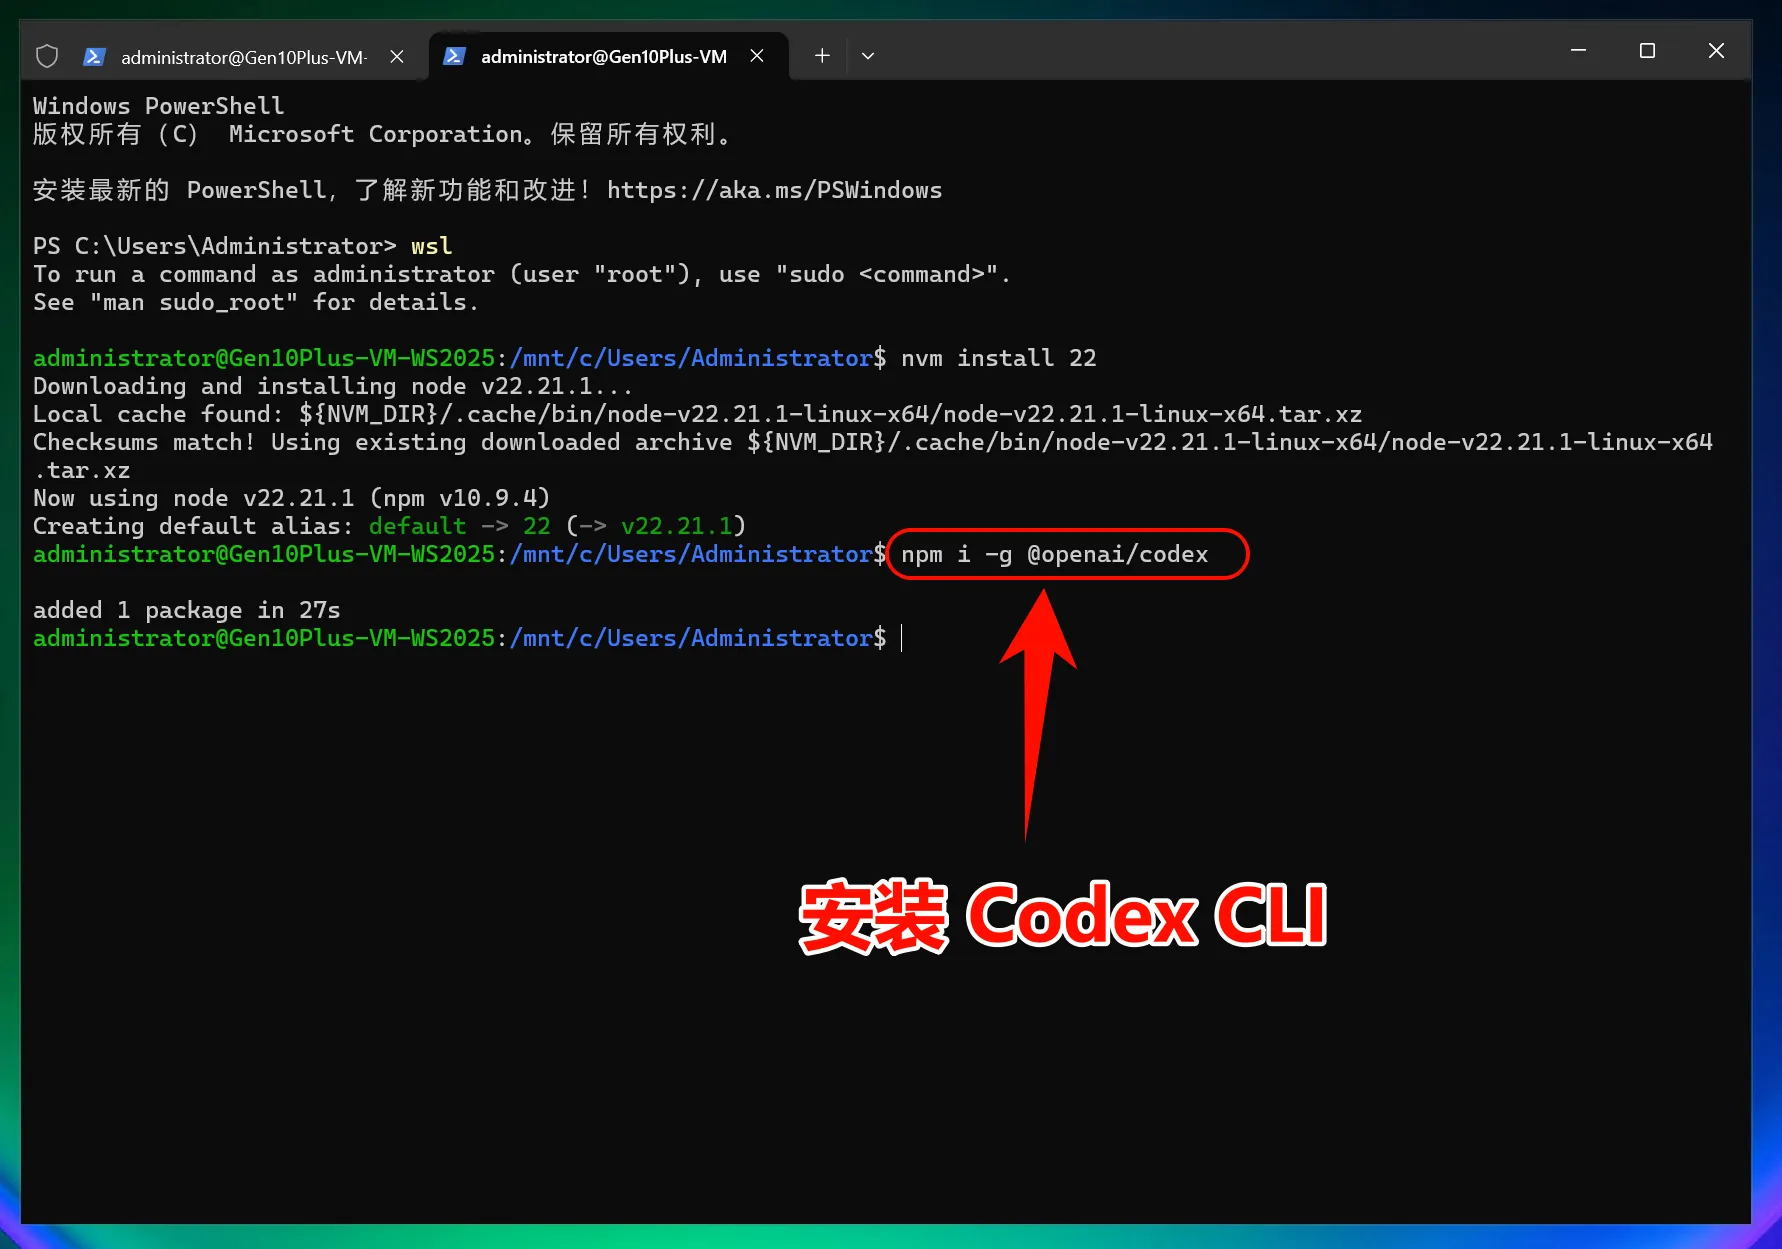
4. Configure the CLI
Use the upstream helper:
iex (irm 'https://raw.githubusercontent.com/QuantumNous/new-api-docs/refs/heads/main/helper/codex-cli-setup.ps1')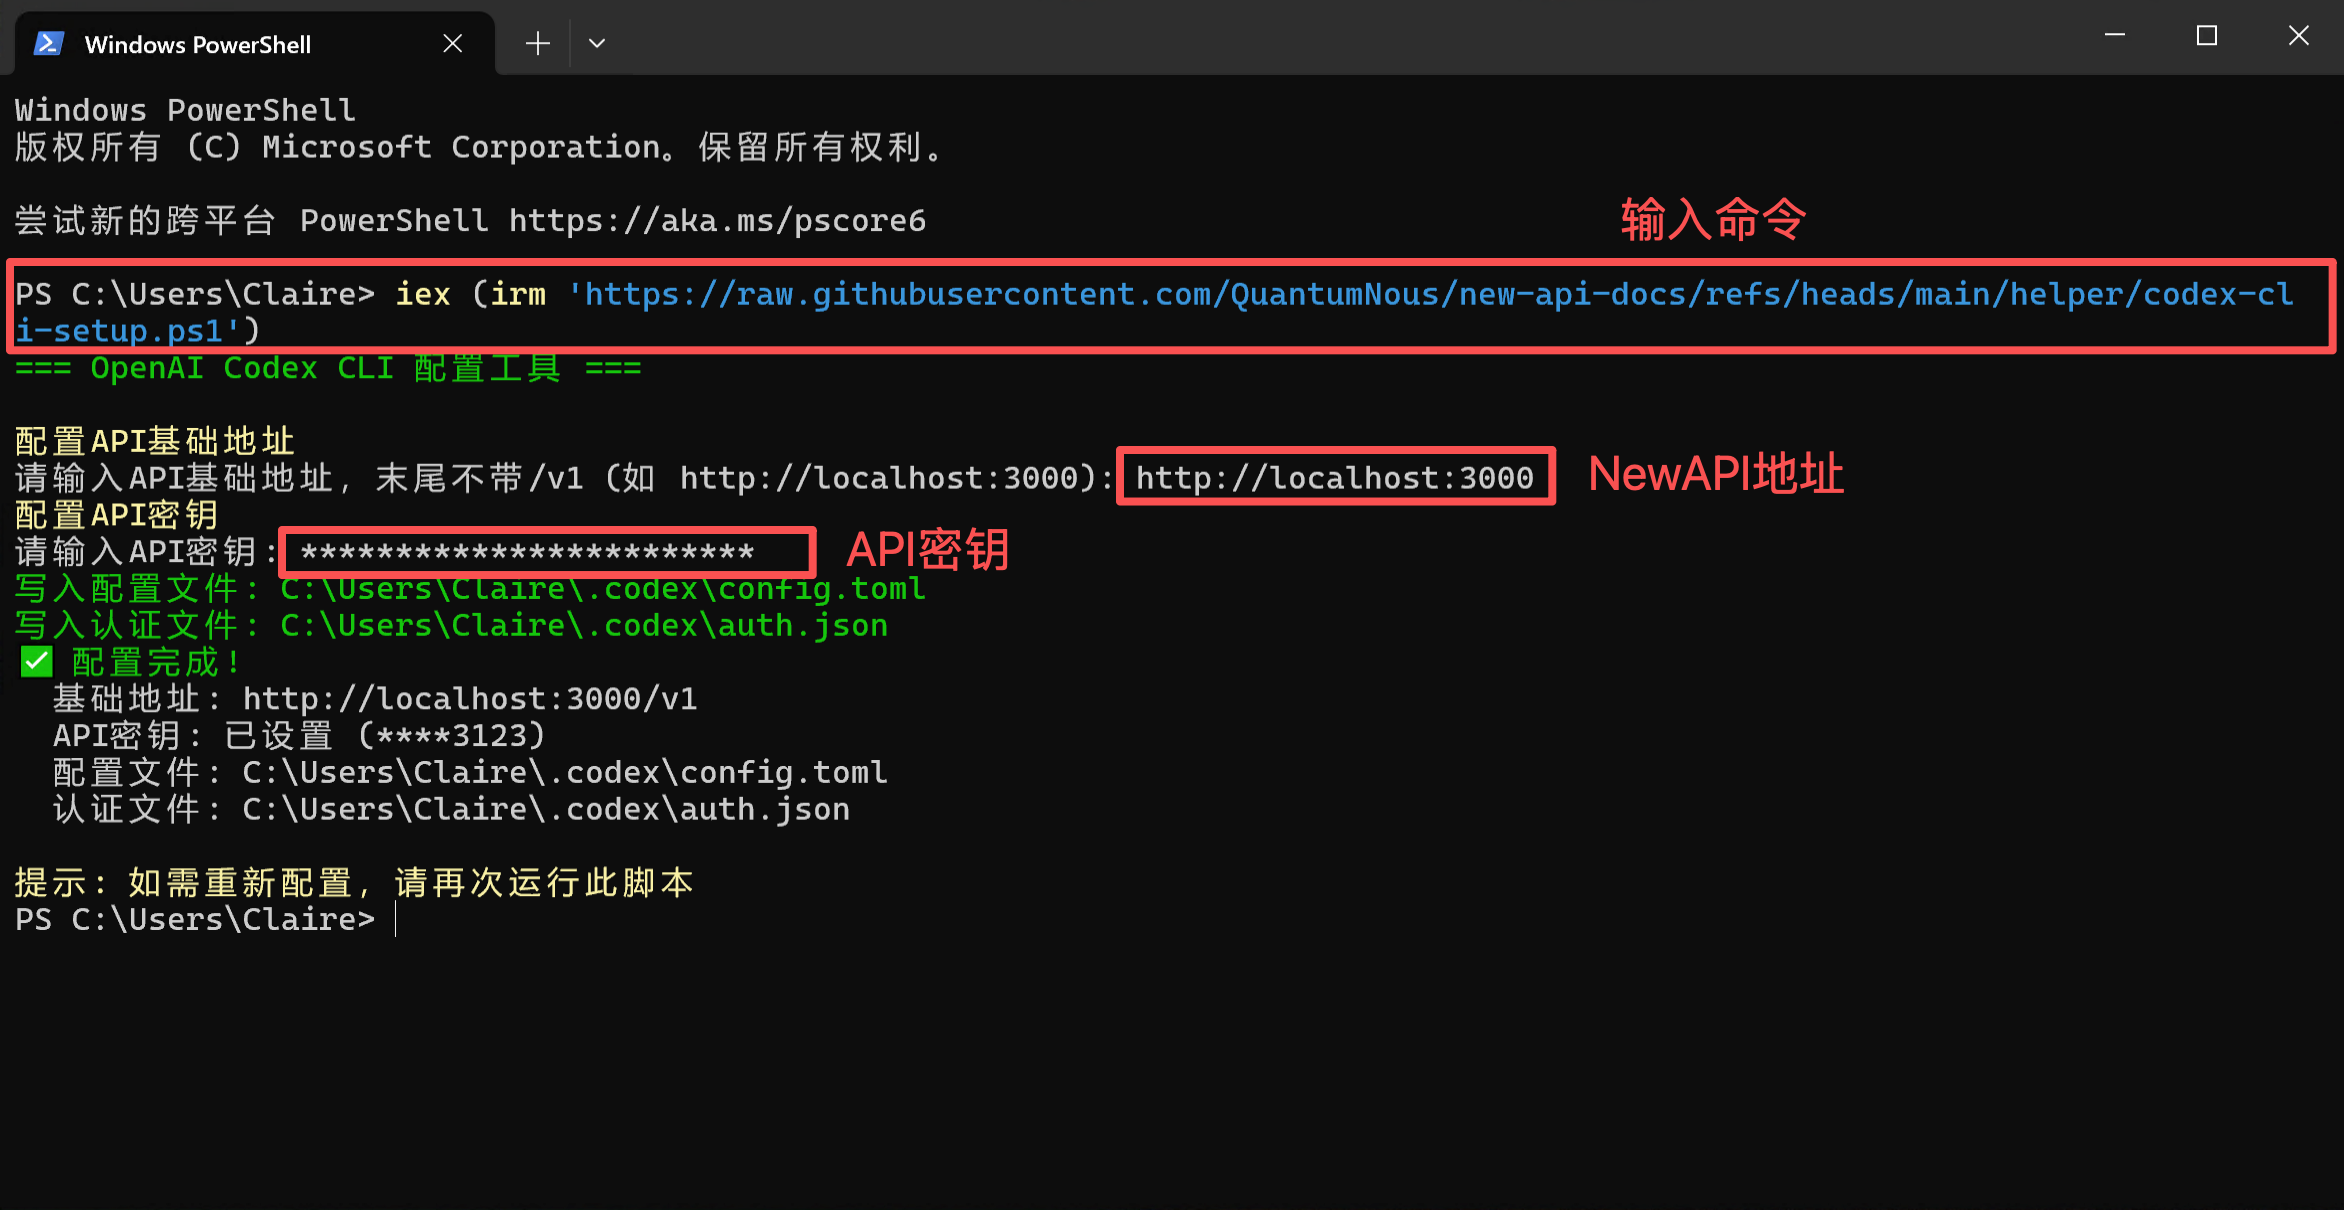
5. Start using Codex CLI
wsl
codex
Or in a project:
cd /mnt/c/path/to/your/project
codex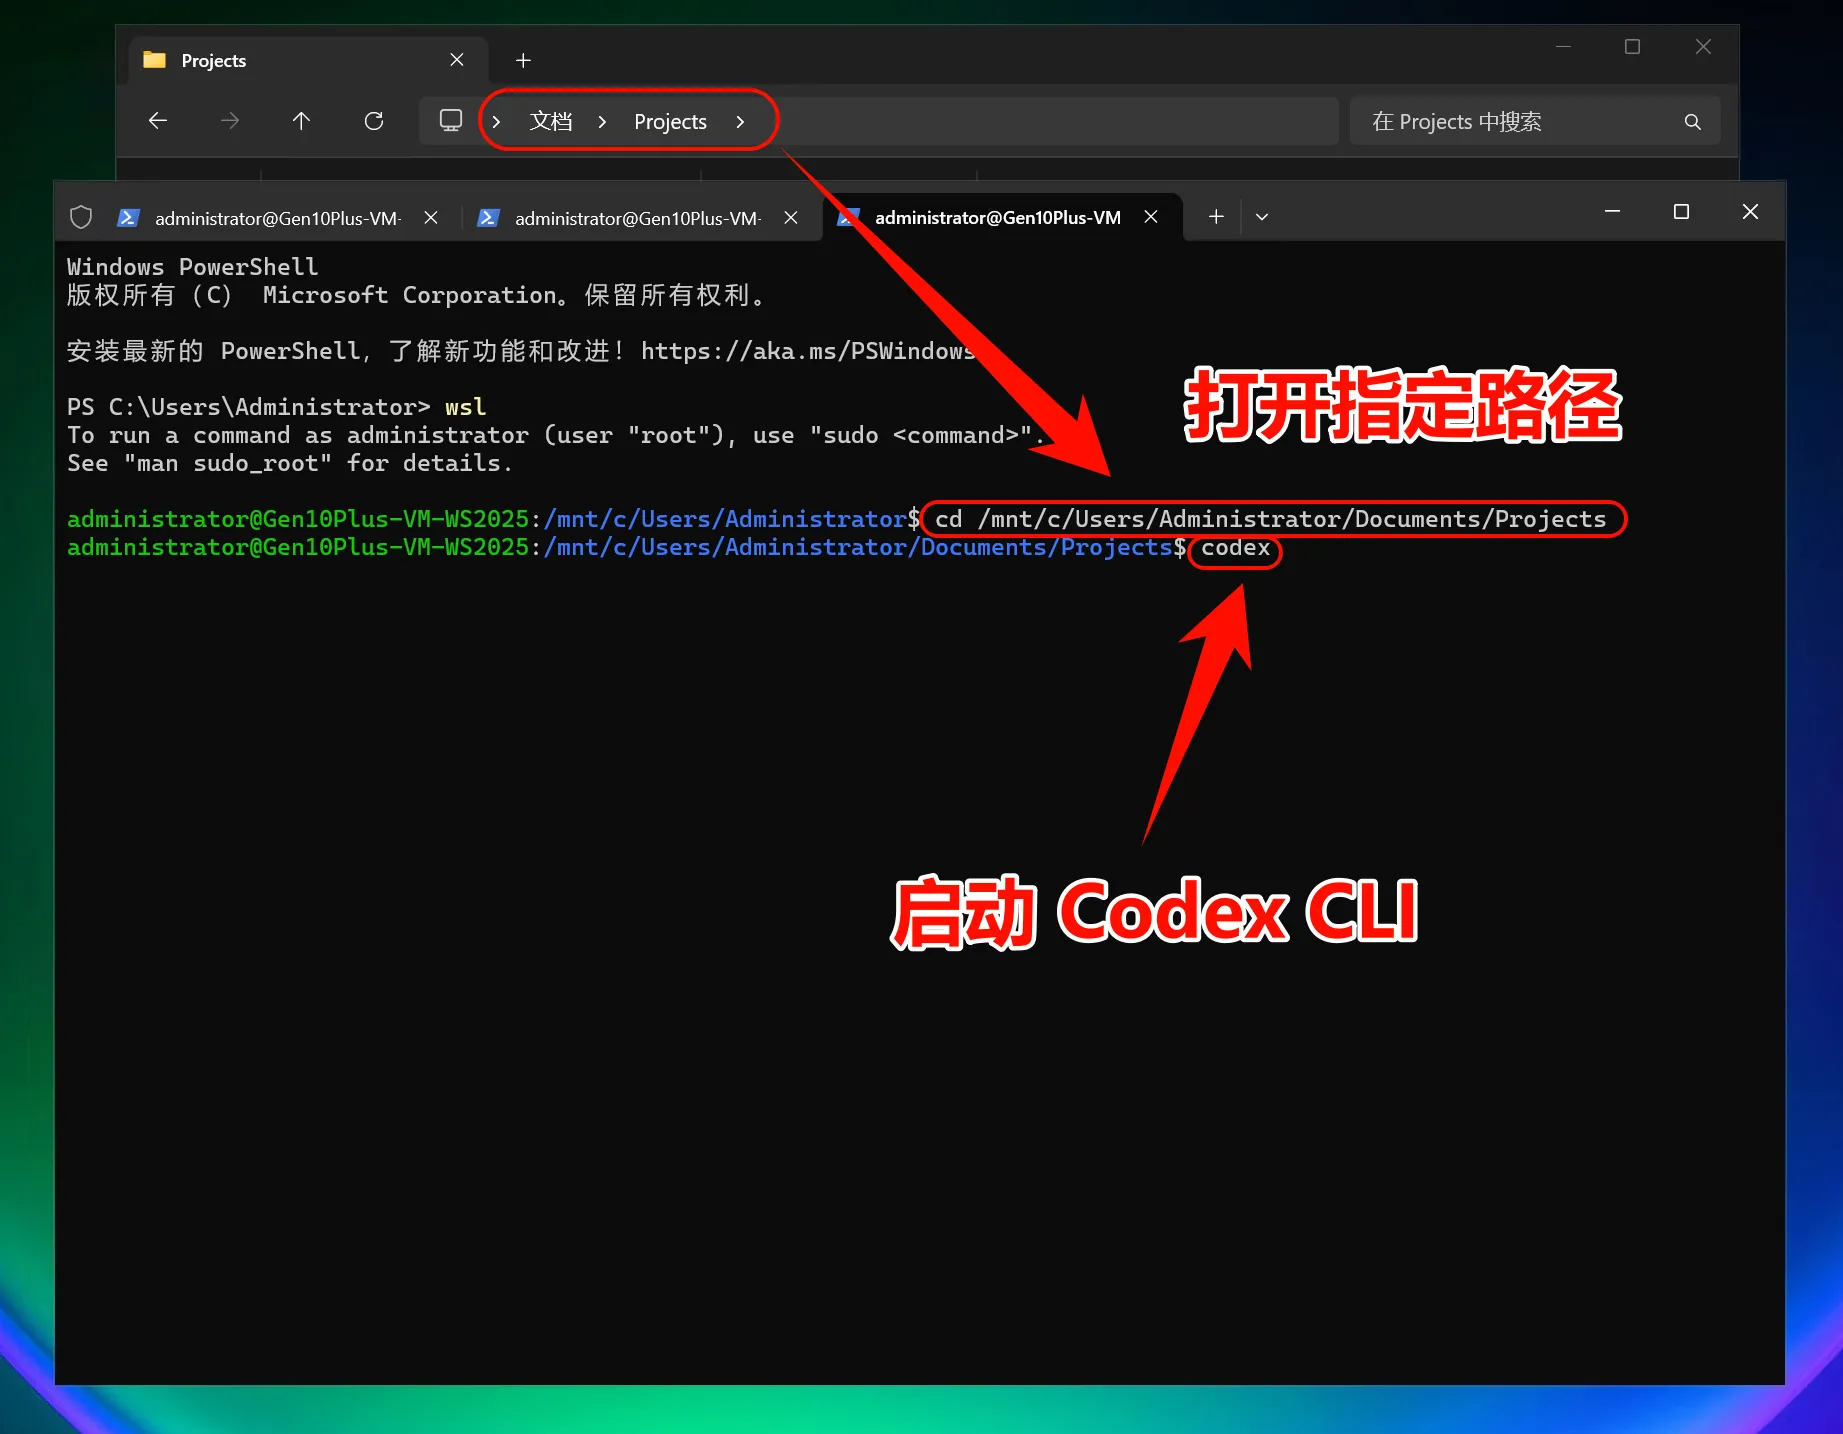
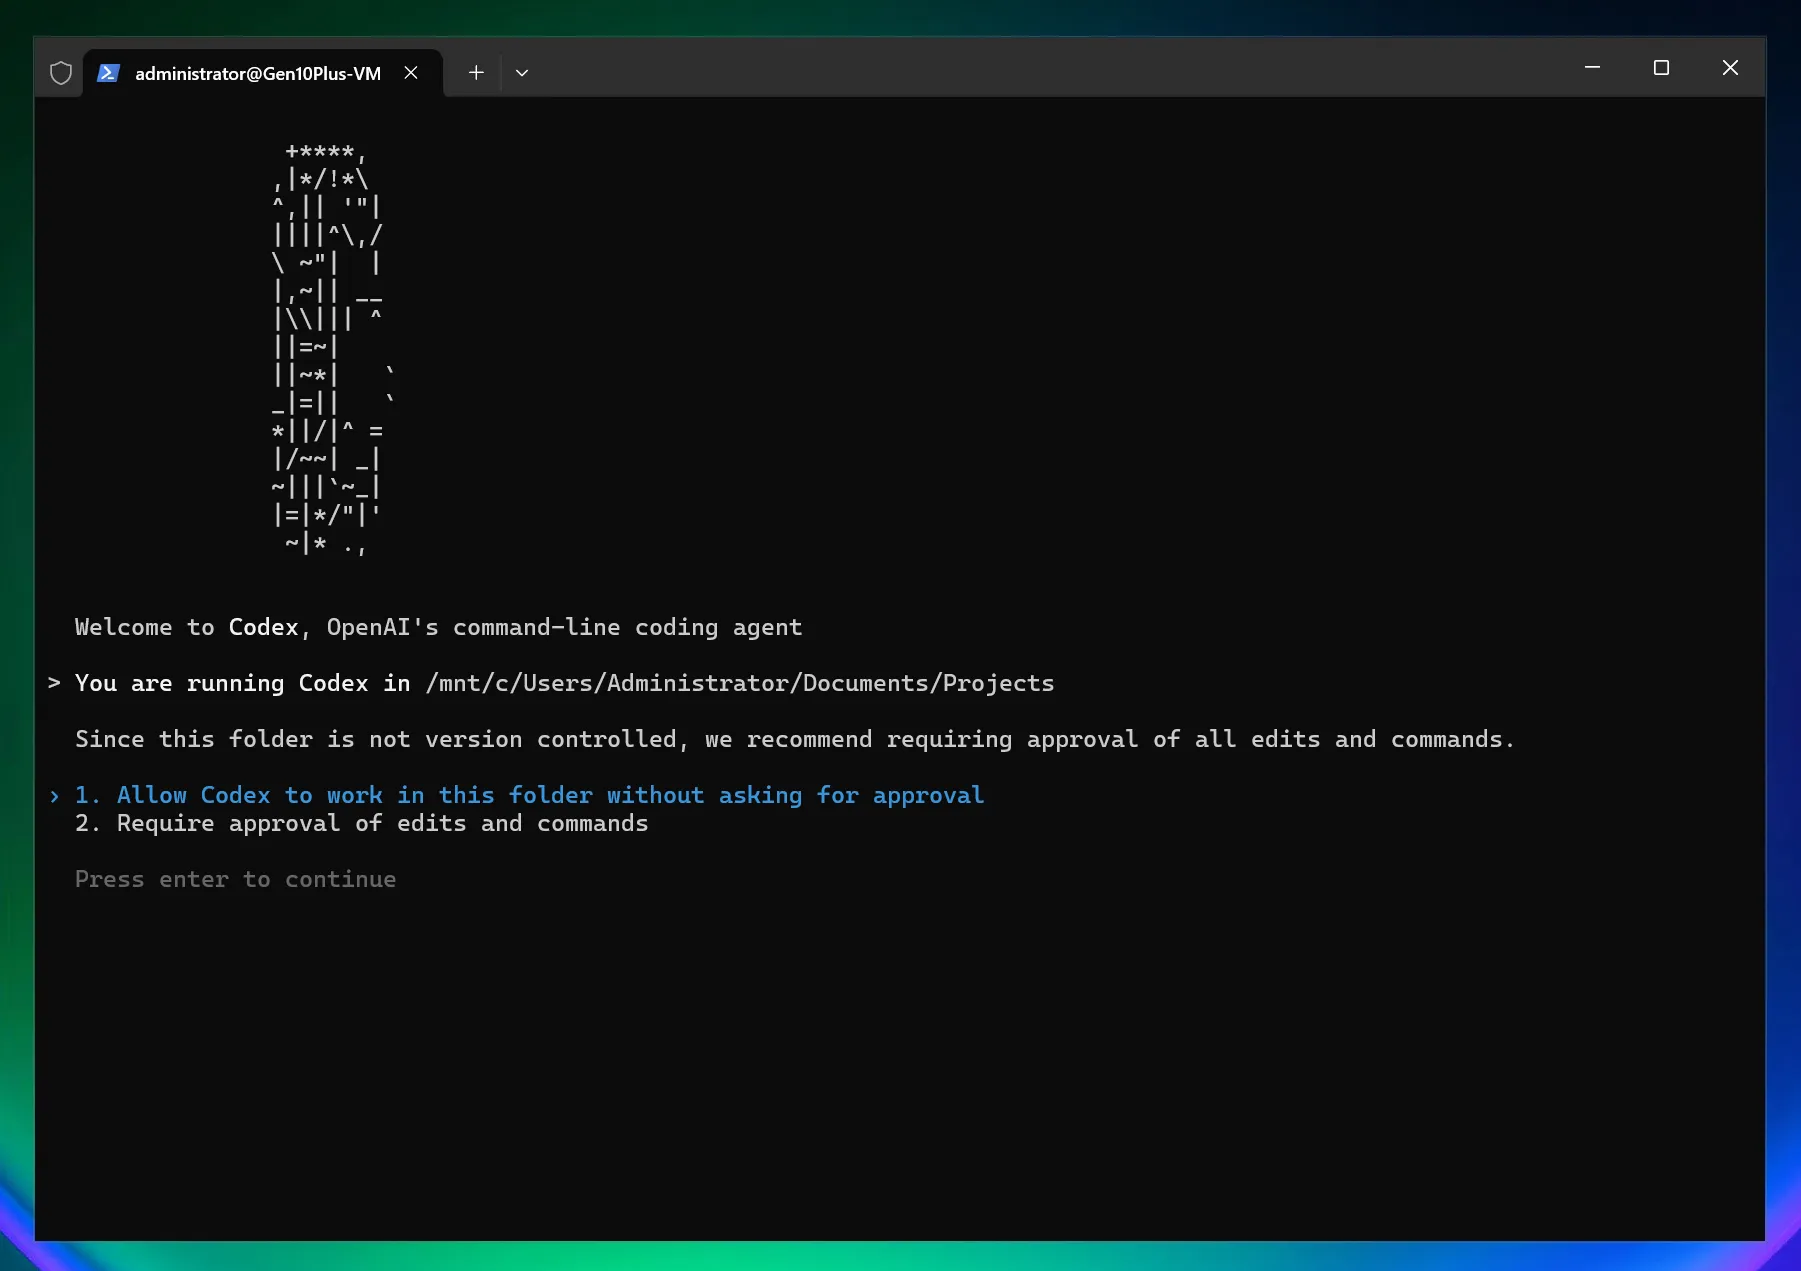
Permission modes are typically:
- Allow Codex to edit directly
- Require manual approval before edits
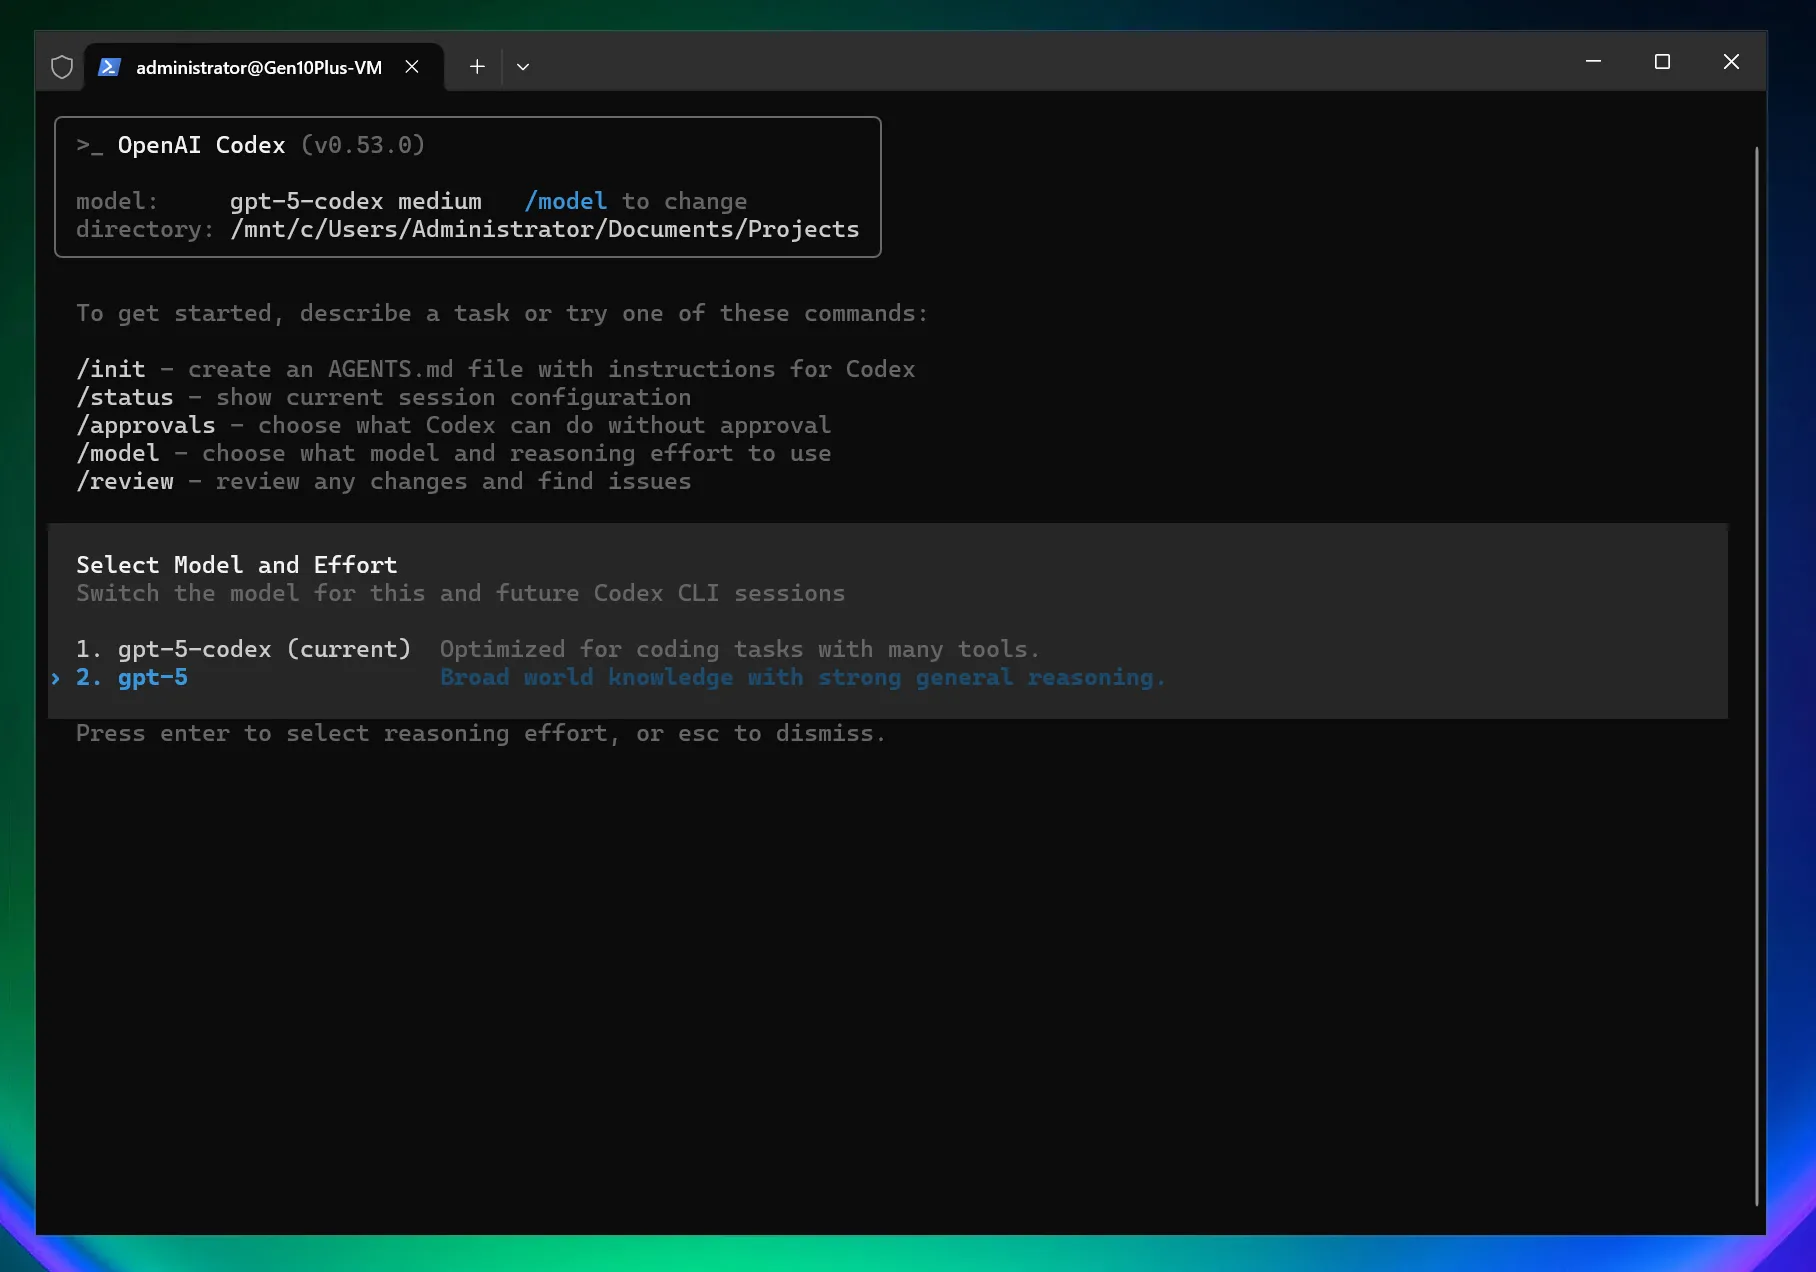
To select a model:
/model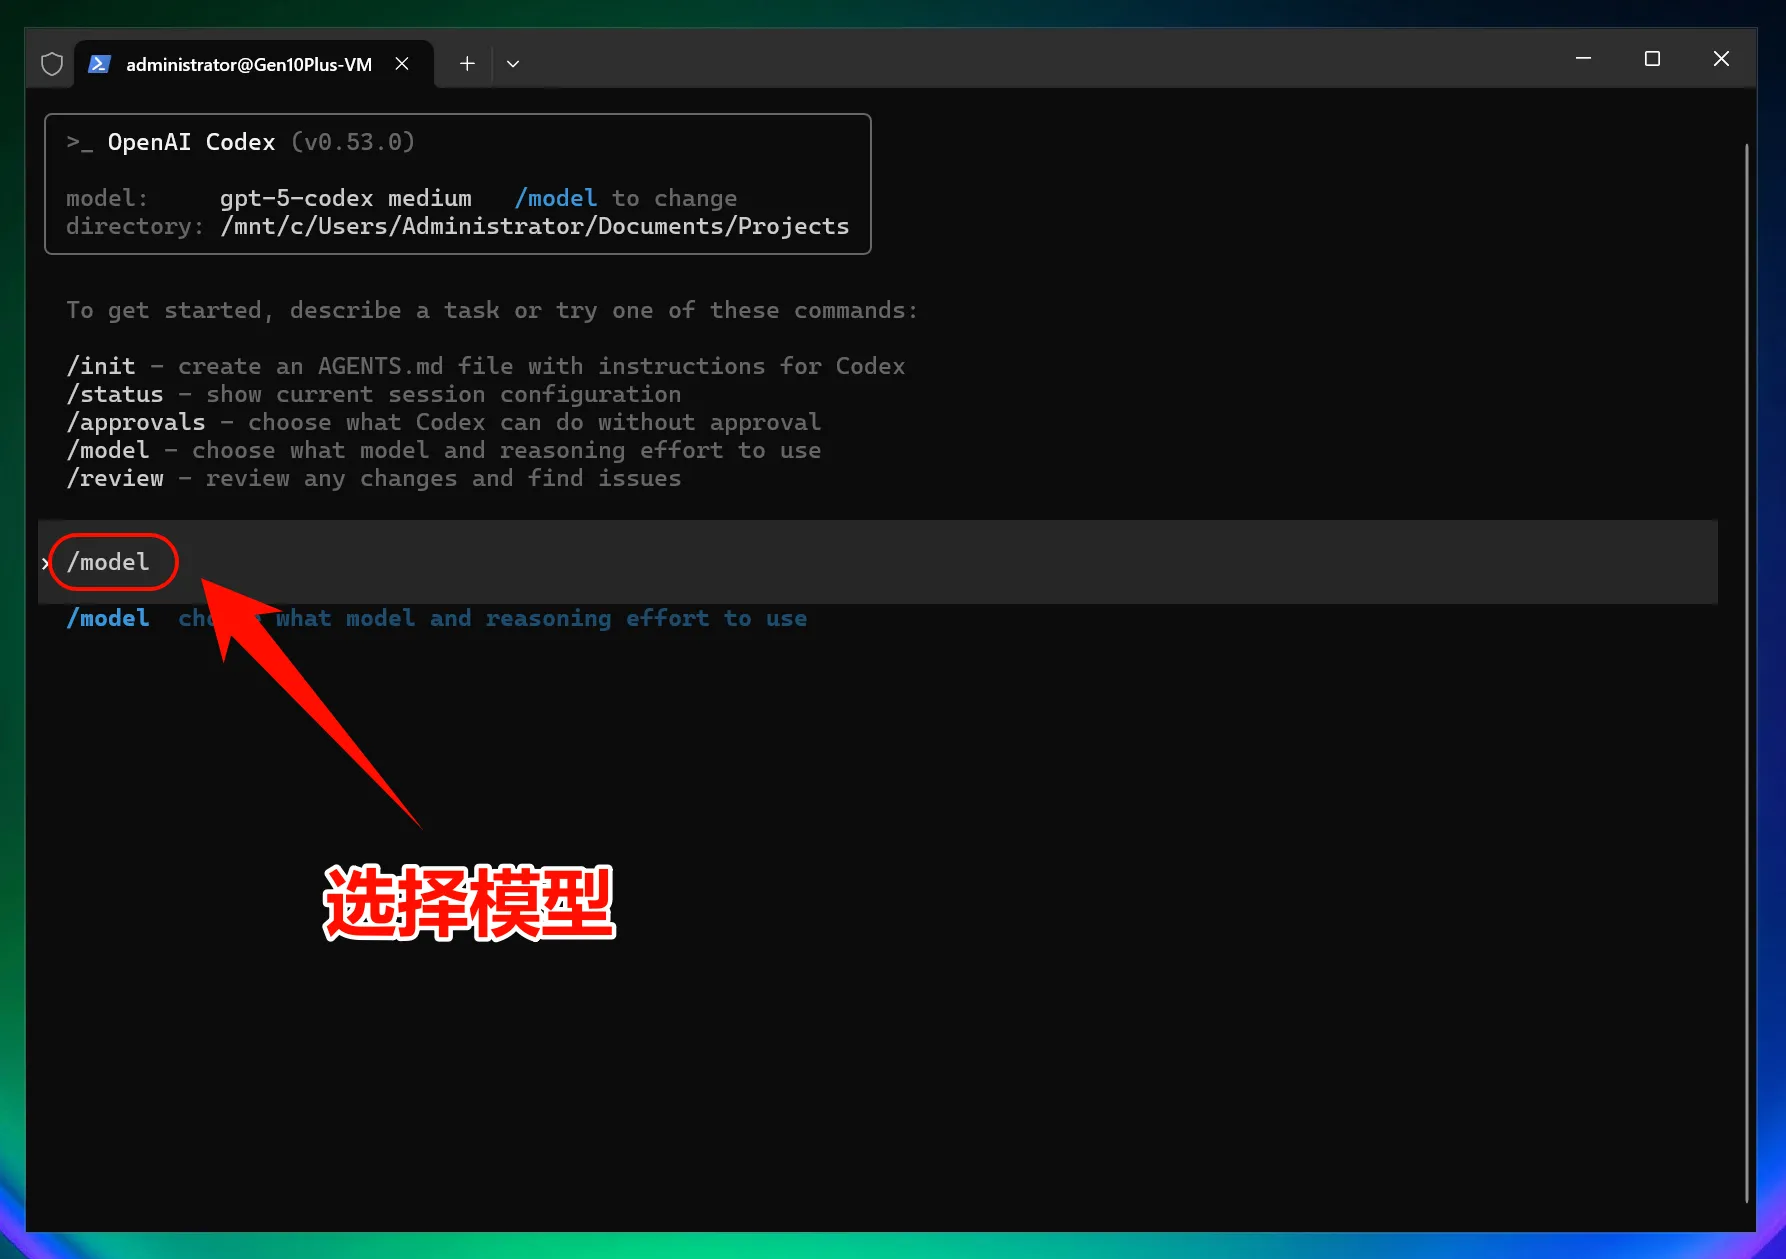
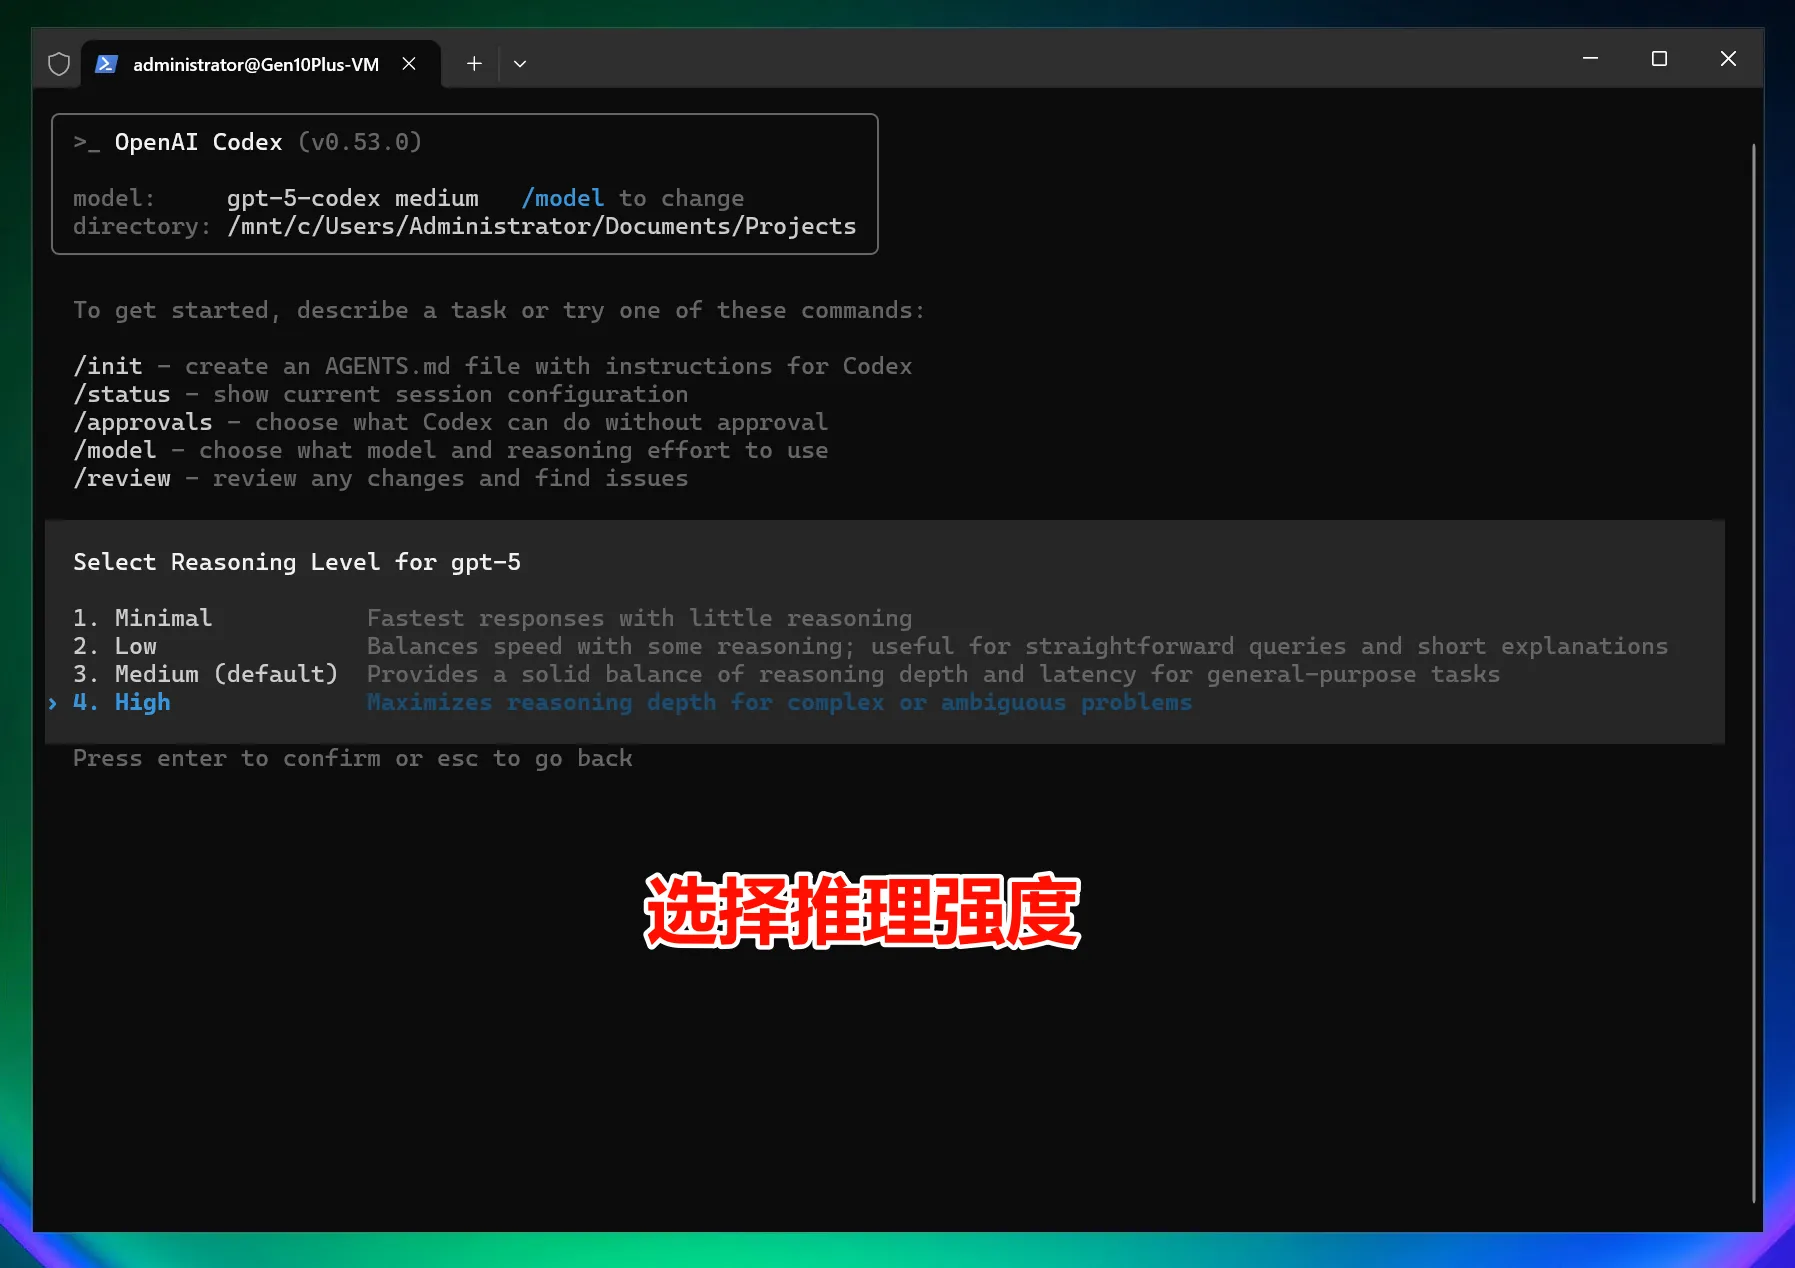
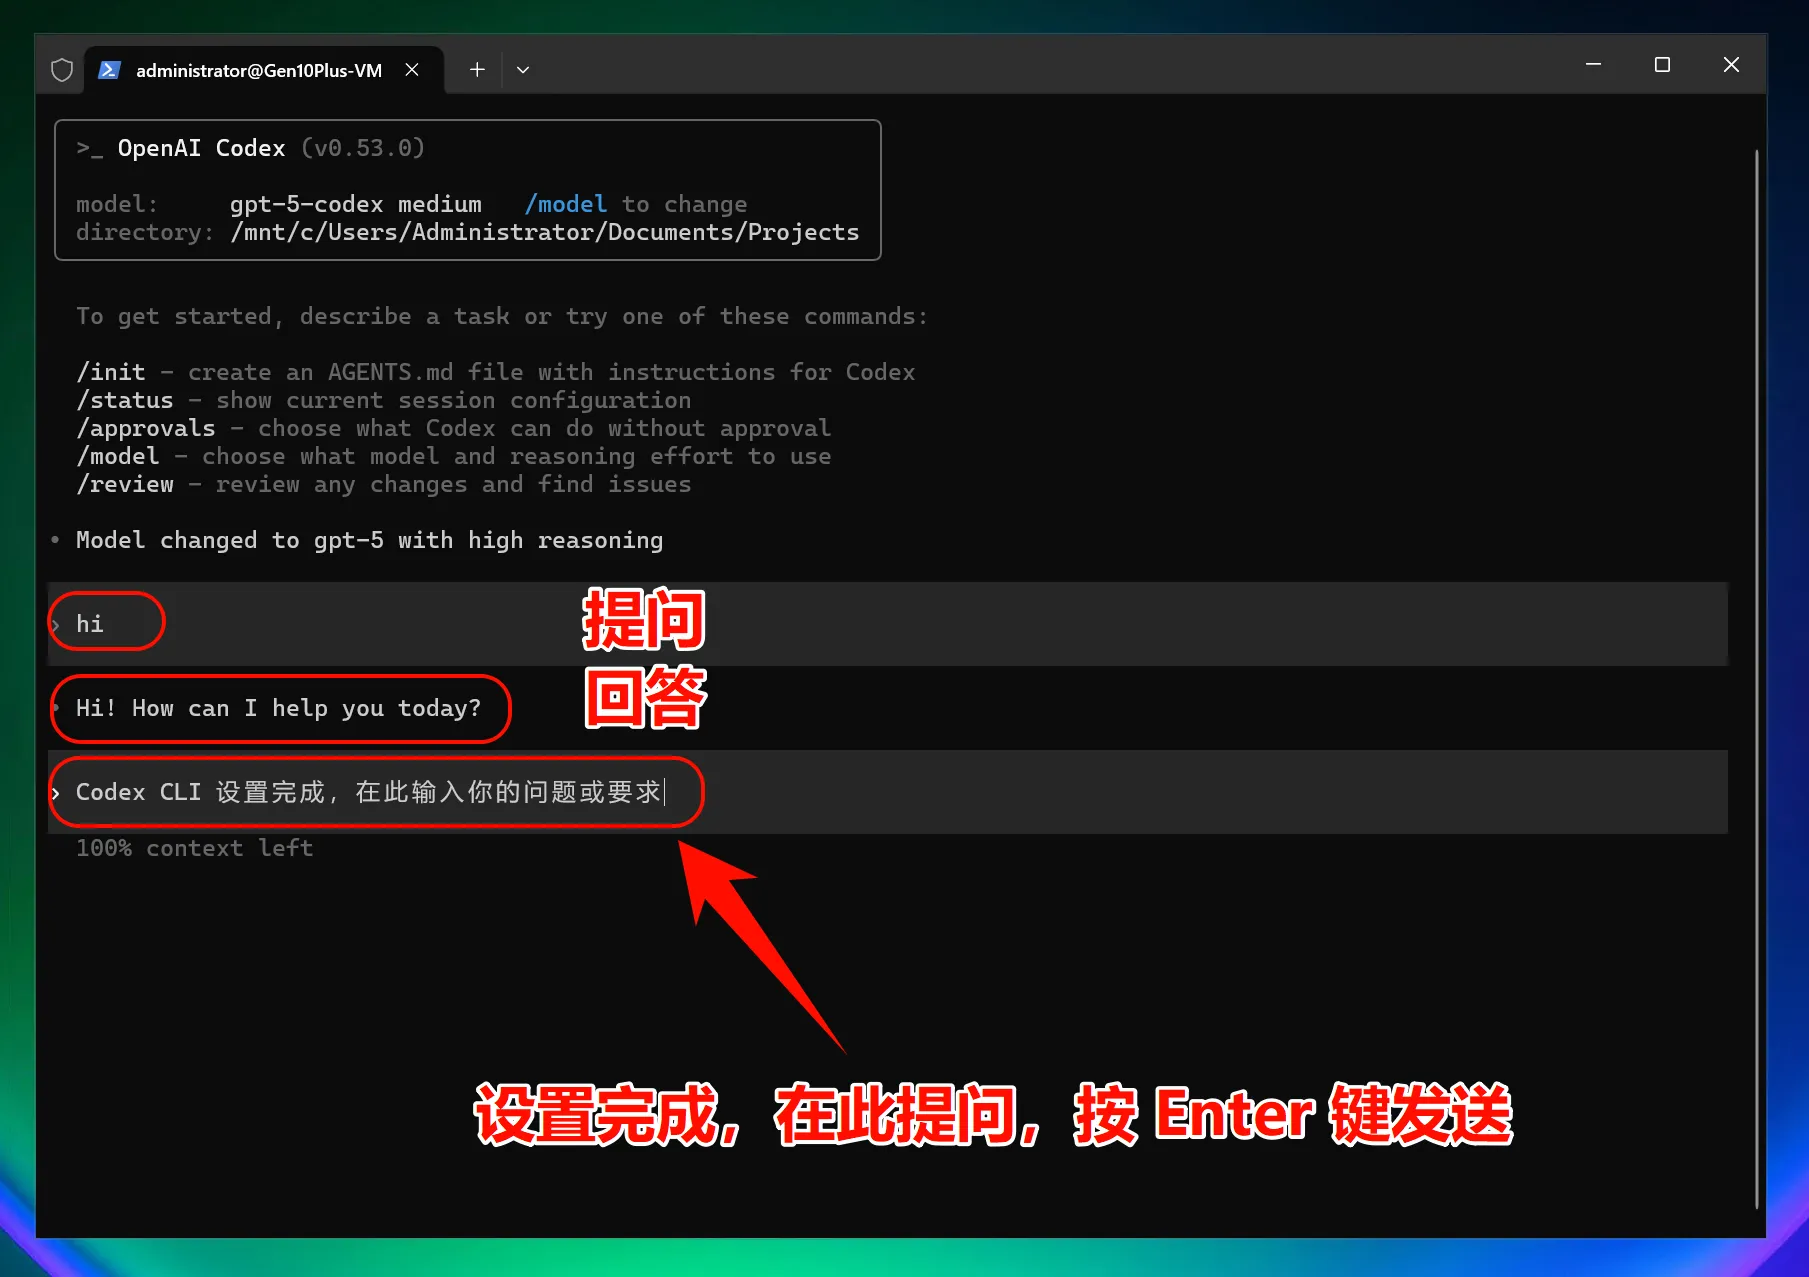
After changing the API address, all models use the custom endpoint instead of OpenAI account quota.
macOS guide
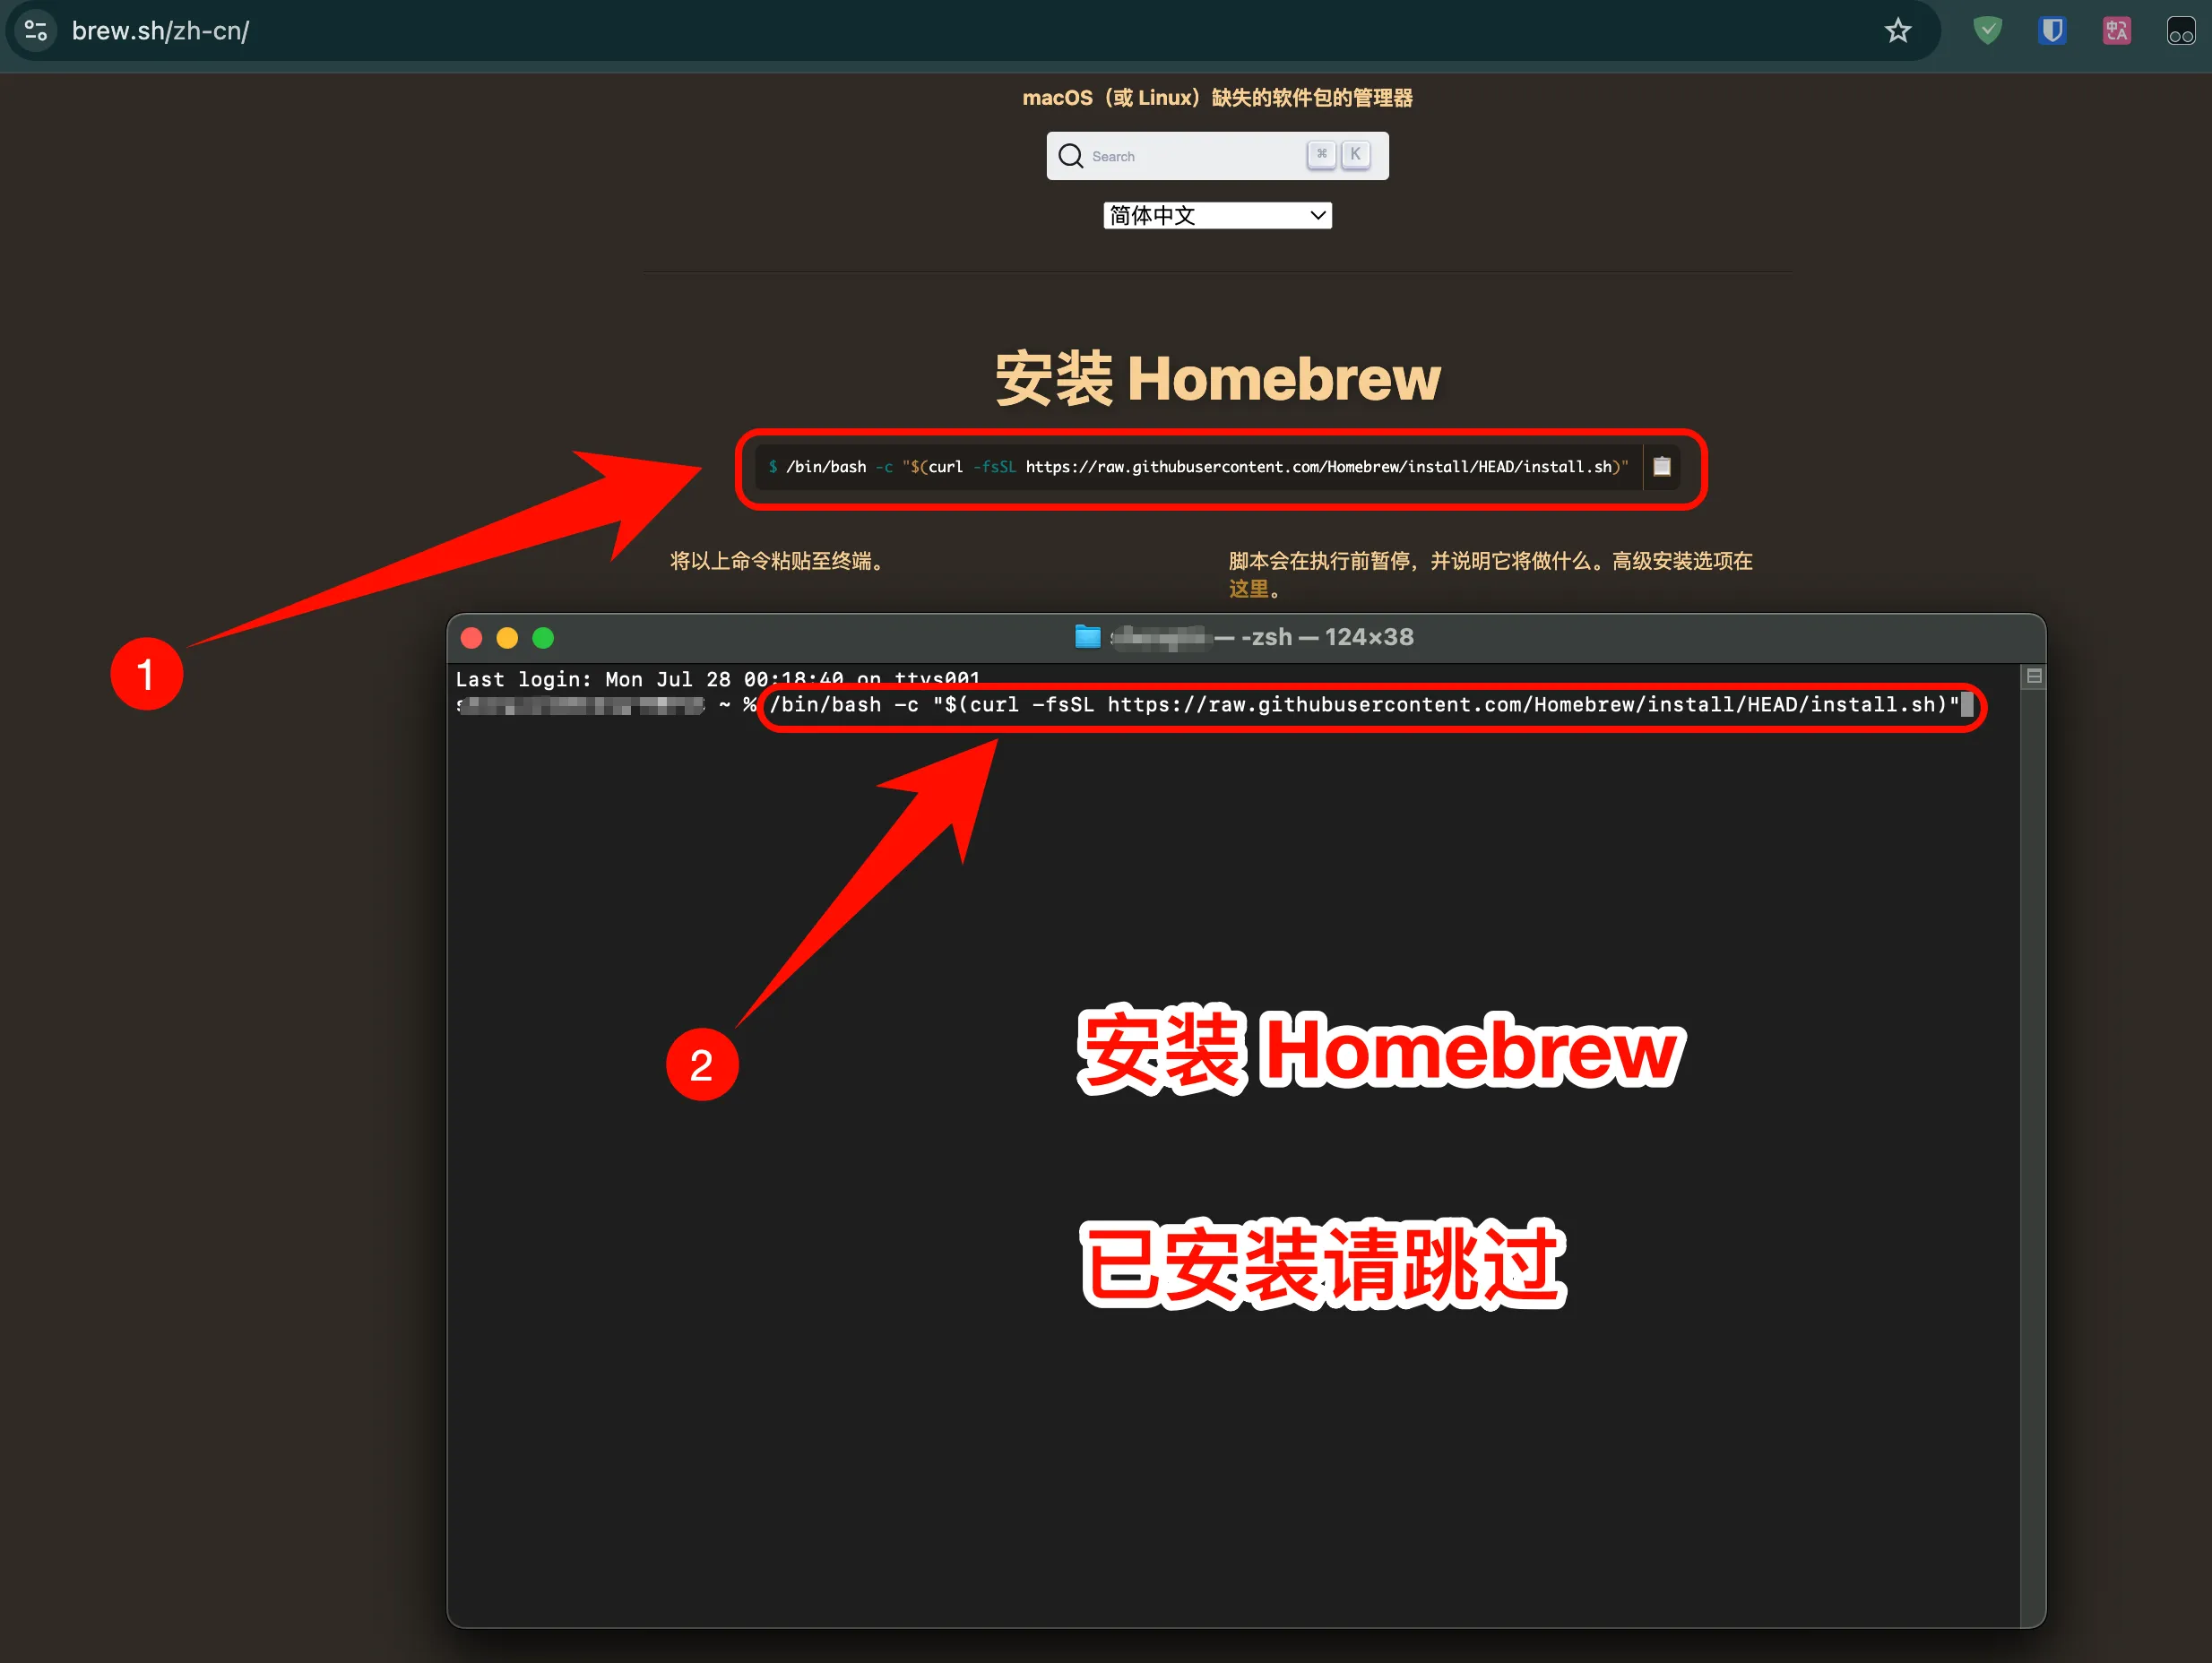
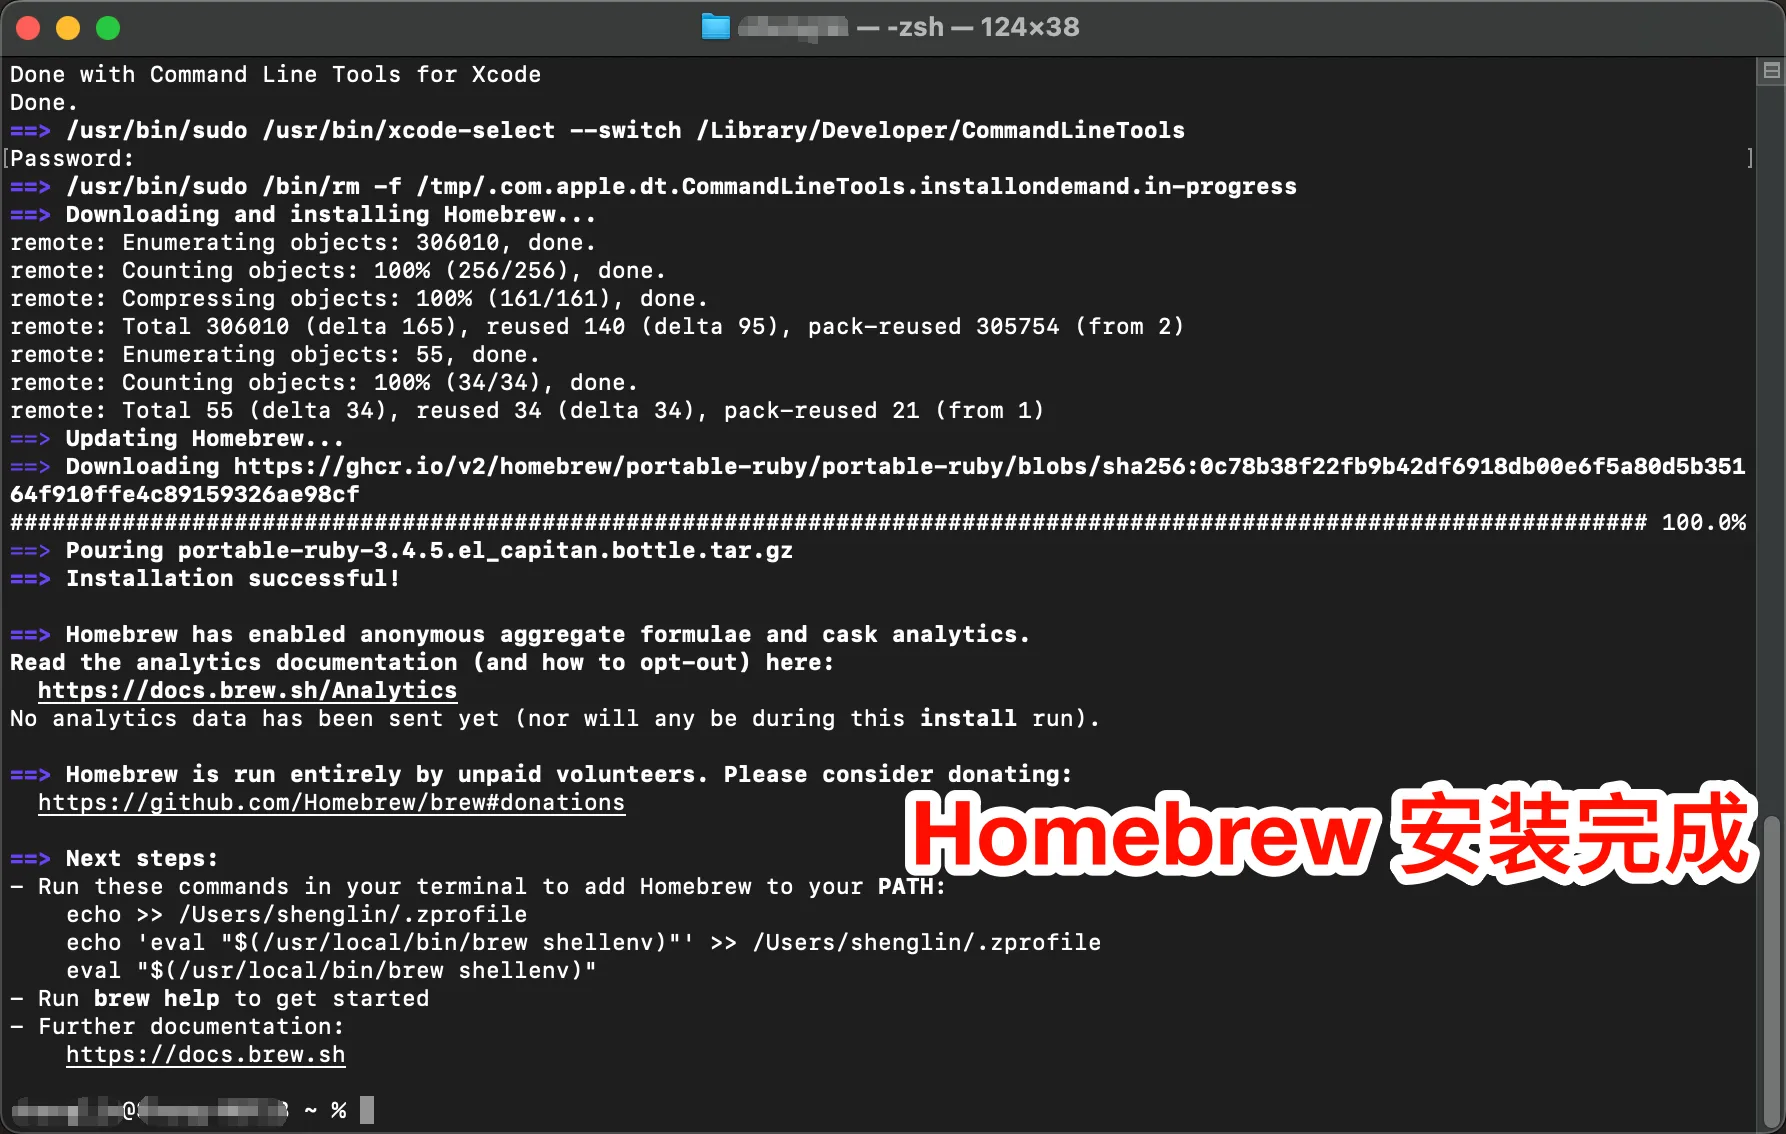
1. Install Homebrew if needed
Official site: https://brew.sh
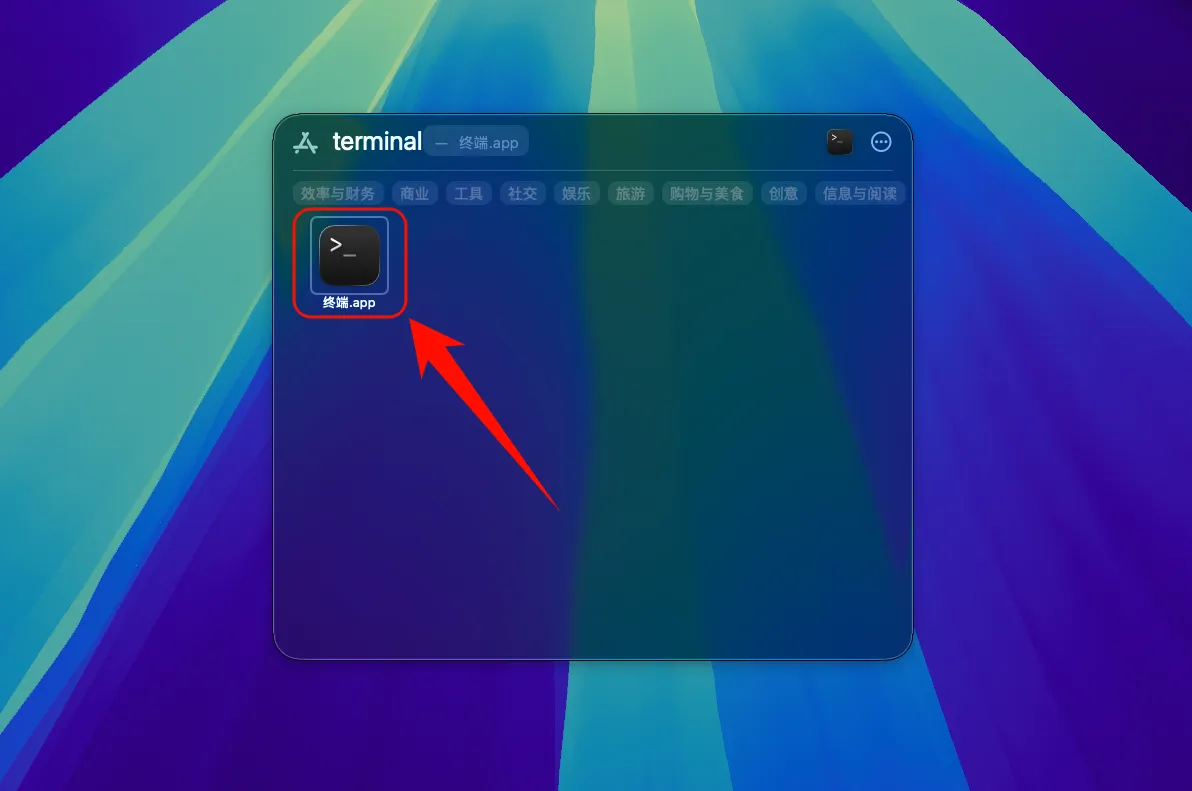
/bin/bash -c "$(curl -fsSL https://raw.githubusercontent.com/Homebrew/install/HEAD/install.sh)"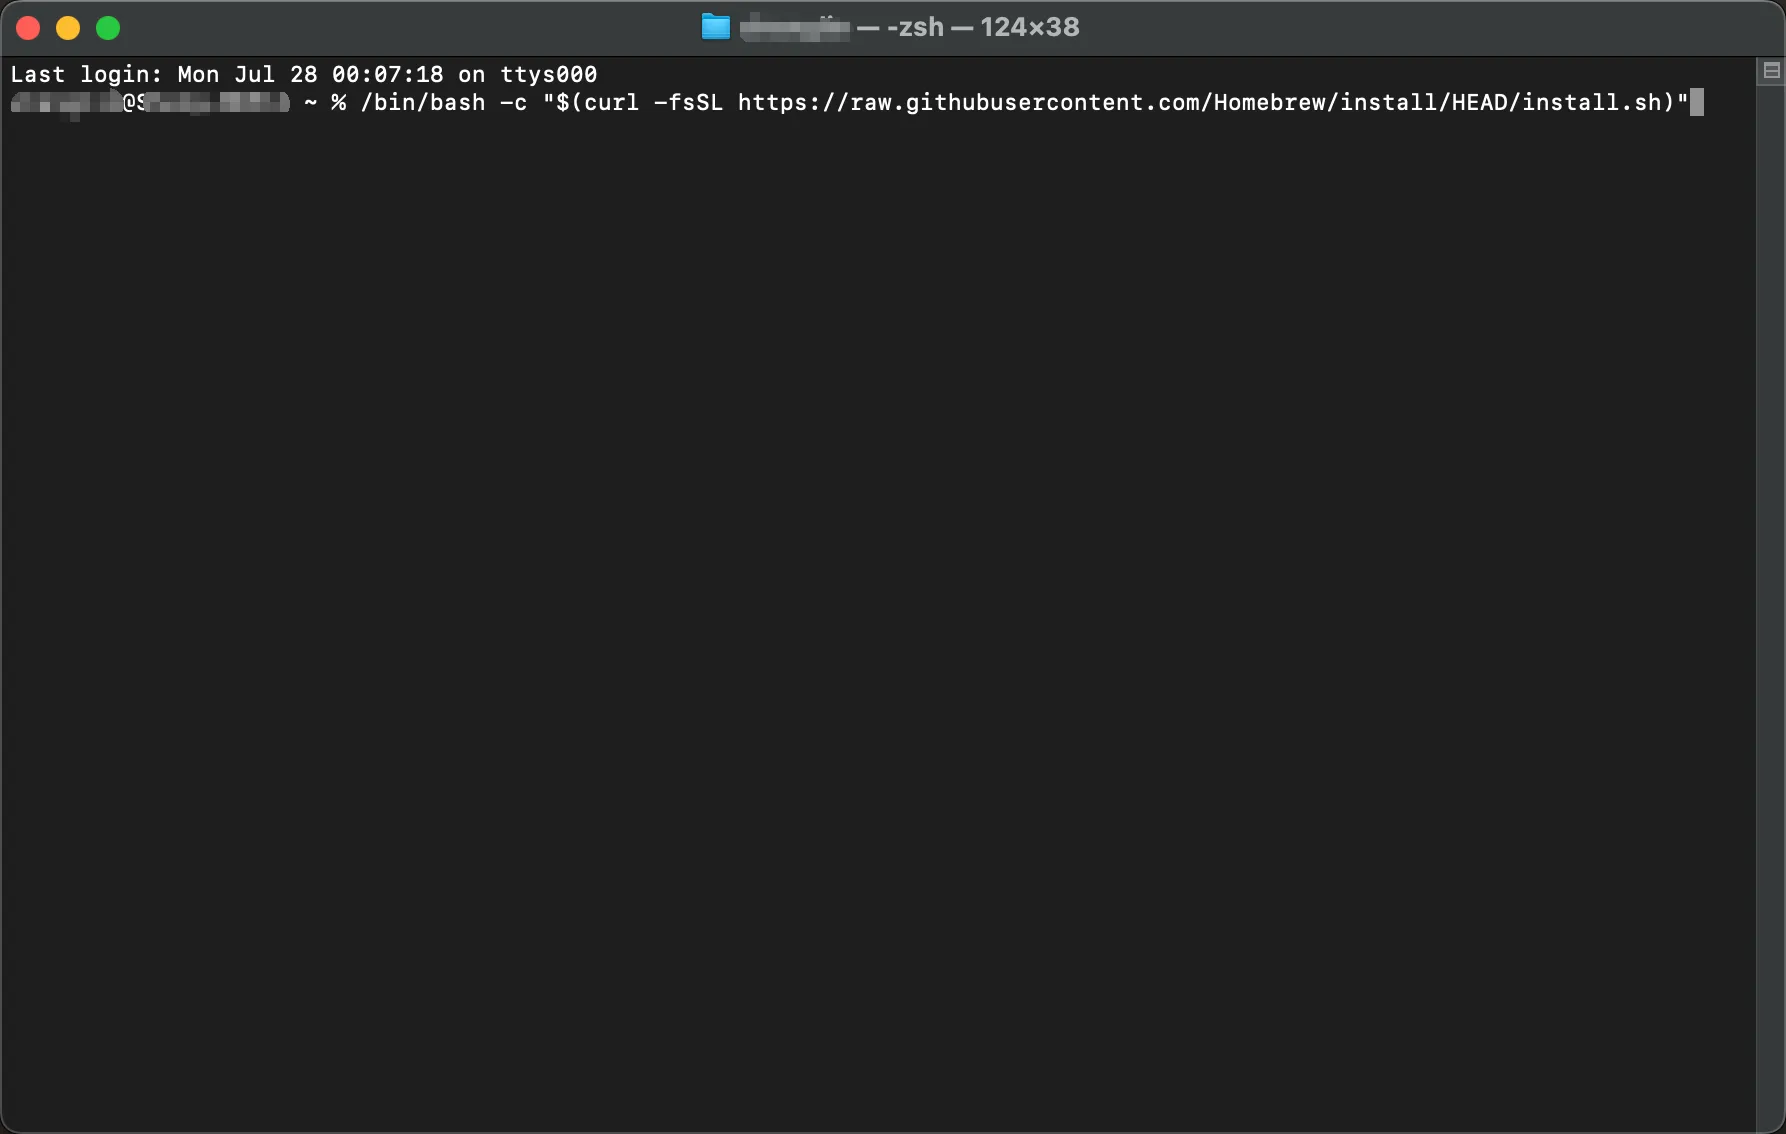
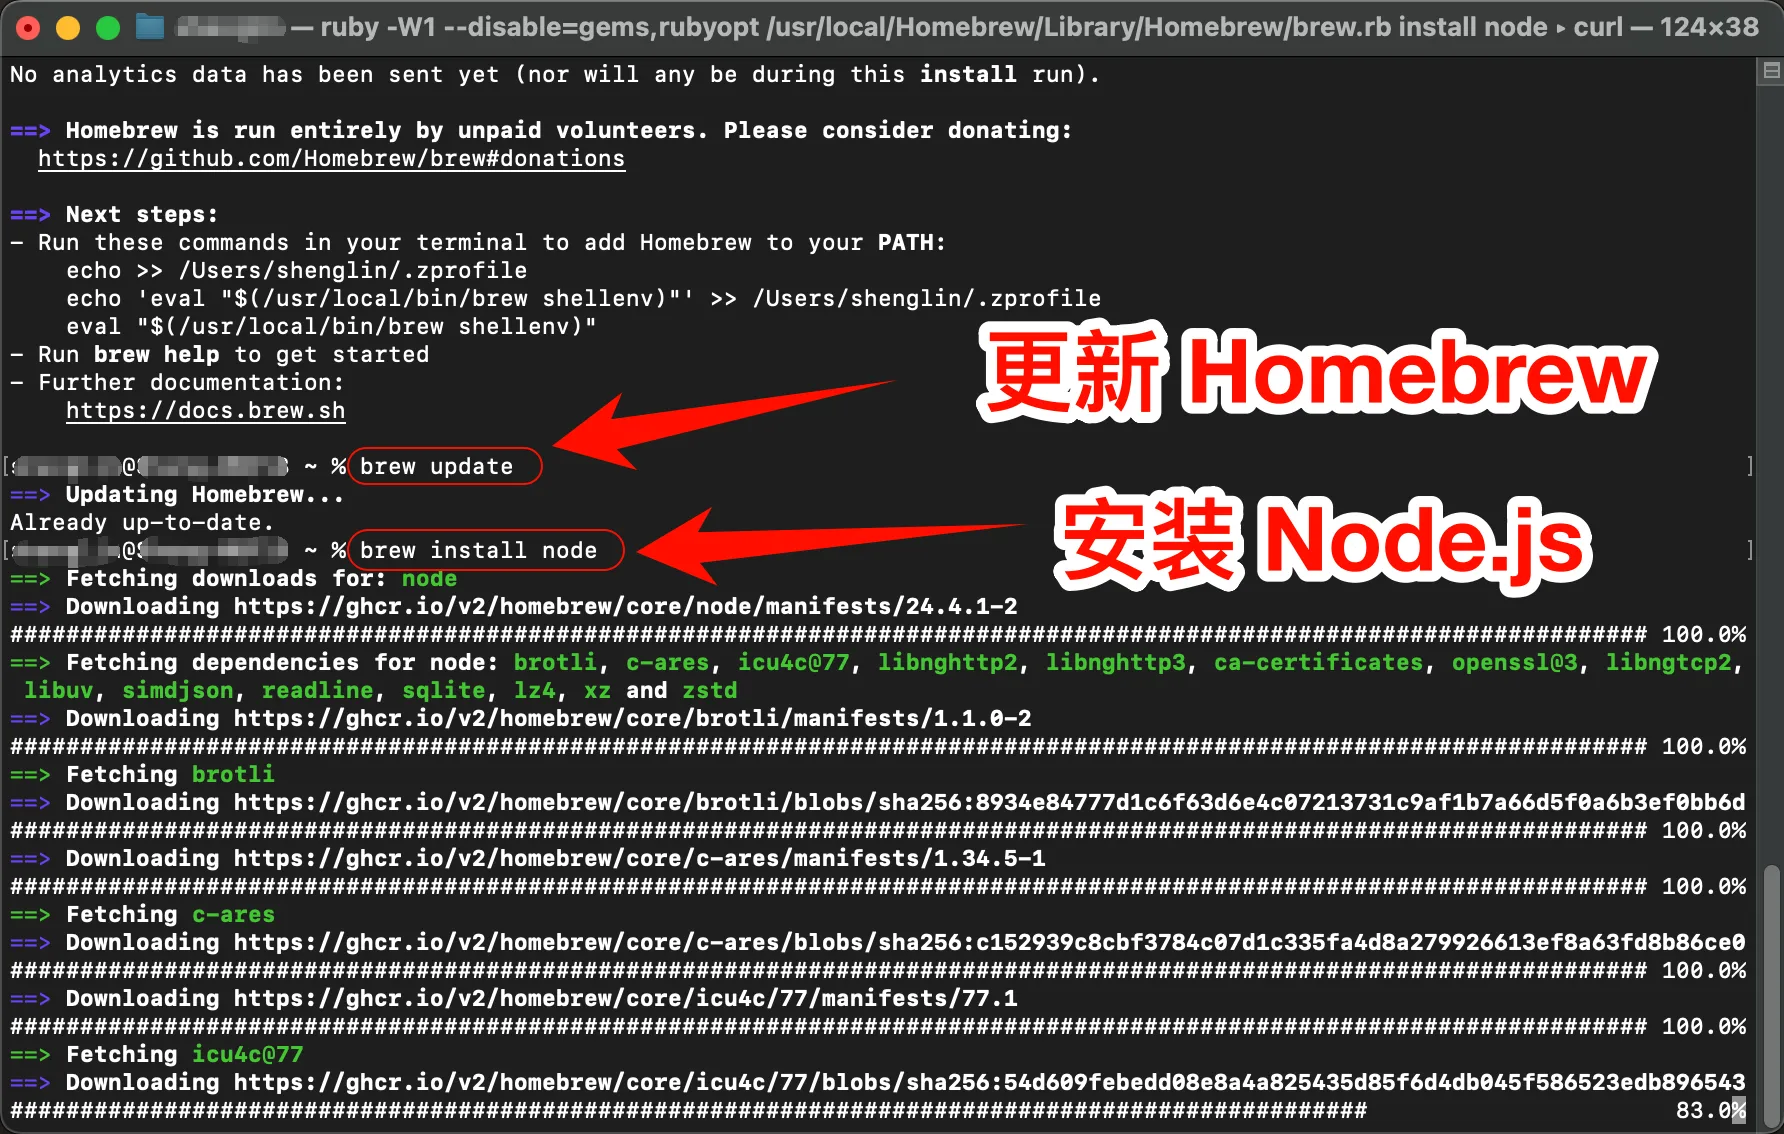
2. Install Node.js
brew update
brew install node
macOS notes
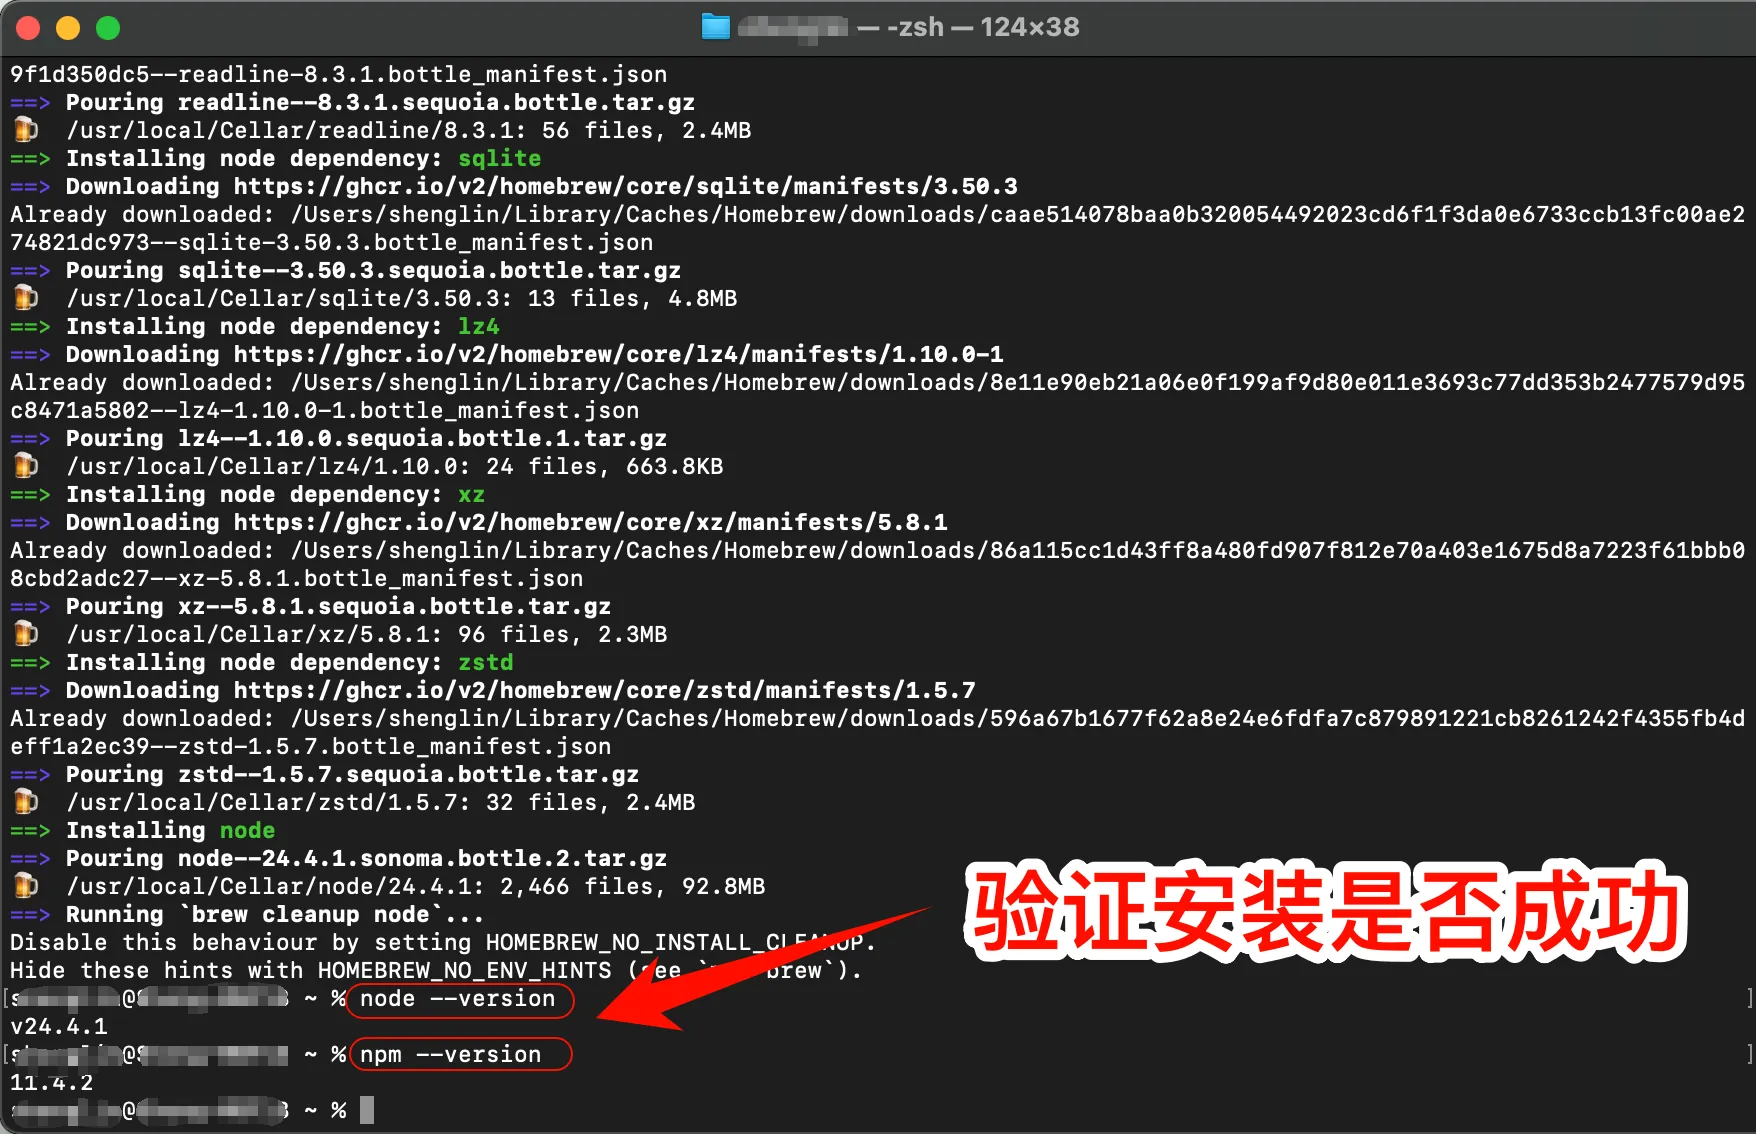
Verify:
node --version
npm --version
3. Install Codex CLI
npm install -g @openai/codexIf needed:
sudo npm install -g @openai/codex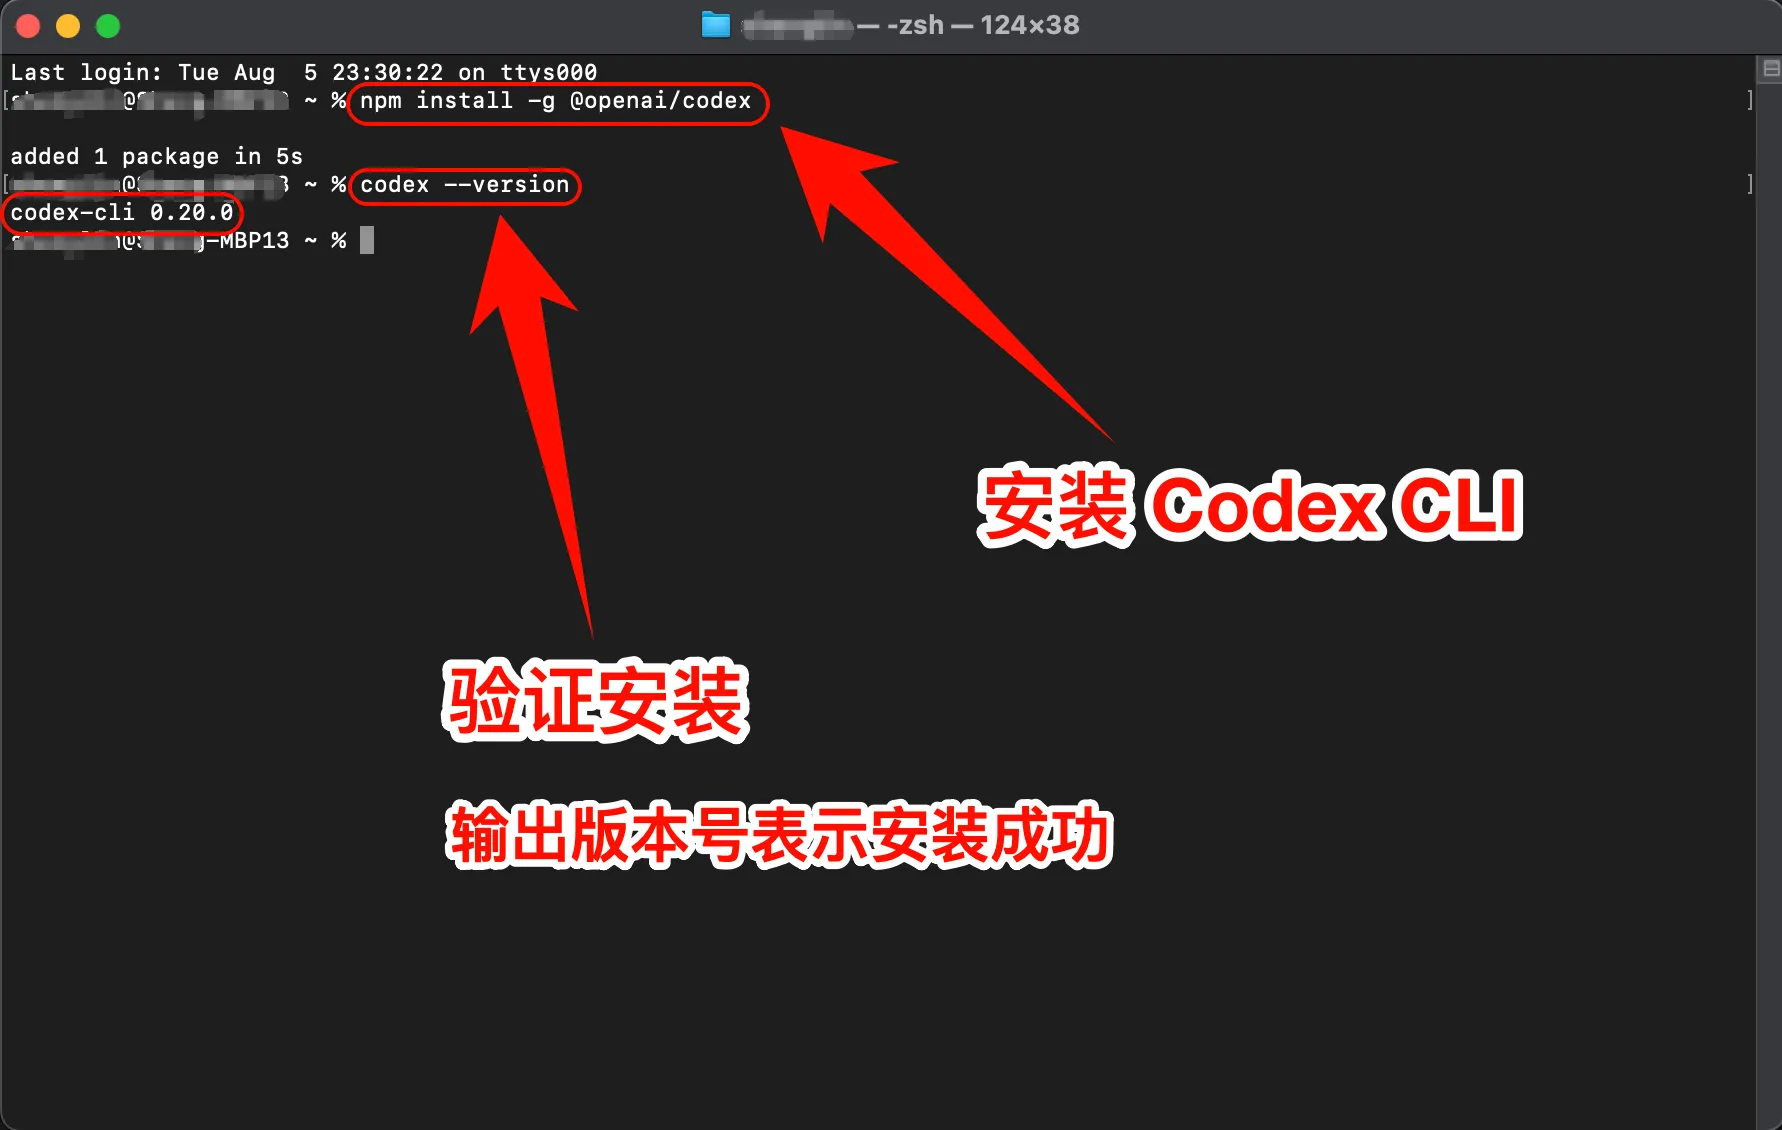
Verify:
codex --version4. Configure the CLI
curl -fsSL https://raw.githubusercontent.com/QuantumNous/new-api-docs/refs/heads/main/helper/codex-cli-setup.sh | bash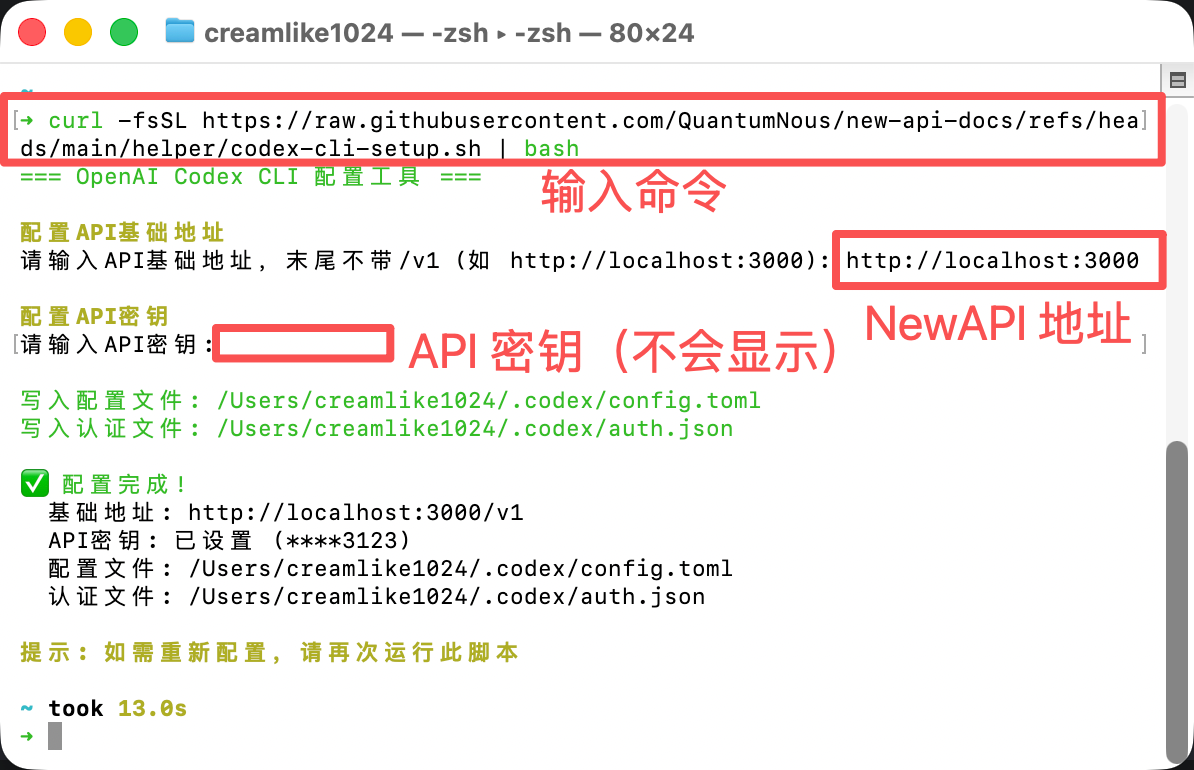
5. Start using Codex CLI
codexOr in a project:
cd /path/to/your/project
codex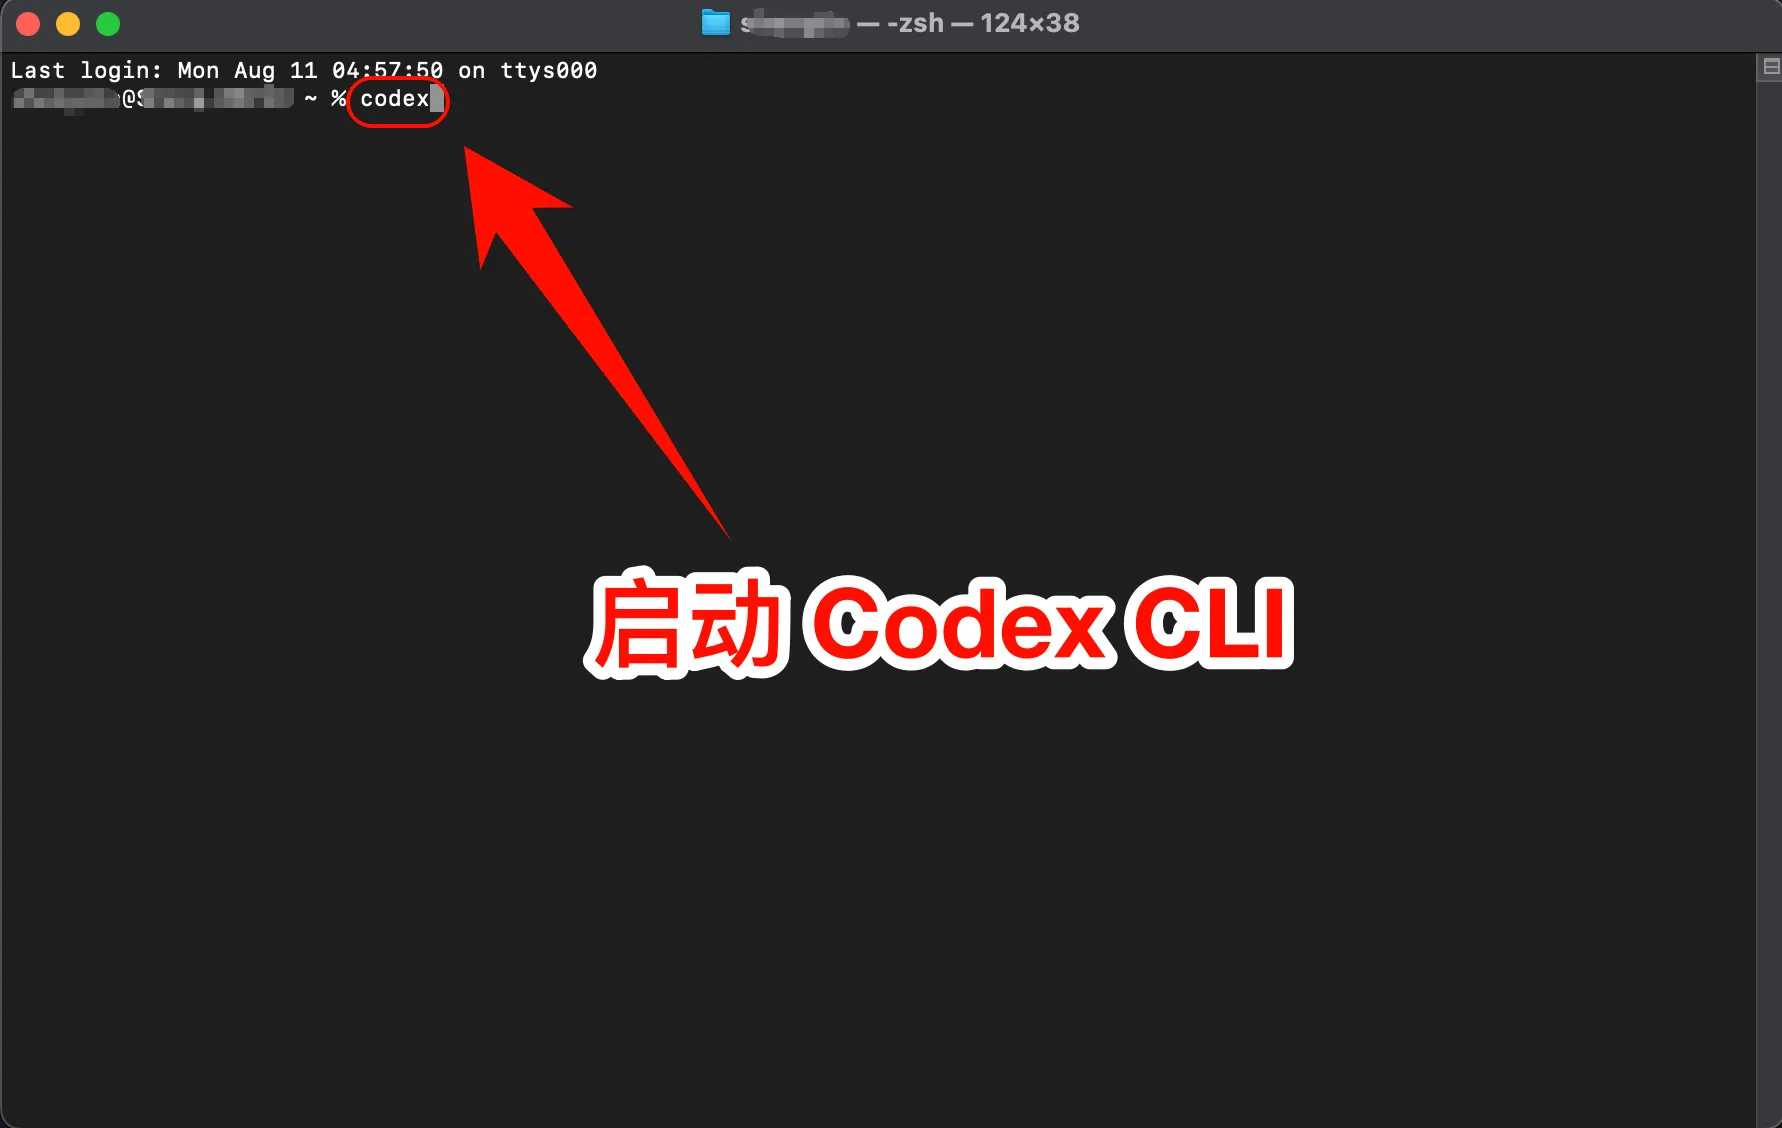
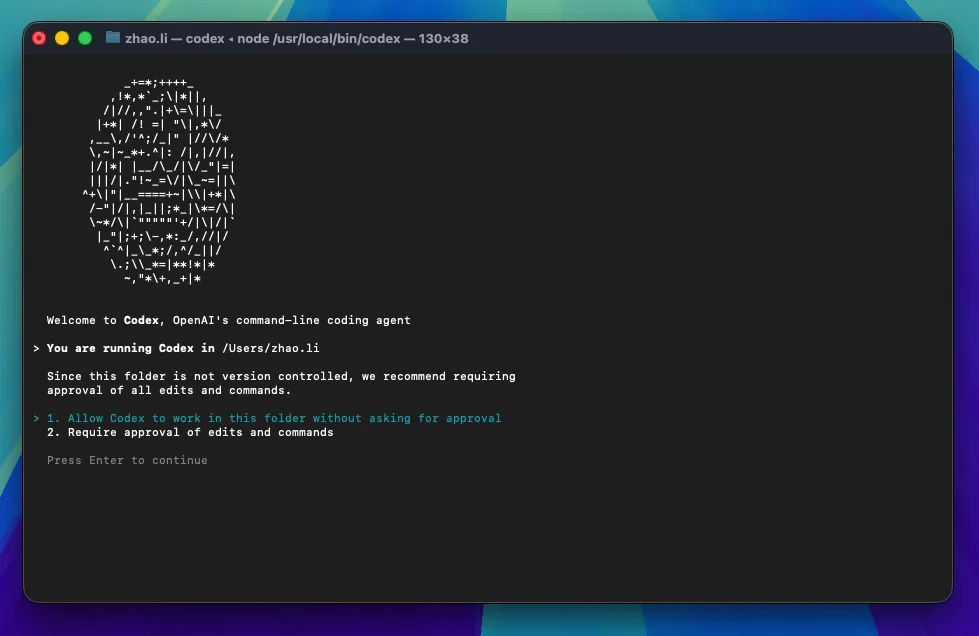
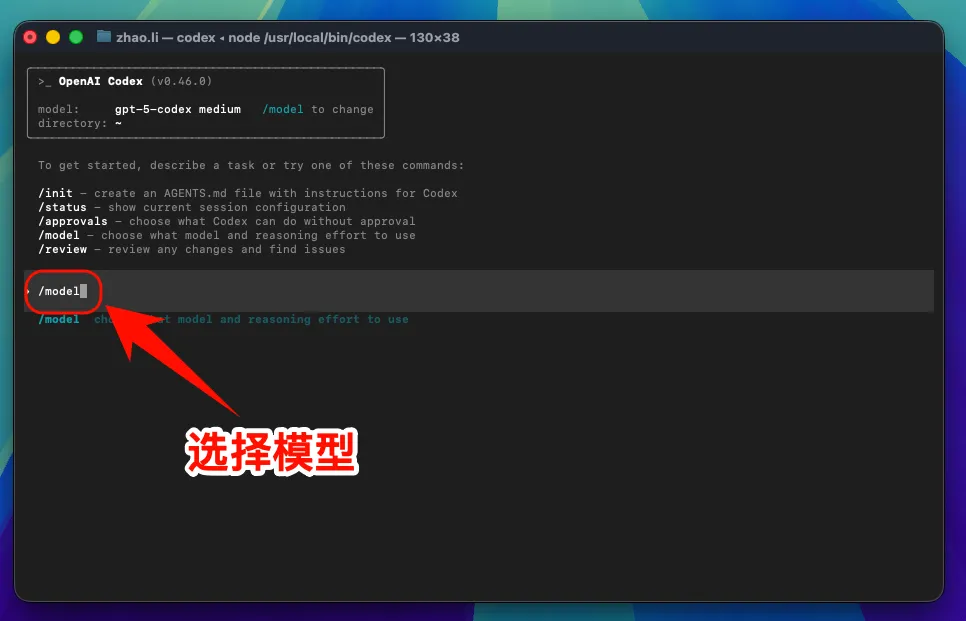
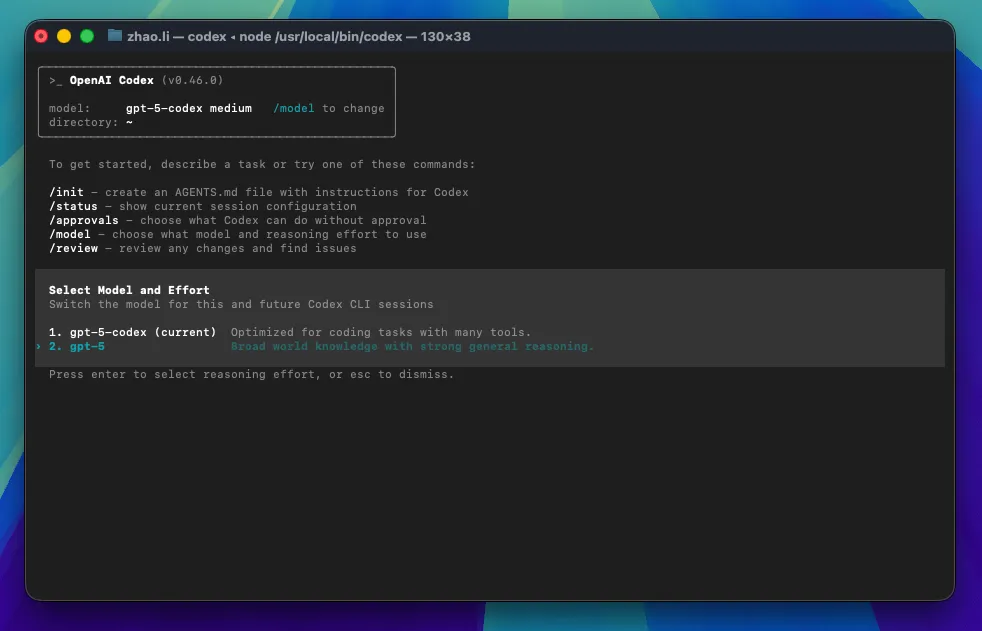
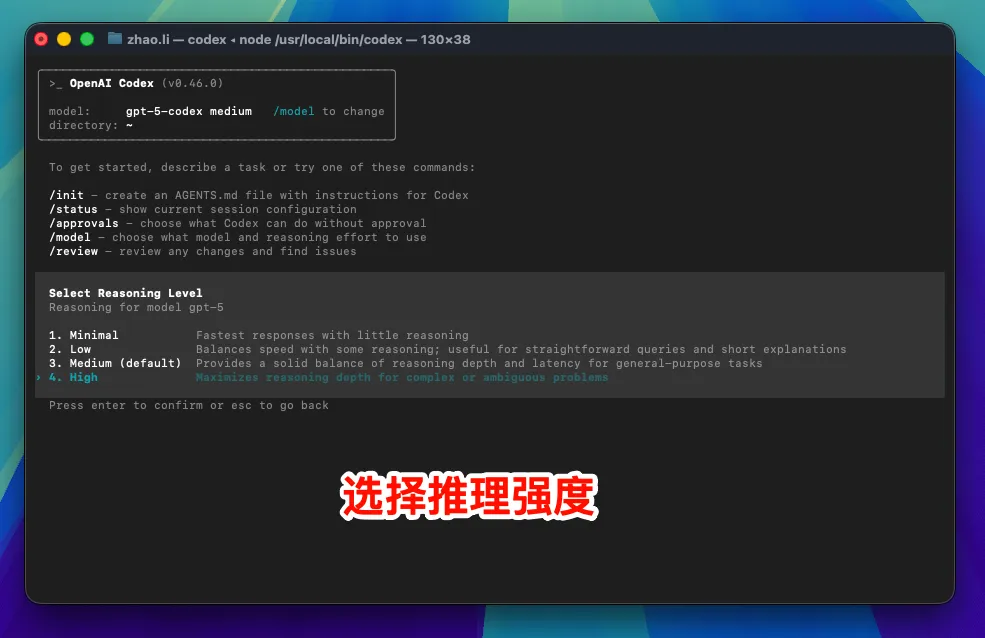
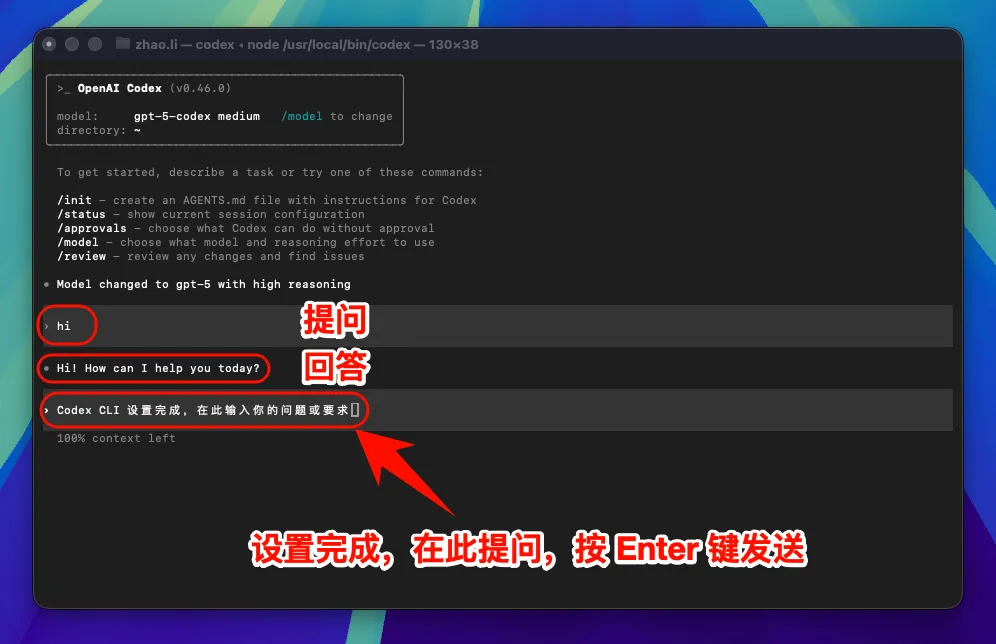
After changing the API address, all models use the custom endpoint instead of OpenAI account quota.
6. macOS common issues
Permission error during installation
sudo npm install -g @openai/codexnpm config set prefix ~/.npm-global
Security settings block execution
sudo spctl --master-disableLinux guide
1. Install Node.js
sudo curl -fsSL https://deb.nodesource.com/setup_lts.x | sudo -E bash -
sudo apt-get install -y nodejs
Linux notes
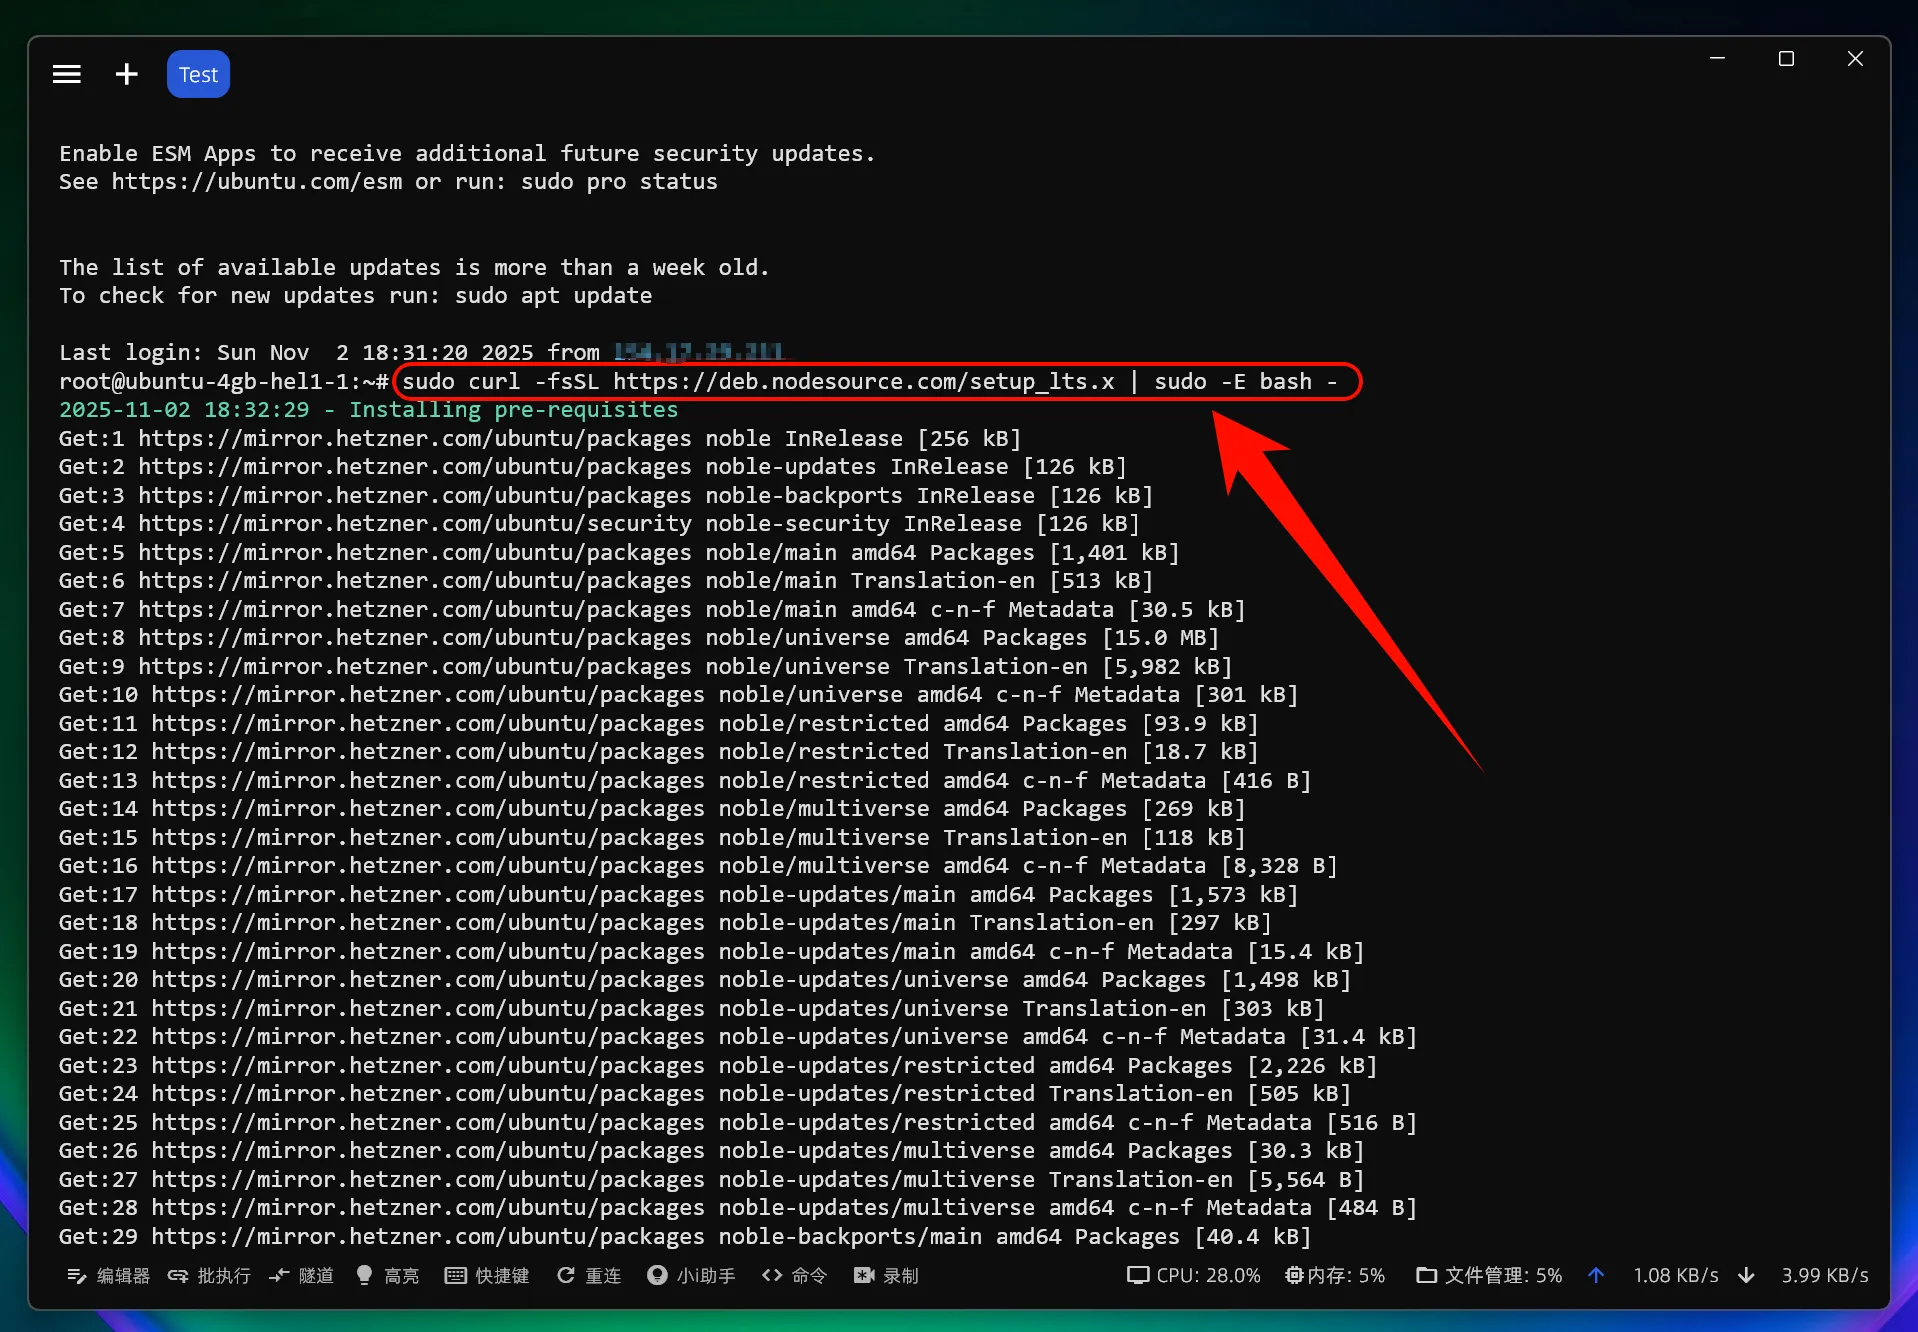
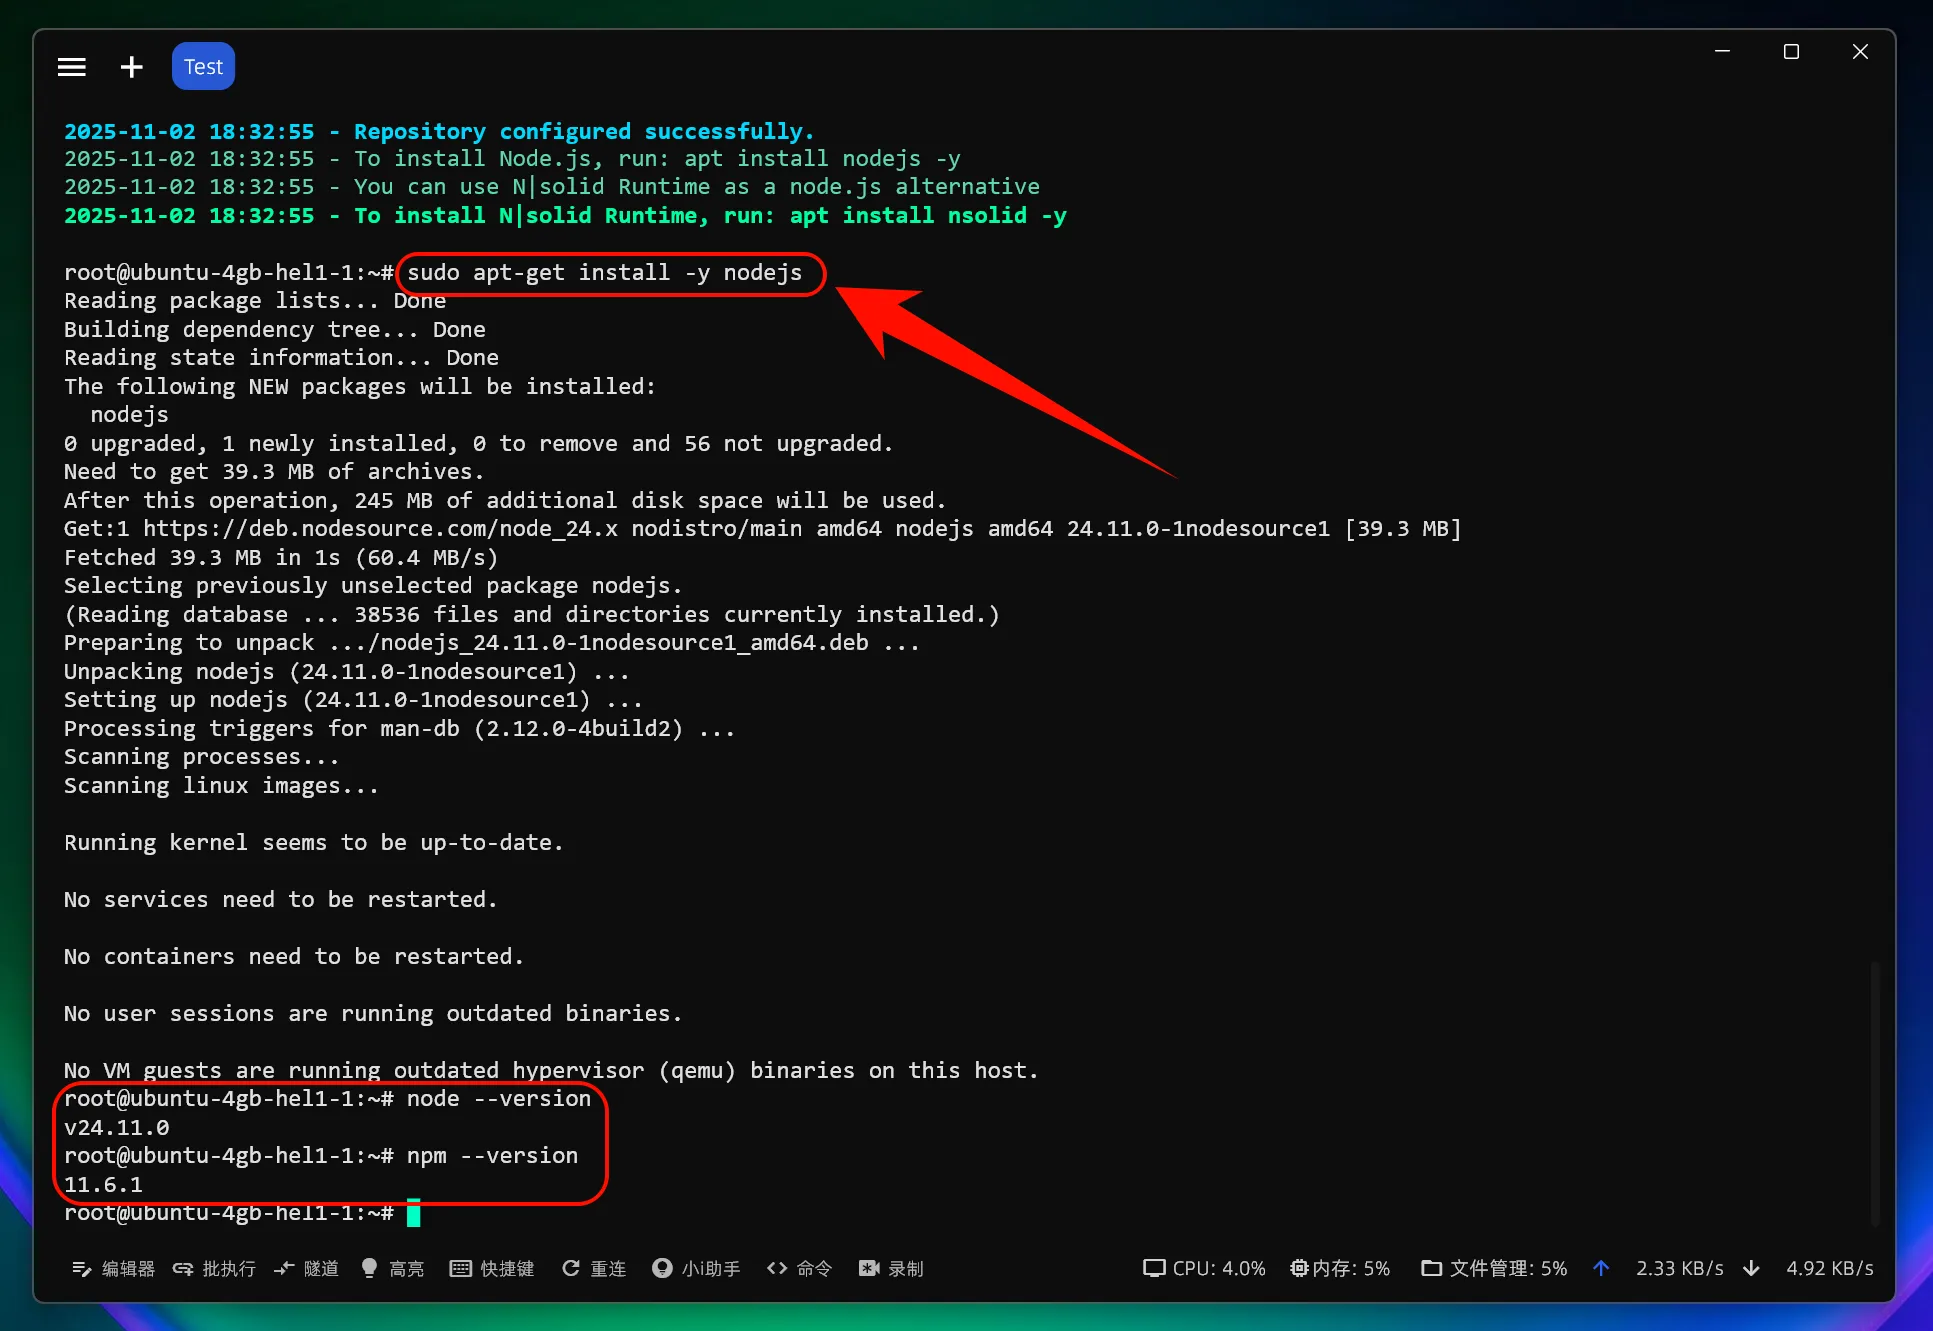
Verify:
node --version
npm --version
2. Install Codex CLI
npm install -g @openai/codexIf needed:
sudo npm install -g @openai/codex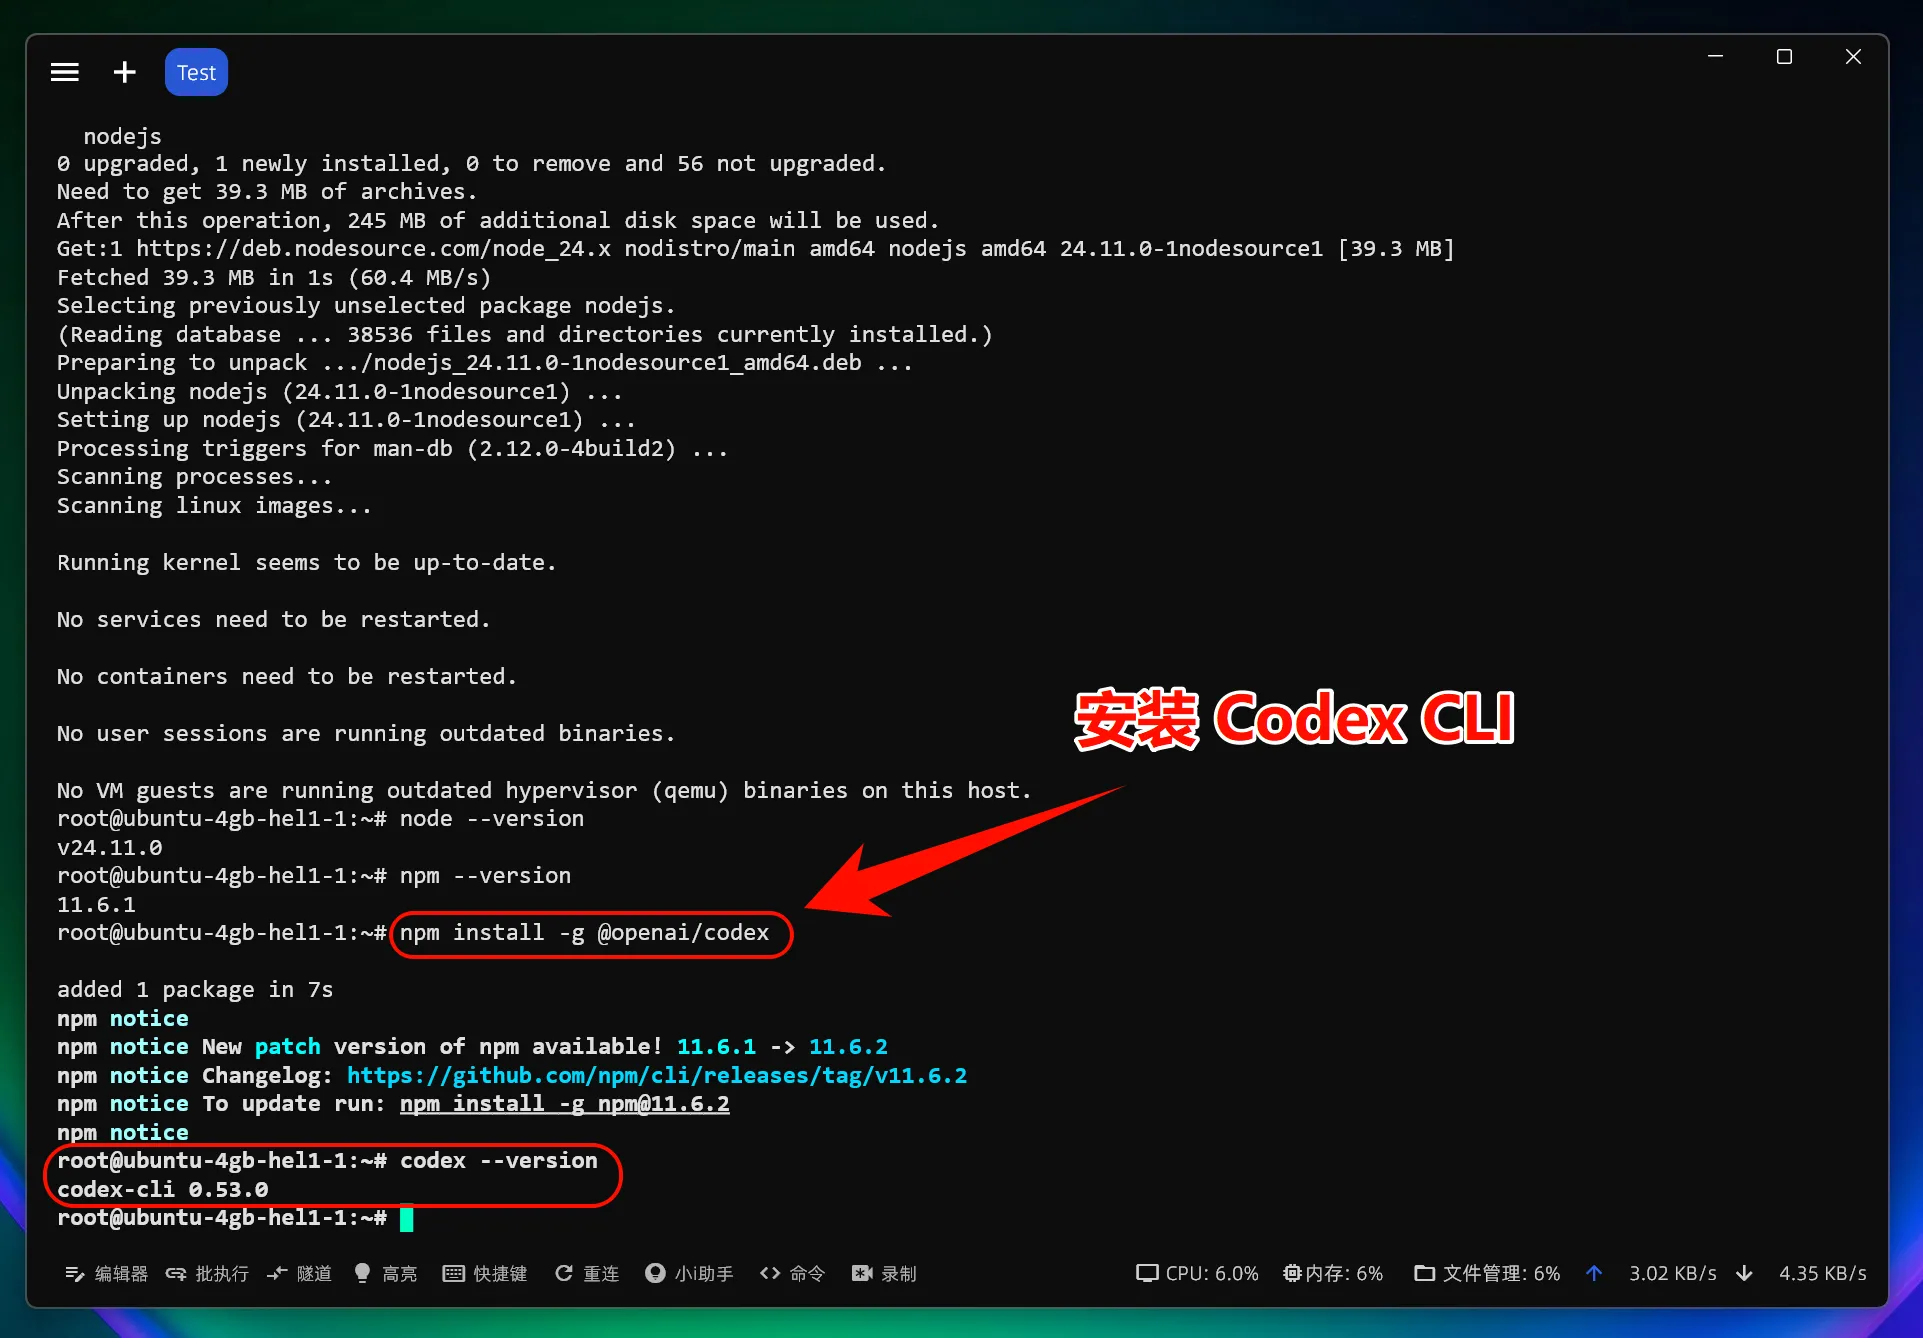
Verify:
codex --version3. Configure the CLI
curl -fsSL https://raw.githubusercontent.com/QuantumNous/new-api-docs/refs/heads/main/helper/codex-cli-setup.sh | bash
4. Start using Codex CLI
codexOr in a project:
cd /path/to/your/project
codex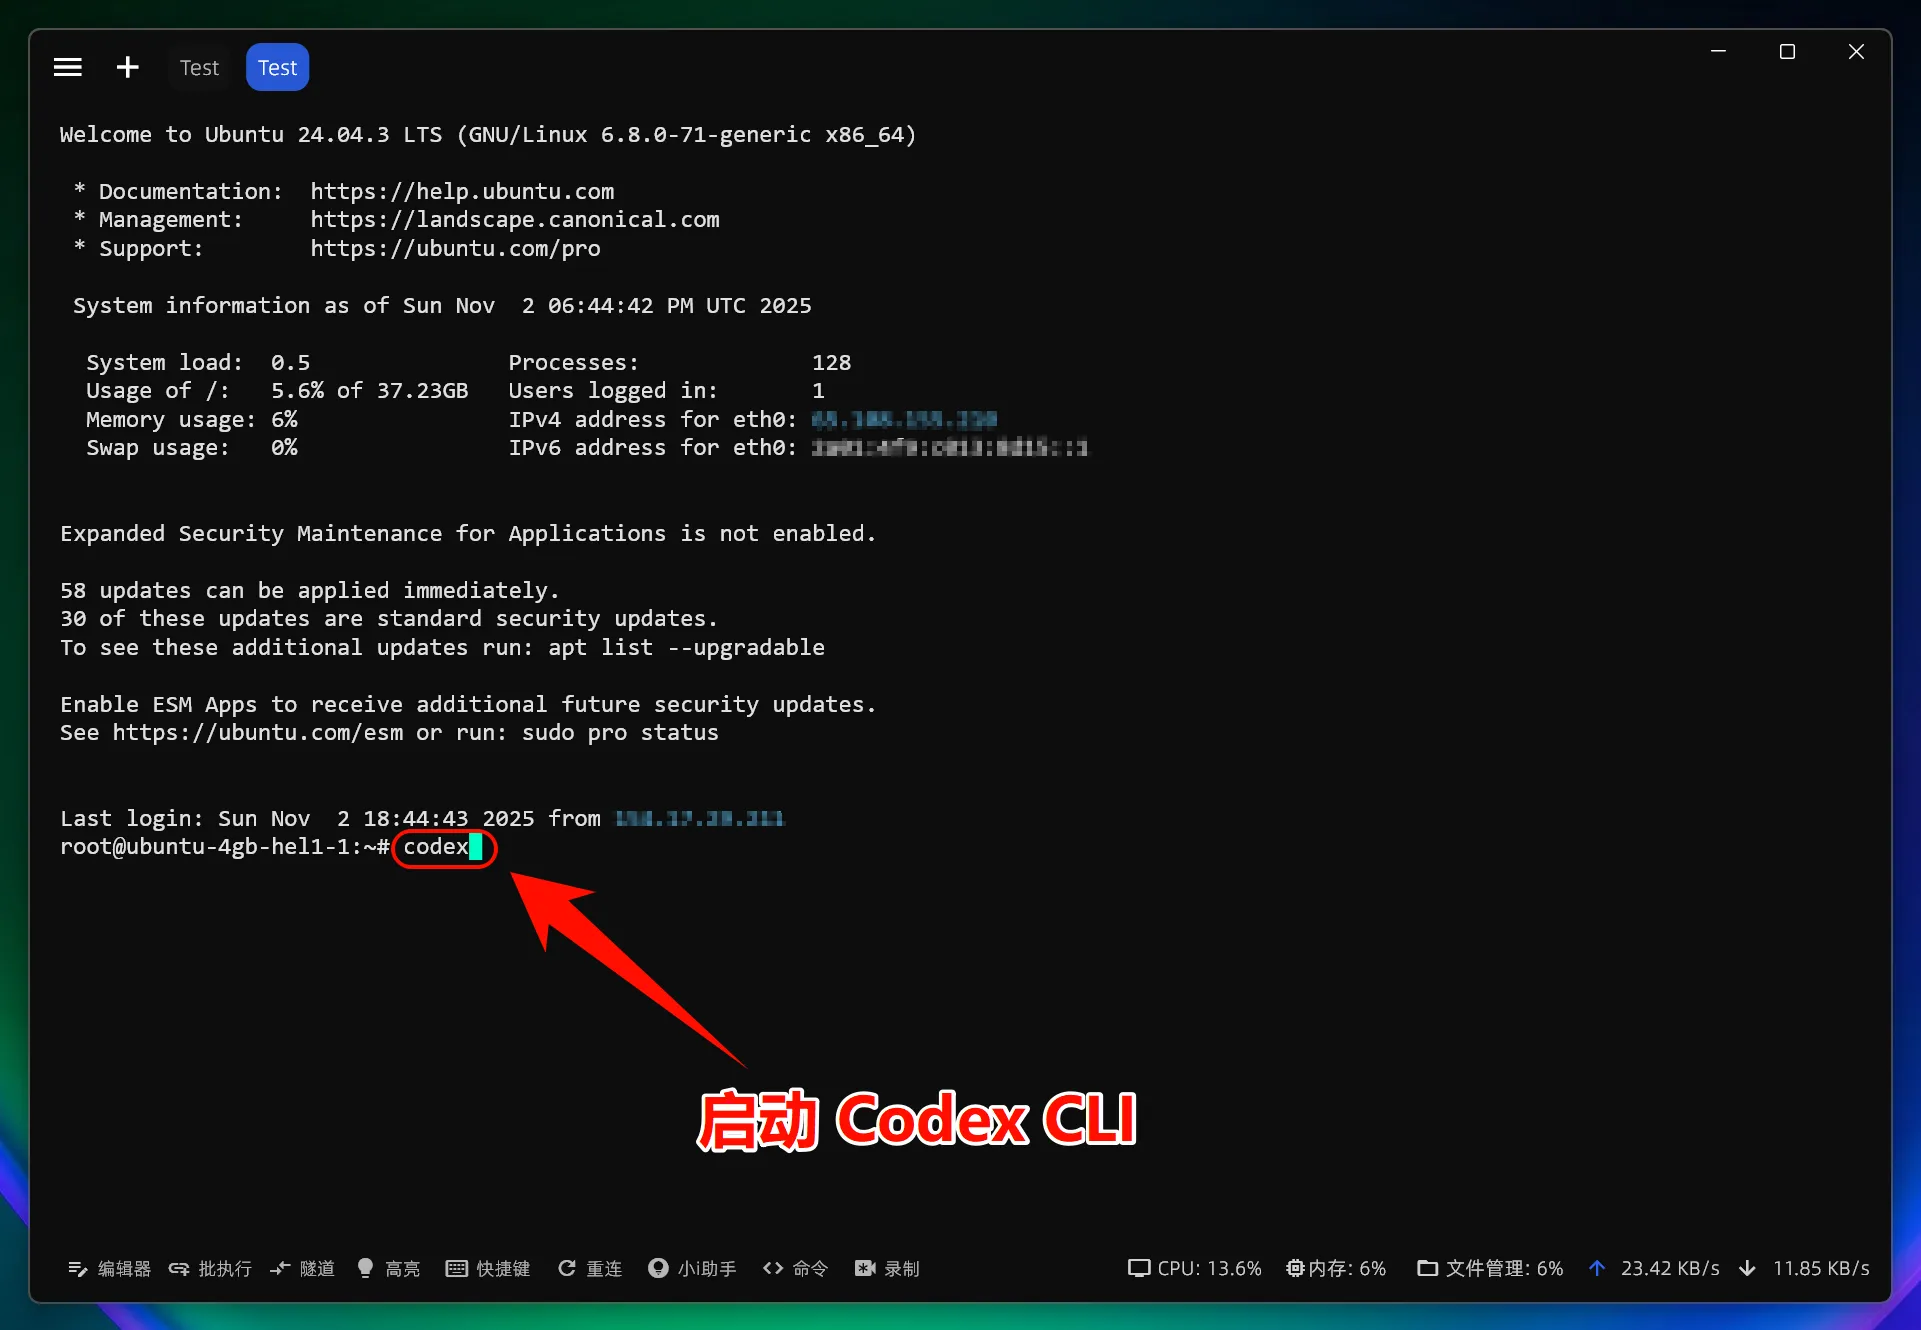
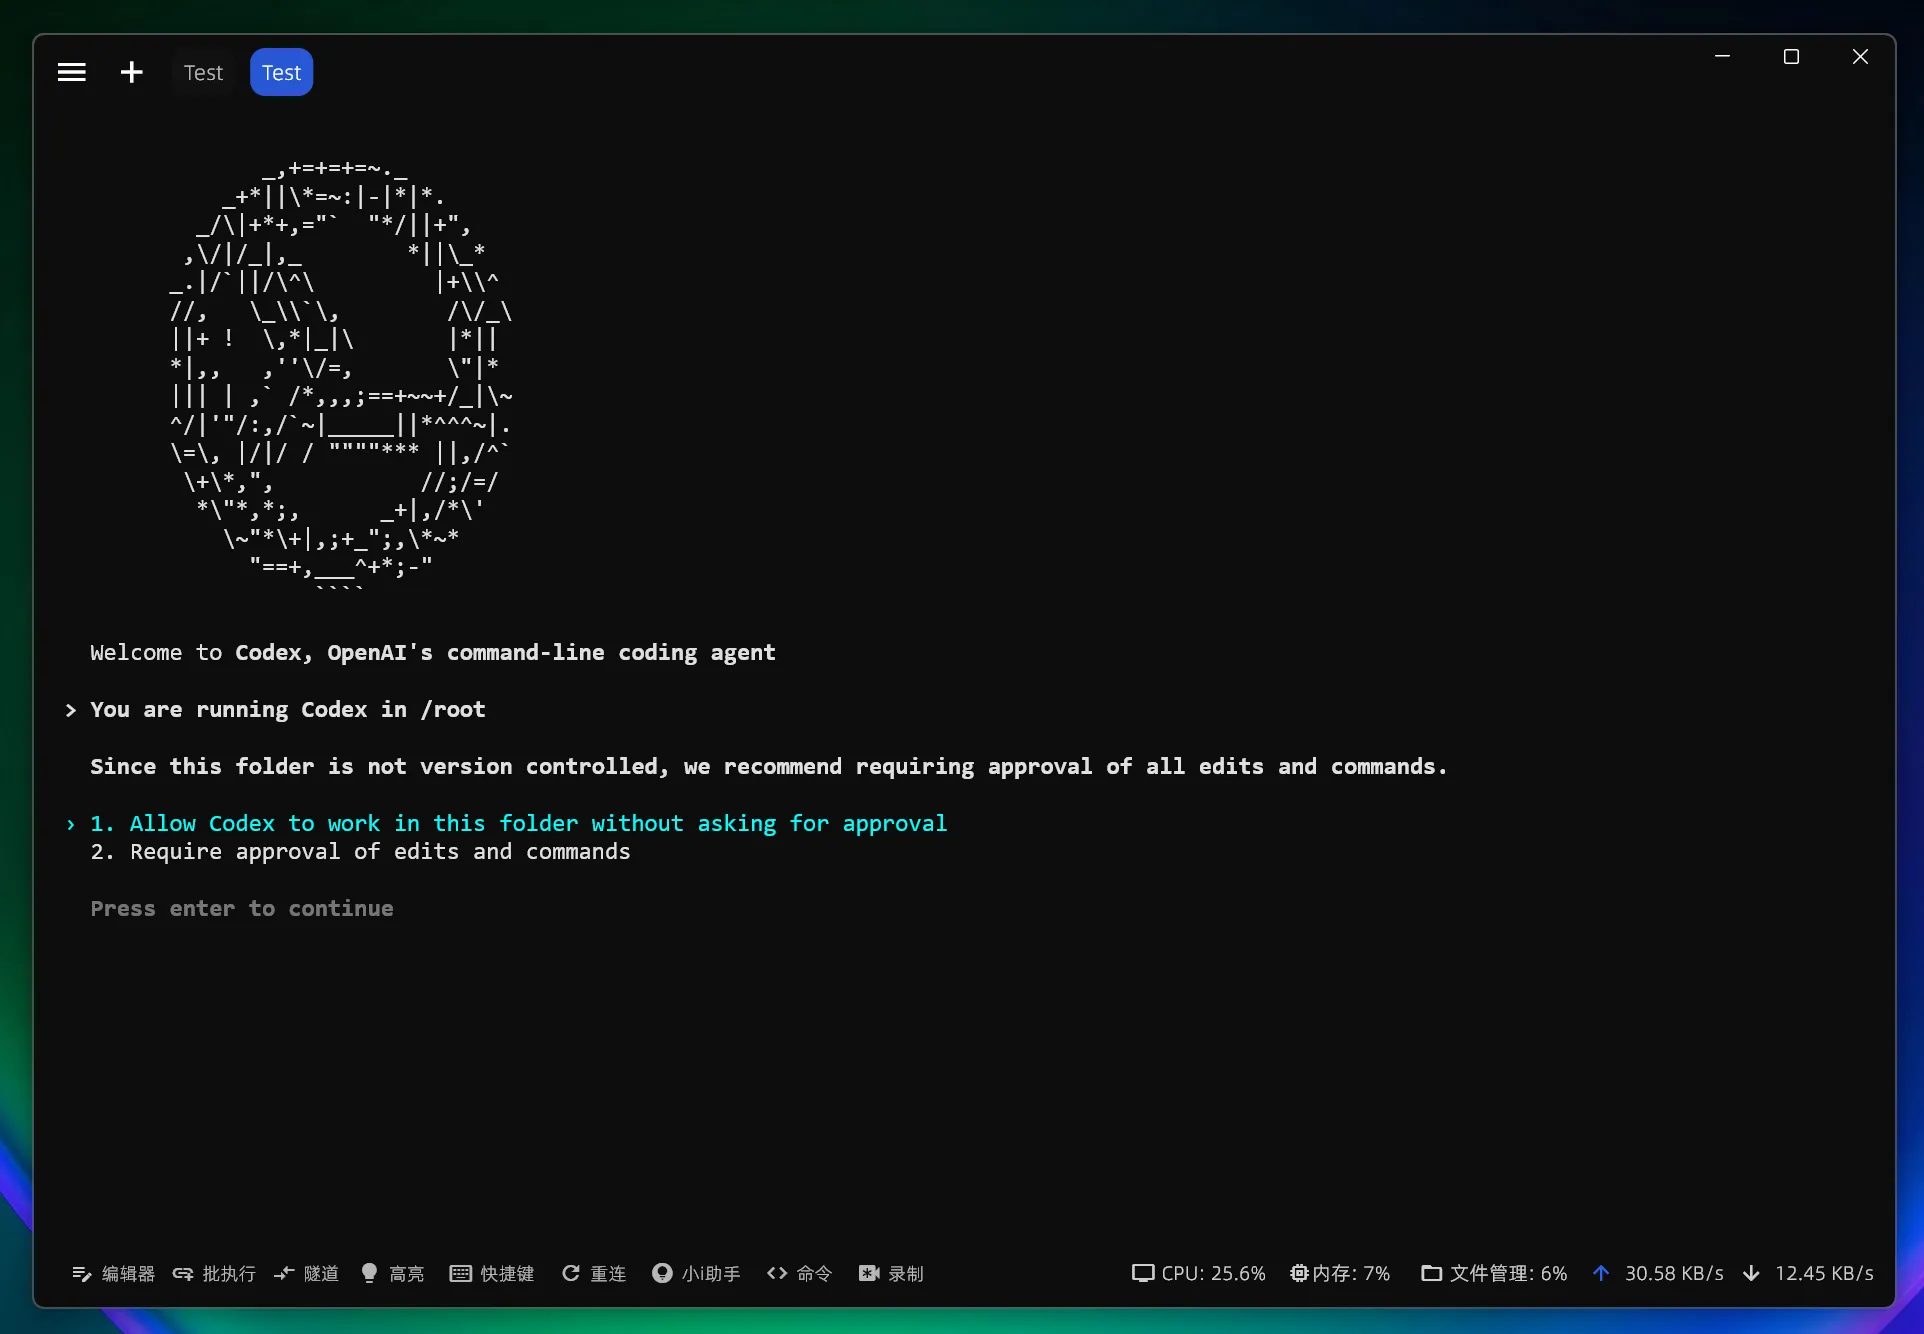
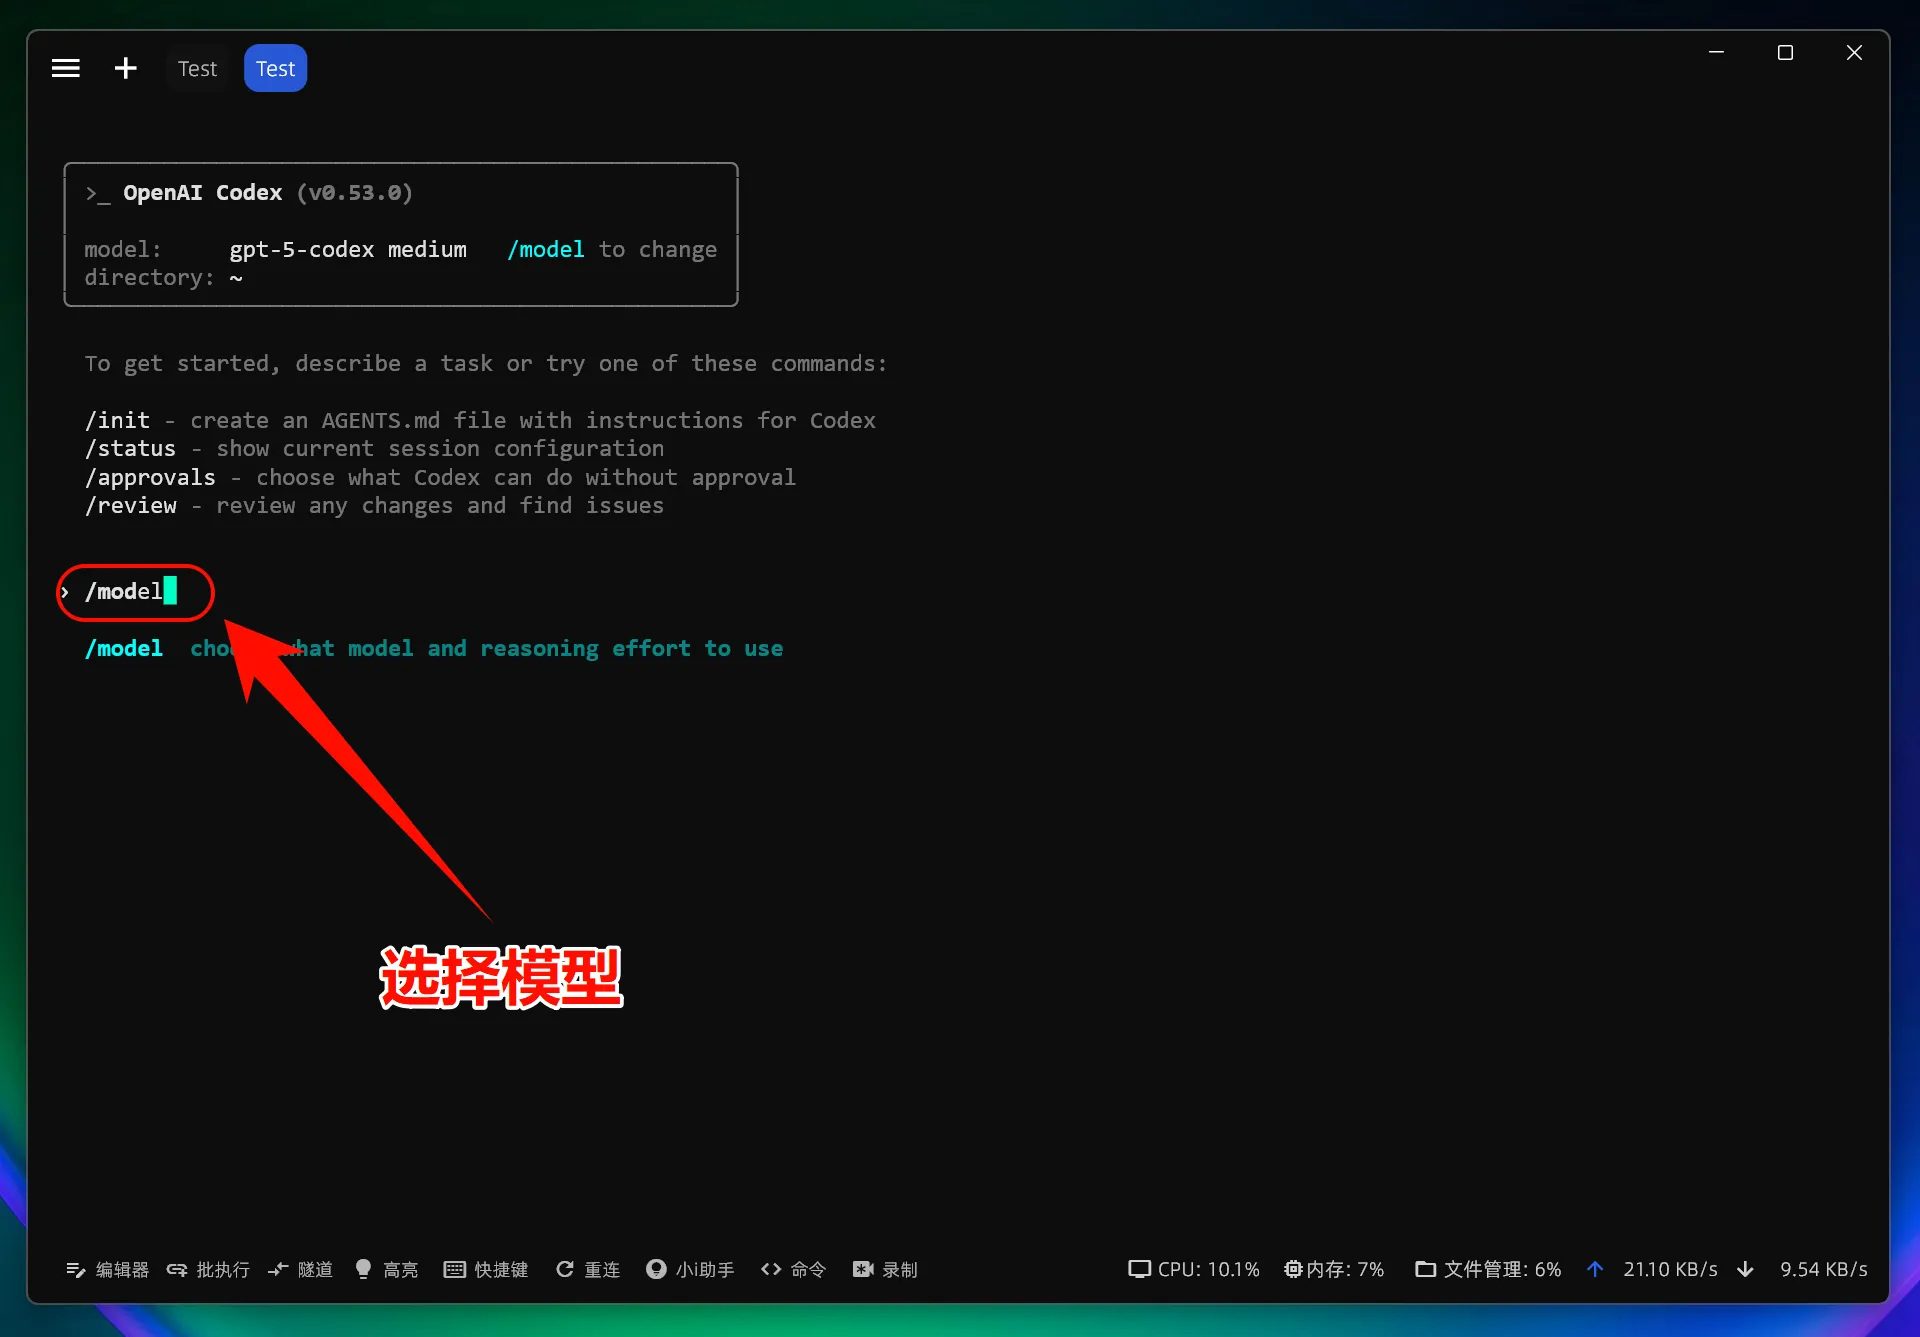
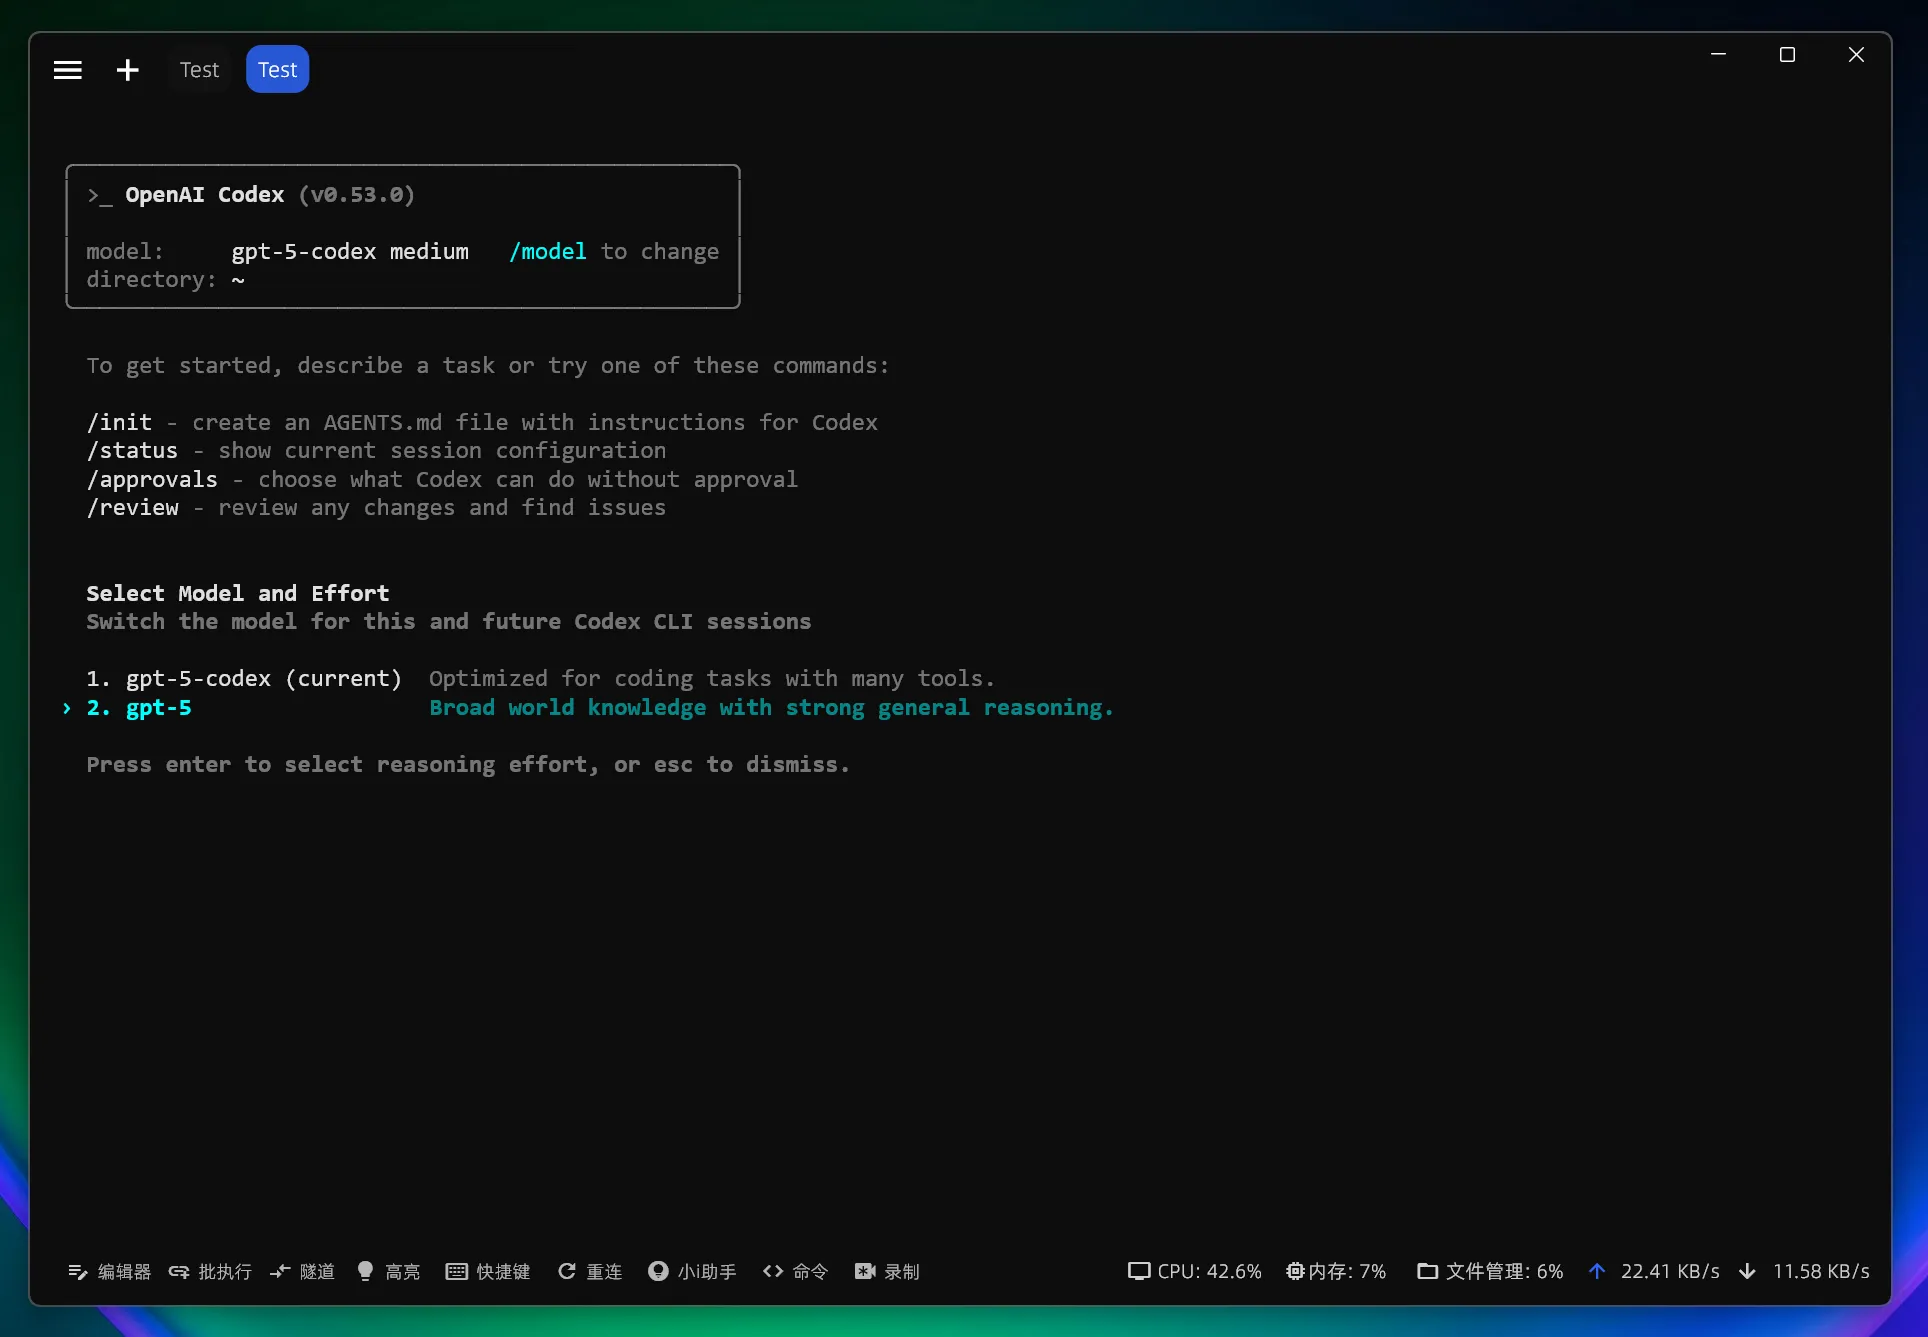
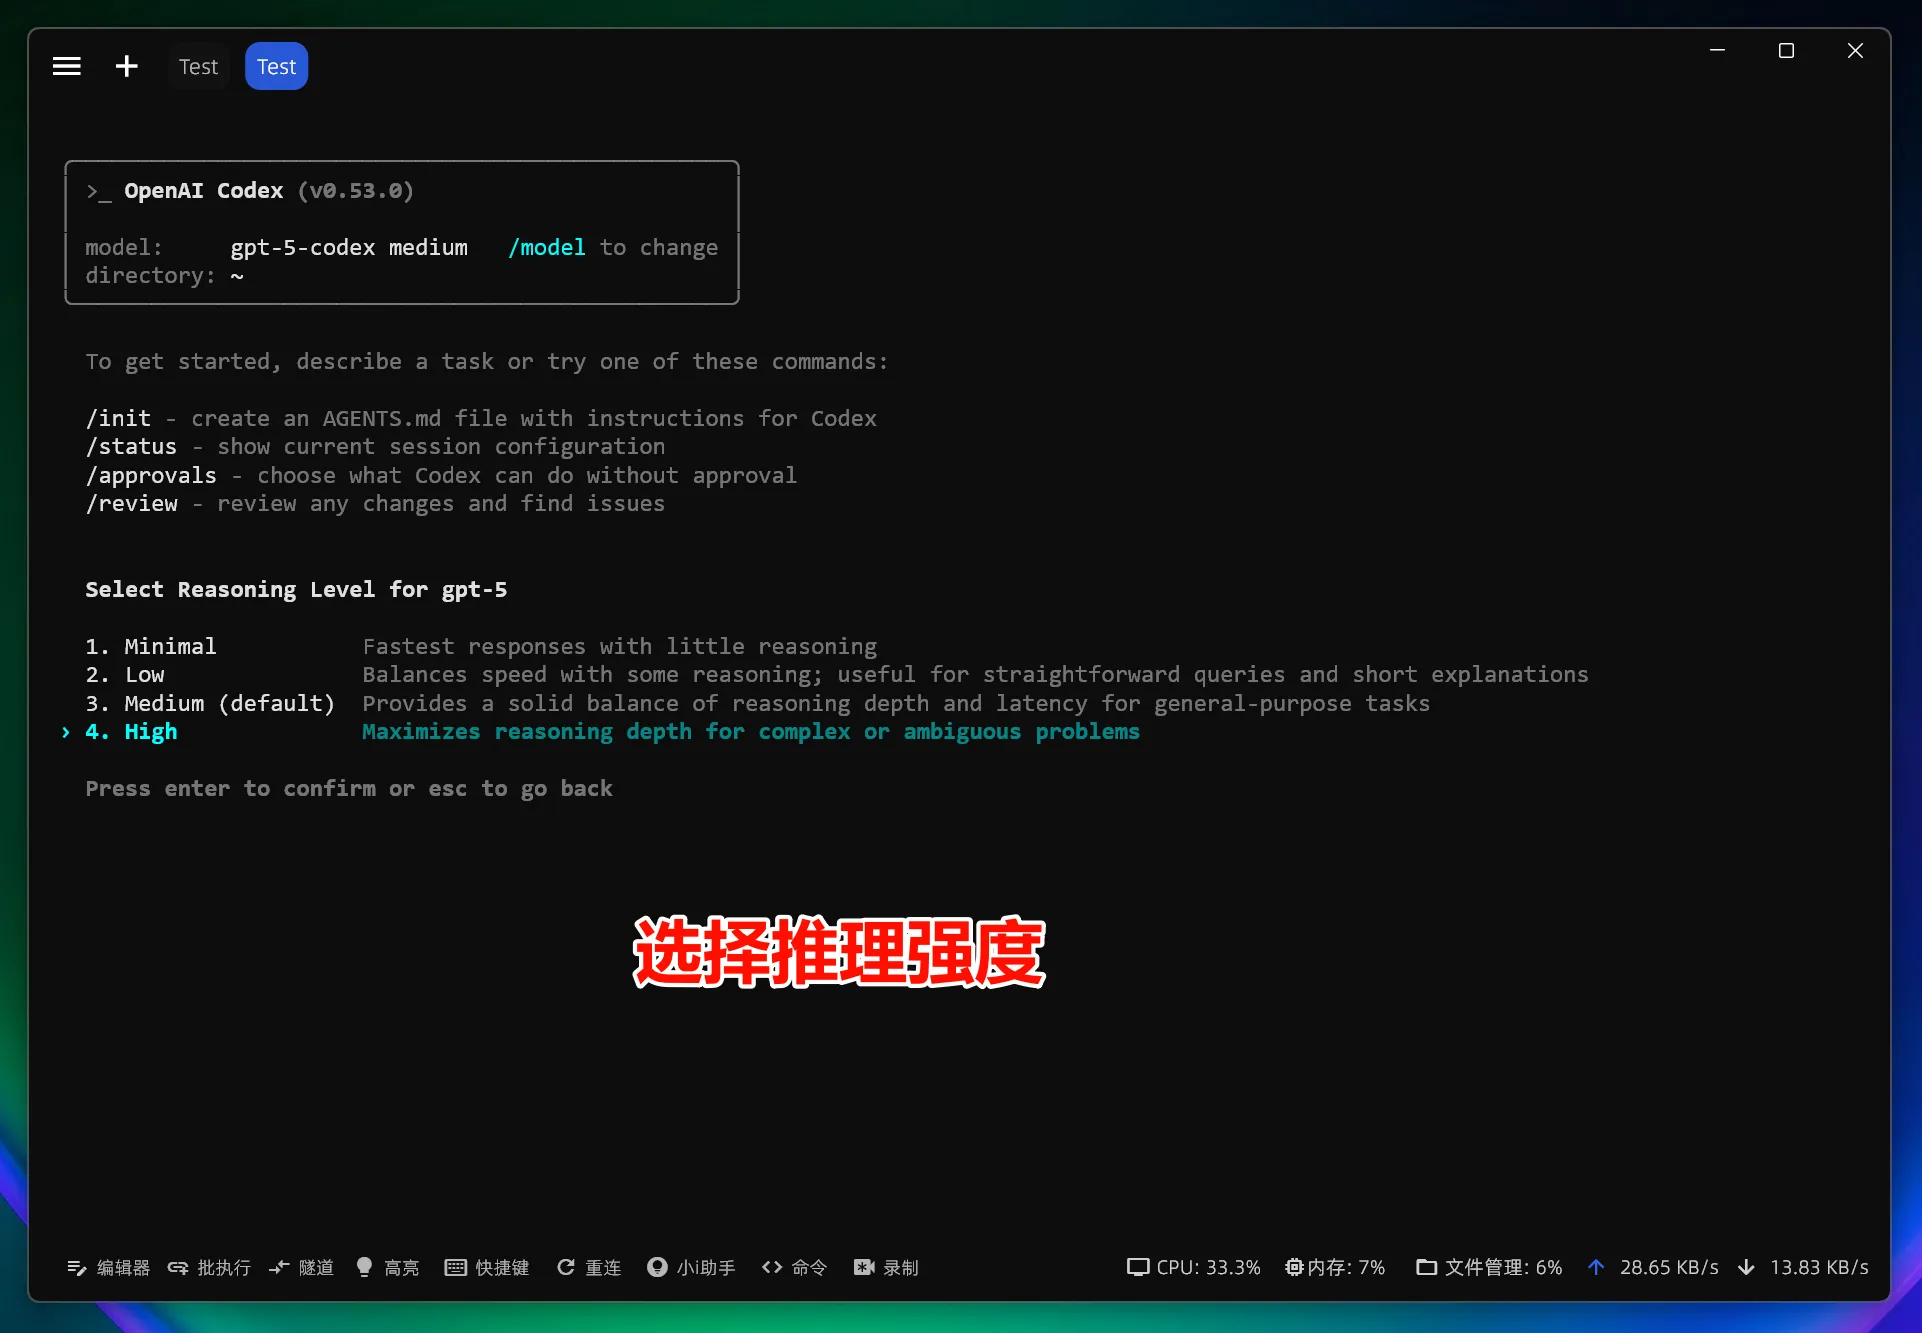
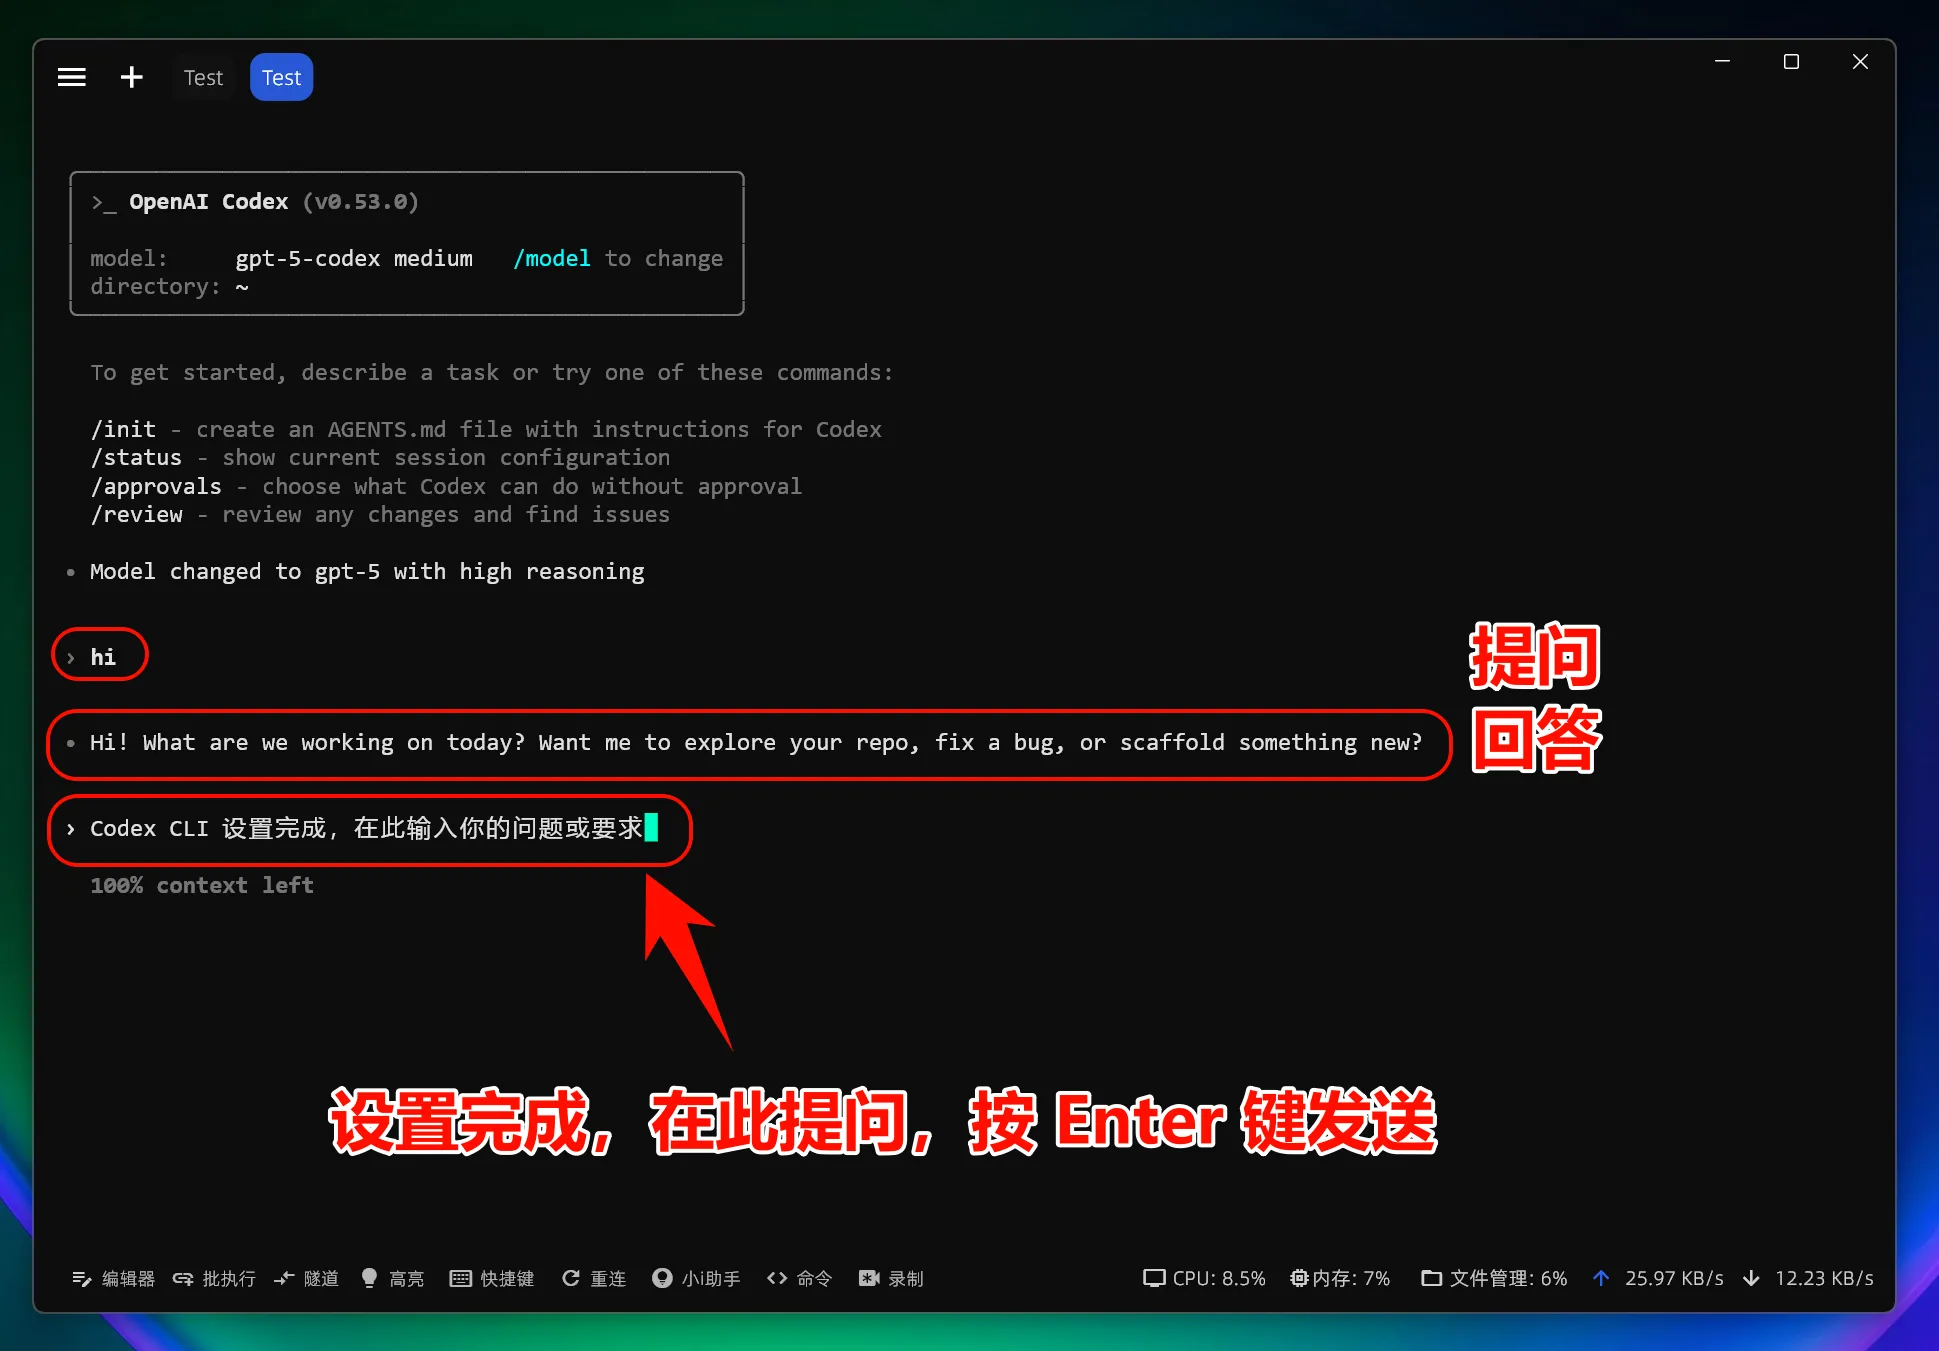
After changing the API address, all models use the custom endpoint instead of OpenAI account quota.
5. Linux common issues
Permission error during installation
sudo npm install -g @openai/codexnpm config set prefix ~/.npm-globalexport PATH=~/.npm-global/bin:$PATH
Missing dependencies
sudo apt install build-essentialOr:
sudo dnf groupinstall "Development Tools"